How to Take Out Butterfly Back Earrings Without Damage & Assess Value
Learn how to take out butterfly back earrings safely without damage. Discover the hidden costs of cheap backs and when to upgrade for better value.

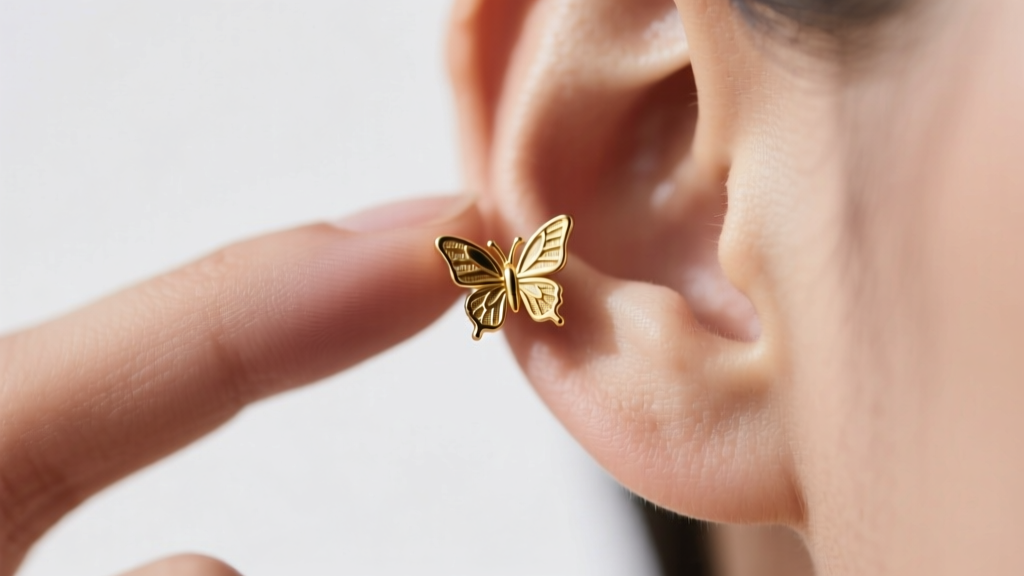
There are few jewelry frustrations more universal than a stuck butterfly back. Whether you are dealing with a brand-new pair of studs or an old favorite that has seemingly fused to your earlobe, learning how to take out butterfly back earrings safely is a critical skill. However, from a budget and value assessment perspective, the struggle to remove these earrings often points to a deeper issue: the hidden costs of cheap jewelry manufacturing. When a $10 pair of earrings results in a torn earlobe, a nickel allergy, or an urgent care visit, the true cost skyrockets. In this guide, we will walk you through the precise mechanical steps to remove stuck friction backs, analyze the cost-benefit ratio of DIY versus professional removal, and provide a framework for assessing whether your earrings are worth keeping or tossing.
The Budget Trap: Hidden Costs of Cheap Butterfly Backs
The standard butterfly back—also known as a friction back or push back—relies on two small metal prongs that grip the grooved post of the earring. While they are cheap to mass-produce, they are a frequent culprit in jewelry-related emergencies. Most budget-friendly earrings (typically priced under $15) use brass or copper alloy bases plated with a microscopically thin layer of nickel or silver. Over time, sweat, sebum, and dead skin cells accumulate between the prongs and the post groove, acting like biological cement.
Furthermore, cheap metal alloys are prone to metal fatigue. When you squeeze a low-quality butterfly back onto a standard 20-gauge (0.81mm) or 18-gauge (1.02mm) post, the prongs can permanently deform. Instead of gently gripping the groove, they collapse inward, locking the back in place. According to the Association of Professional Piercers, low-grade metals not only cause mechanical failures but also leach nickel into the skin, triggering contact dermatitis. The Mayo Clinic notes that nickel allergies are cumulative; once developed, they are lifelong. Therefore, the "budget" price of cheap butterfly backs carries a steep long-term biological and financial tax.
Step-by-Step: How to Take Out Butterfly Back Earrings Safely
Before you resort to brute force—which can bend the post, tear the fistula (the piercing hole), or snap the earring head off entirely—follow this systematic removal protocol. This method minimizes tissue trauma and preserves the structural integrity of the jewelry.
Phase 1: Soften and Lubricate
- Warm Compress: Soak a clean cotton pad in warm (not hot) sterile saline and hold it against the earlobe and earring back for 3 to 5 minutes. This softens the hardened sebum and dead skin trapping the prongs.
- Apply Lubricant: Use a single drop of pure jojoba oil, vitamin E oil, or a water-based personal lubricant directly on the post where it meets the butterfly back. Avoid harsh soaps or rubbing alcohol, which can dry out the skin and increase friction.
Phase 2: The Push-Pull Technique
The most common mistake people make is pulling the back straight off while the post moves with it, causing severe pain. Instead, stabilize the front of the earring. Place your thumb and index finger firmly on the decorative head of the stud. With your other hand, grip the butterfly back. Push the front of the earring forward slightly while wiggling the back in a tiny circular motion. Do not pull straight back until you feel the prongs clear the final groove.
Phase 3: Tool Assistance (When Fingers Fail)
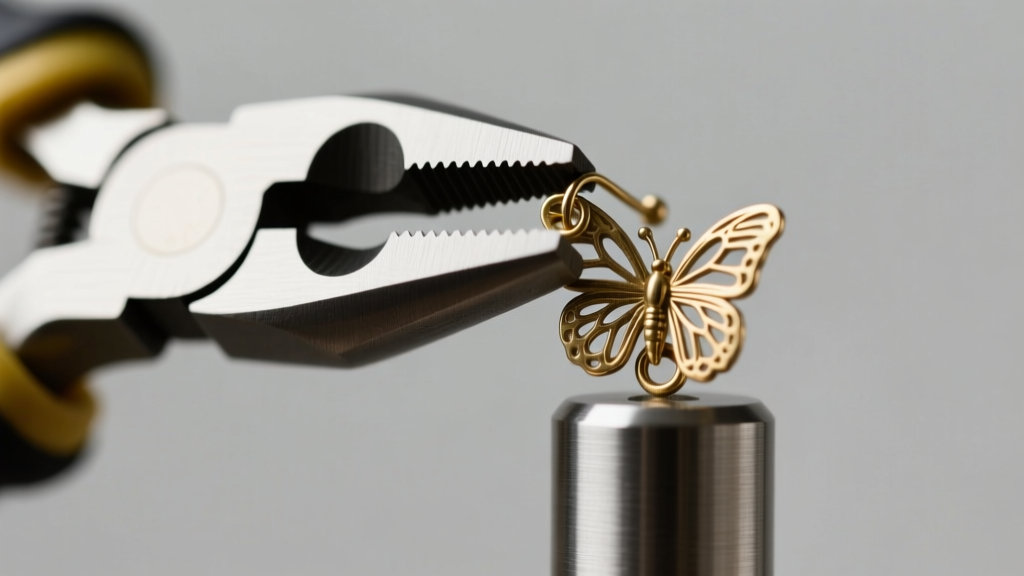
If the prongs have collapsed and locked onto the post, human fingers lack the necessary grip strength. You will need a pair of flat-nose pliers or a hemostat. Wrap the tips of the tool in medical tape or a soft cloth to prevent scratching the metal. Clamp the tool gently onto the flat base of the butterfly back (not the prongs themselves) and twist counter-clockwise while pulling away from the ear. If the post begins to bend, stop immediately.
Cost Breakdown: DIY Removal vs. Professional Intervention
When an earring back is truly stuck, or the earlobe has swollen around the metal, you must weigh the financial cost of professional help against the risk of DIY damage. Below is a value assessment of your removal options.
| Removal Method | Estimated Cost | Success Rate | Risk of Ear Damage |
|---|---|---|---|
| DIY Lubrication & Twist | $0 - $5 | 85% | Low (if gentle and patient) |
| Professional Piercer (APP Certified) | $10 - $25 | 99% | Very Low (uses specialized padded tools) |
| Urgent Care / Emergency Room | $150 - $500+ | 100% | Moderate (medical pliers may crush jewelry) |
Value Verdict: If your earring is a high-value piece (e.g., solid 14k gold or real diamonds worth over $100), bypass the DIY stage if the first gentle attempt fails. Paying a professional piercer $20 to safely extract the jewelry protects your investment. Conversely, if the earring is a $5 fashion accessory and the ear is highly inflamed, cutting the post with heavy-duty wire cutters may be the most cost-effective solution, sacrificing the jewelry to save the tissue.
Assessing the Value: When to Keep, Repair, or Toss
Once the earring is out, you must evaluate its long-term value. Not all earrings deserve a second chance. Use this quick assessment framework to decide the fate of your jewelry.
Inspecting the Post
Run your fingernail lightly over the earring post. If you feel deep, jagged scratches or the post is visibly bent, the structural integrity is compromised. A bent 20-gauge post will constantly irritate the fistula, leading to hypertrophic scarring. Furthermore, deep grooves act as bacterial traps. Verdict: Toss or melt down for scrap.
Inspecting the Butterfly Back
Look closely at the two metal prongs. If they are asymmetrical, flattened, or lack tension, they will never grip the post securely again. You will inevitably lose the earring head in your sleep or while changing clothes. Verdict: Throw the back away, but keep the earring head if the post and setting are intact.
Upgrading Your Backs: A Budget-Friendly Investment
If the earring head and post are in good condition, you can drastically improve the comfort, security, and overall value of the piece by upgrading the backing mechanism. This is where budget-conscious jewelry lovers can achieve luxury-level security without buying new earrings.
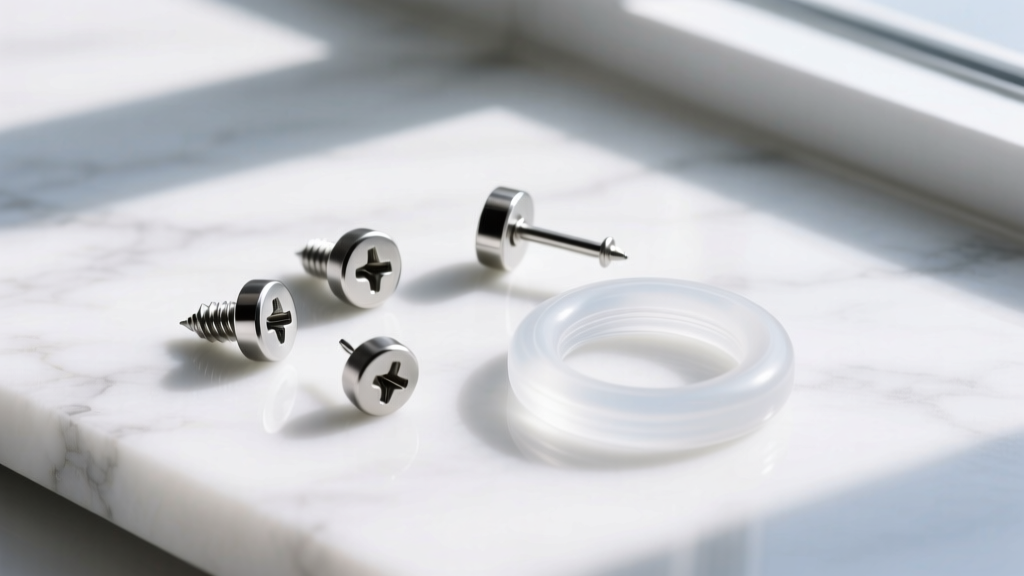
- Silicone O-Rings (Best Budget Value): For about $5, you can buy a pack of 100 medical-grade silicone O-rings. These slide over the post and grip via friction without any metal prongs. They are hypoallergenic, sleep-friendly, and eliminate the risk of sebum buildup in metal crevices.
- Silicone Friction Backs: Priced around $8 to $12 for a pack of 20, these are molded silicone discs with a tiny metal core. They offer the security of a butterfly back but with a soft, cushioned exterior that won't dig into your neck while sleeping.
- Implant-Grade Titanium Screw-Backs (Premium Value): If you are wearing valuable diamond or gemstone studs, invest in ASTM F136 implant-grade titanium screw-backs ($15 to $30 per pair). These thread directly onto a compatible post, making accidental loss virtually impossible. While the upfront cost is higher, the ROI in peace of mind and allergy prevention is unmatched.
Final Thoughts on Earring Maintenance
Understanding how to take out butterfly back earrings is a necessary troubleshooting skill, but it should not be a weekly ordeal. By recognizing the mechanical flaws of cheap friction backs and performing a strict value assessment on your jewelry box, you can transition to secure, hypoallergenic alternatives. A small upfront investment in silicone or titanium upgrades will extend the life of your favorite studs, protect your ear health, and ultimately save you money in the long run.


