How to Clean, Maintain, and Replace Back Stud Earrings
Learn expert cleaning, maintenance, and replacement tips for back stud earrings. Discover material grades, hygiene protocols, and troubleshooting.

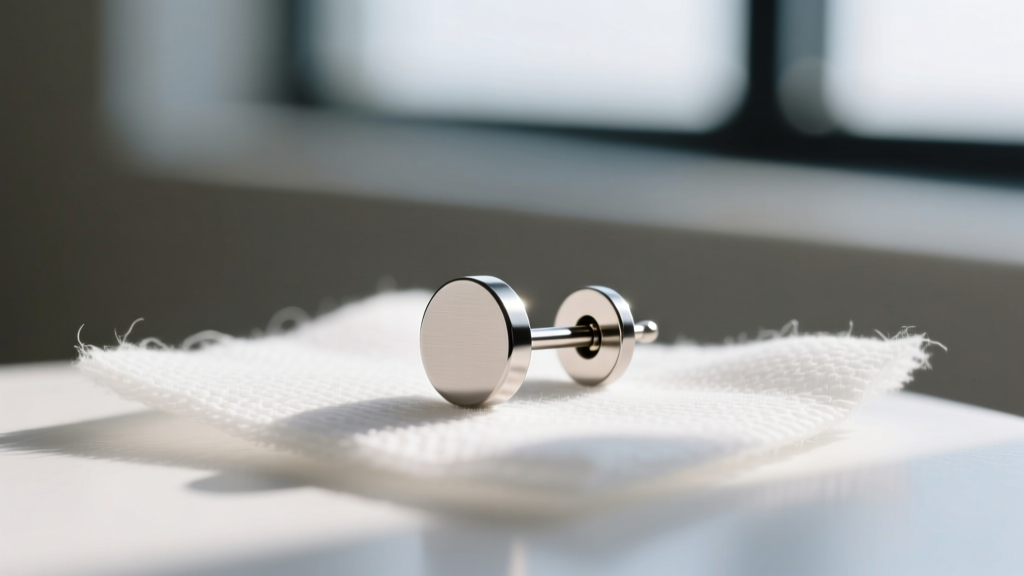
When building a curated ear stack or selecting everyday jewelry, collectors obsess over the front-facing gemstones, gold finishes, and intricate settings. However, the true engine of comfort, security, and ear health lies behind the lobe. The hardware securing your jewelry—collectively referred to as back stud earrings—dictates how your piercings heal, how they breathe, and whether they will develop chronic irritation. Neglecting the maintenance of your earring backs is a primary catalyst for contact dermatitis, localized infections, and lost jewelry.
This comprehensive guide moves beyond generic advice, providing professional-grade protocols for cleaning, maintaining, and troubleshooting the mechanical and material realities of modern earring backs.
The Hidden Hygiene Hazard: Sebum and Dead Skin Matrices
The environment behind the earlobe is a microclimate of trapped heat, moisture, and friction. When you wear traditional back stud earrings, particularly butterfly friction backs, the intricate scrollwork of the metal acts as a net. Over a period of 48 to 72 hours, this net catches a mixture of sebum (skin oils), desquamated dead skin cells, hair care products, and environmental dust.
This combination forms a biofilm that piercers often refer to as 'ear cheese.' Not only does this matrix produce a distinct, unpleasant odor caused by bacterial breakdown of lipids, but it also creates a physical barrier against the skin. This trapped moisture macerates the tissue behind the earlobe, leading to micro-fissures and making the piercing highly susceptible to Staphylococcus aureus and Pseudomonas infections. Furthermore, cheap base-metal backs plated in silver or gold will experience micro-abrasions from this friction, exposing the underlying nickel or brass alloys and triggering severe allergic contact dermatitis, a well-documented reaction detailed by the Mayo Clinic.
Material Breakdown and Hardware Profiles
Not all back stud earrings are created equal. The material grade directly impacts how often you must clean them and how long they will survive daily wear. According to the Association of Professional Piercers (APP), only specific implant-grade materials should be worn in the body long-term.
| Back Type | Ideal Material Grade | Standard Gauge | Hygiene Rating | Primary Failure Mode |
|---|---|---|---|---|
| Butterfly Friction | 14k/18k Solid Gold | 20G - 18G | Poor (Traps debris) | Loss of scroll tension; plating wear |
| Screw Back | 316L Surgical Steel | 18G - 16G | Moderate (Thread grooves) | Cross-threading; stripped internal taps |
| Threadless (Push-Pin) | ASTM F-136 Titanium | 18G - 14G | Excellent (Smooth post) | Bent pins; O-ring degradation on ends |
| Flat Back (Labret) | ASTM F-136 Titanium | 16G - 12G | Excellent (Flush fit) | Internal thread stripping |
| Silicone O-Rings | Medical-Grade Silicone | Varies | Poor (Highly porous) | Micro-tearing; bacterial harboring |
Precision Cleaning Protocols by Material
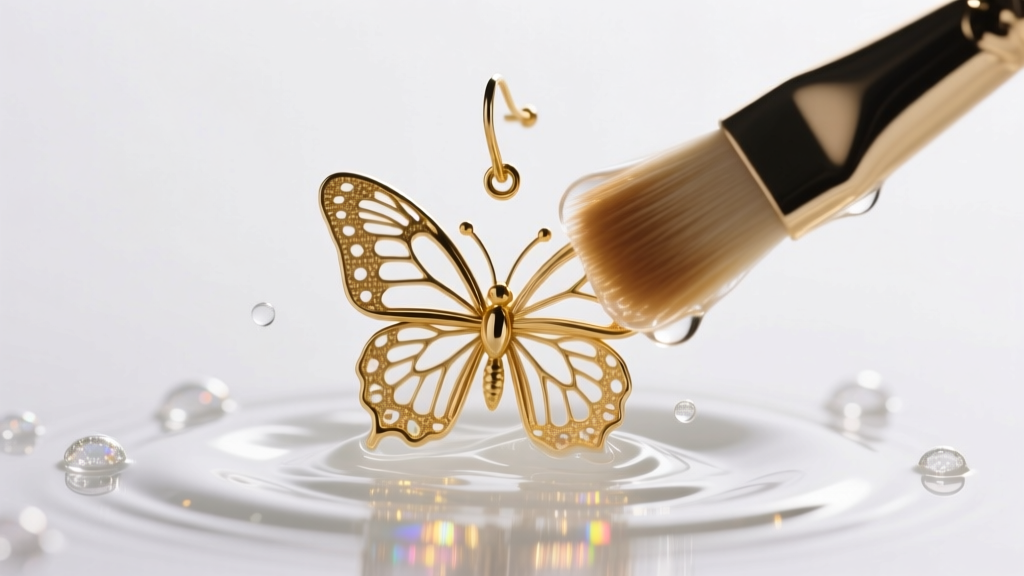
Deep cleaning your back stud earrings requires matching the chemical agent to the material. Using the wrong solvent can permanently ruin the hardware or degrade its structural integrity.
1. Solid Gold and Implant-Grade Titanium (Threadless & Flat Backs)
- The Solution: Warm water mixed with a few drops of mild, fragrance-free castile soap.
- The Method: Soak the backs for 5 to 10 minutes to loosen sebum. Use a sterile, ultra-soft baby toothbrush to gently sweep the inside of the tube (for threadless backs) or the flat disc base. Rinse thoroughly with distilled water to prevent hard water spotting, and dry with a lint-free microfiber cloth.
- Frequency: Weekly for daily wearers.
2. Plated Base Metals (Butterfly Backs)
- The Warning: Never use isopropyl alcohol, hydrogen peroxide, or ultrasonic cleaners on plated backs. These methods will strip the microscopic gold or rhodium plating, exposing the nickel core.
- The Method: Wipe down daily with a saline-soaked cotton swab (0.9% sterile sodium chloride). Do not soak, as prolonged water exposure accelerates oxidation of the base metal.
3. Silicone O-Rings and Friction Dots
- The Reality: Silicone is highly porous. Alcohol will dry it out, causing it to crack and harbor bacteria in the micro-fissures.
- The Method: Wash with warm water and antibacterial soap. However, because sterilization is impossible at home, silicone backs should be treated as disposable consumables rather than permanent hardware.
Troubleshooting Mechanical Failures
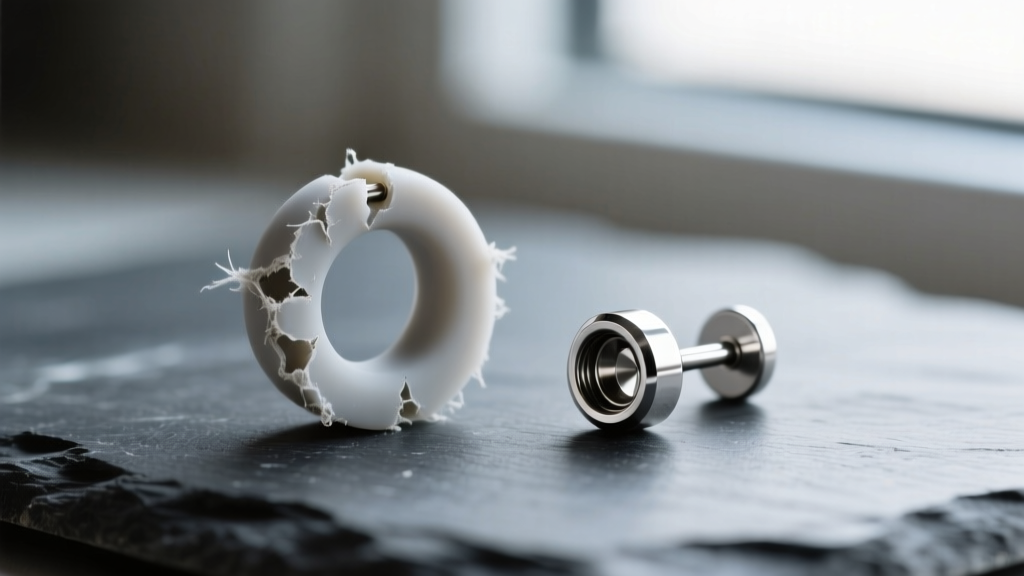
Mechanical failure of back stud earrings usually results in lost jewelry or damaged piercings. Here is how to troubleshoot the most common hardware malfunctions.
The Threadless Pin Loses Tension
Threadless (push-pin) earrings rely on the tension of a slightly bent pin inserted into a hollow post. Over time, repeated removal can straighten the pin, causing the front gemstone to fall off. The Fix: Insert the pin about one-third of the way into the post, then gently bend the pin upward by 2 to 5 degrees. For 18-gauge titanium pins, a very slight bend is sufficient; for thicker 14-gauge pins, you may need to apply slightly more pressure. Never bend the pin sharply, or it will snap under shear stress.
Stripped Internal Threads on Screw Backs
If your screw back spins endlessly without tightening, the internal threads are stripped. This is almost always caused by cross-threading—forcing the back on at an angle. The Fix: Unfortunately, stripped threads cannot be repaired at home. The back must be discarded. To prevent this, always thread the back counter-clockwise until you feel a subtle 'click' (the threads aligning), then turn clockwise to tighten.
Butterfly Backs Sliding Off
The twin scrolls on a butterfly back lose their spring tension over time, especially if you sleep in your earrings and compress the metal against your pillow. The Fix: Use a pair of nylon-jaw jewelry pliers to very gently squeeze the sides of the scrolls closer together to restore the friction grip. If the metal shows white stress marks, replace the back immediately.
Dealing with Stuck or Seized Earring Backs
One of the most stressful maintenance issues is a back stud earring that refuses to come off. This is usually caused by dried sebum acting as a biological glue, or a cross-threaded screw back that has jammed.
- Soak and Soften: Soak a cotton pad in warm saline or sterile wound wash and hold it against the back of the earlobe for 10 minutes. This rehydrates and softens the sebum matrix.
- Improve Grip: Never use metal pliers on a stuck earring back; you will crush the post or scratch the metal, creating burrs that will tear your piercing channel upon removal. Instead, use a piece of textured nitrile glove or a rubber jar gripper pad to gain traction on the smooth metal.
- The Floss Method: For flat backs or butterfly backs jammed against the lobe, slide a piece of unwaxed dental floss behind the earring back. Gently saw back and forth to break the seal of dried debris and create enough space to grip the edge of the back.
Establishing a Replacement Schedule
Treating your earring backs as permanent fixtures is a mistake. To maintain optimal ear health and jewelry security, adhere to this replacement schedule:
- Silicone O-Rings/Backs: Replace every 3 to 6 months, or immediately if they appear cloudy, stretched, or torn.
- Plated Butterfly Backs: Replace every 6 to 12 months, or the moment you notice any discoloration, pitting, or flaking of the surface plating.
- Solid Gold/Titanium Hardware: These do not have a strict expiration date and can last a lifetime, provided they are cleaned weekly and stored in a dry, tarnish-free environment when not in use.
By shifting your focus from the decorative front of your jewelry to the functional mechanics of your back stud earrings, you ensure that your piercings remain healthy, comfortable, and secure for years to come. Invest in ASTM F-136 titanium or solid gold hardware, adhere to strict cleaning protocols, and never ignore the early signs of mechanical wear.


