How to Clean and Care for Gold Sand Dollar Earrings
Learn expert techniques to clean, polish, and store your gold sand dollar earrings without damaging intricate textures, enamel, or delicate prongs.

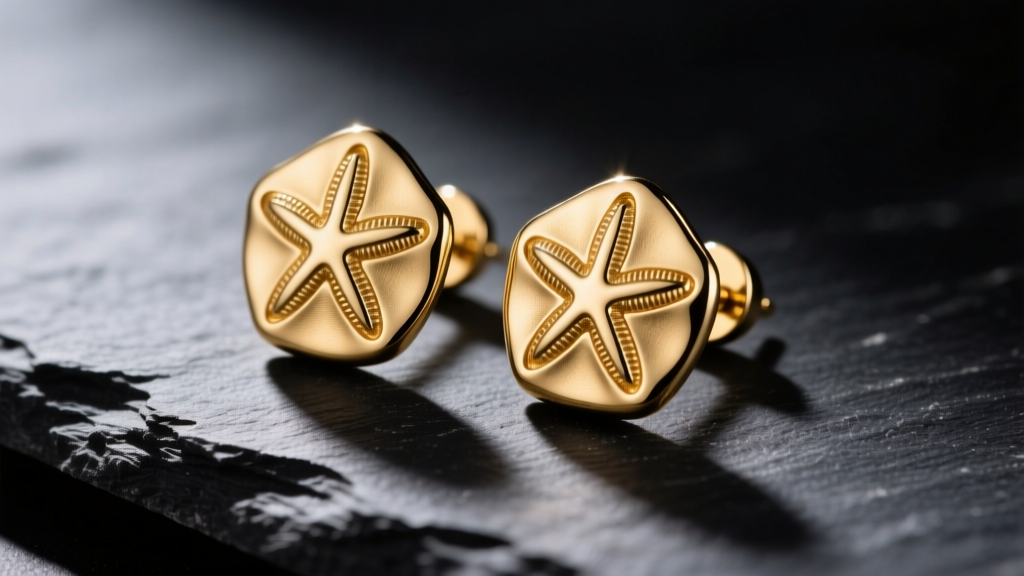
The Unique Anatomy of Sand Dollar Jewelry
Nautical jewelry has long been a staple of coastal-inspired fashion, but few designs present as many maintenance challenges as the sand dollar. Biologically, a sand dollar's shell (known as a test) features a five-fold radial symmetry, complete with deep marginal grooves and a distinct five-petal star pattern called petaloids. When jewelers replicate this organic geometry in gold, they create a high-relief topography that is visually stunning but notoriously difficult to keep clean.
The deep recesses of the petaloids and the tiny perforations along the edges act as microscopic traps for sebum, dead skin cells, cosmetic oils, and environmental pollutants. Over time, this buildup not only dulls the reflective properties of the gold but can also lead to localized skin irritation if worn against sensitive earlobes or cartilage. Understanding the specific structural vulnerabilities of your gold sand dollar earrings is the first step toward preserving their intricate detailing for decades.
Material Matters: Identifying Your Gold Type
Before applying any cleaning solution, you must identify the exact metallurgical composition of your earrings. Gold purity drastically dictates how aggressive your cleaning methods can be. According to the Gemological Institute of America (GIA), the alloy metals mixed with pure gold to create jewelry-grade materials affect both hardness and chemical reactivity.
| Material Grade | Gold Purity | Texture Durability | Cleaning Sensitivity | Recommended Tool |
|---|---|---|---|---|
| 14k Solid Gold | 58.5% | High (Excellent for deep casting details) | Low (Tolerates mild soaps and gentle brushing) | Ultra-soft baby toothbrush |
| 18k Solid Gold | 75.0% | Medium (Softer, prone to micro-scratches on high edges) | Medium (Avoid any abrasive pastes) | Microfiber cloth & cotton swabs |
| Gold Vermeil | 2.5+ microns over Sterling Silver | Low (Plating can wear off at high-relief friction points) | High (Strictly non-abrasive, no soaking over 5 mins) | Lint-free swab & distilled water |
If your earrings are gold vermeil, the Federal Trade Commission (FTC) Jewelry Guides mandate a minimum gold thickness of 2.5 microns over a sterling silver base. Because the gold layer is exceptionally thin, the raised edges of the sand dollar texture are highly susceptible to friction wear. Scrubbing vermeil with stiff bristles will strip the gold plating, exposing the silver beneath and leading to rapid tarnishing.
Step-by-Step Cleaning Guide for Textured Gold
For solid 14k and 18k gold sand dollar earrings, a methodical, non-abrasive approach is required to lift debris from the deepest crevices without scratching the polished surfaces.
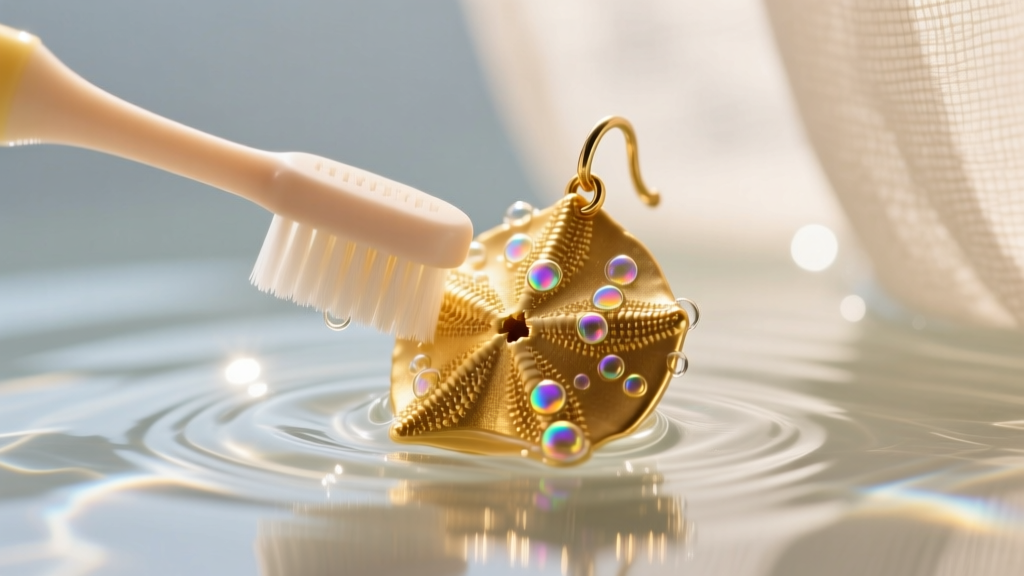
Step 1: The Distilled Water Soak
Never use tap water for soaking intricate jewelry. Tap water contains chlorine, calcium, and magnesium, which can leave stubborn hard-water mineral deposits inside the tiny sand dollar slits. Instead, fill a small glass bowl with warm (not hot) distilled water and add three drops of pH-neutral, lotion-free dish soap. Submerge the earrings and let them soak for exactly 15 to 20 minutes. This softens hardened sebum and cosmetic waxes without chemically attacking the gold alloys.
Step 2: Targeted Agitation
Remove the earrings from the bath and use an ultra-soft baby toothbrush (look for bristles with a diameter under 0.12mm). Brush with the grain of the texture, moving from the center of the star pattern outward toward the marginal grooves. Do not scrub in tight, aggressive circles, as this can bend delicate cast details or loosen micro-prongs if your sand dollar features inset gemstones.
Step 3: Rinsing and Drying
Rinse thoroughly under a gentle stream of lukewarm distilled water. To dry, avoid rubbing with a standard towel, which can leave microscopic lint fibers caught in the petaloids. Instead, use a can of compressed air (held at least six inches away) to blow water out of the deep crevices, followed by a gentle pat with a clean, lint-free microfiber cloth.
What to Avoid: Common Cleaning Mistakes
Many well-intentioned jewelry owners inadvertently destroy the finish of their textured pieces by relying on outdated or overly aggressive cleaning hacks. Avoid the following at all costs:
- Ultrasonic Cleaners: While ultrasonic machines use 40kHz high-frequency sound waves to cavitate dirt away, they are highly dangerous for sand dollar designs. Many premium sand dollar earrings feature micro-pave diamonds or delicate enamel in the center. The intense vibrations can easily shake stones loose from their microscopic prongs or fracture brittle enamel.
- Toothpaste and Baking Soda: These household staples contain abrasive silica and calcium carbonate. On the Mohs hardness scale, these particles are hard enough to leave permanent, cloudy micro-scratches across the high-relief ridges of 18k gold.
- Commercial Silver Dips: If your earrings are vermeil or have silver solder joints, acidic commercial dips will strip the gold plating instantly and cause irreversible chemical pitting.
Advanced Maintenance: Enamel and Gemstone Accents
Contemporary jewelry designers frequently incorporate cold enamel (epoxy resin) or vitreous enamel (fused glass) into the center star of sand dollar earrings to mimic the biological coloring of real sea urchins. Jewelers of America warns that enamel requires specialized care, as it is highly sensitive to thermal shock and chemical solvents.
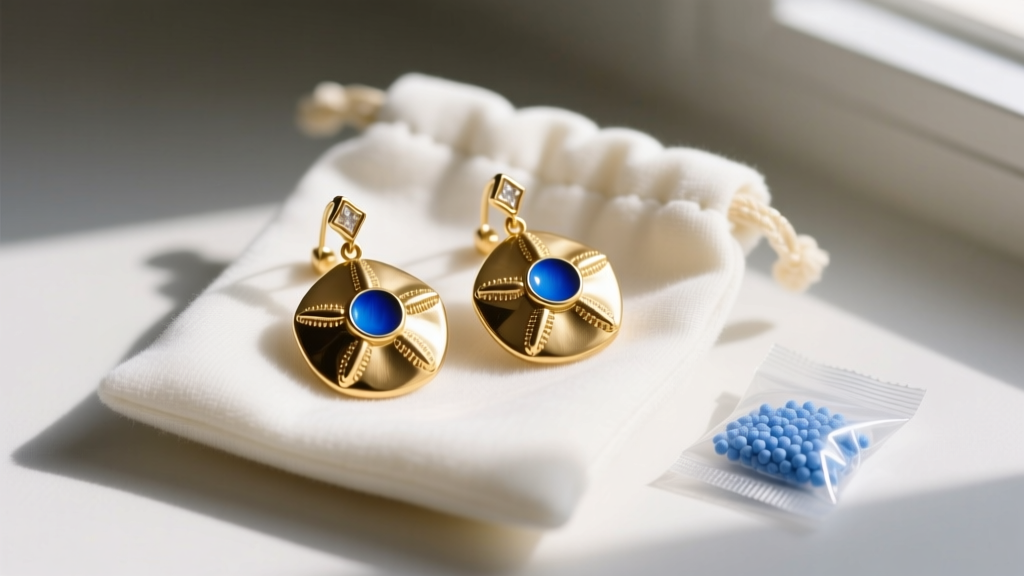
If your sand dollar earrings feature enamel accents, reduce the soaking time to a maximum of five minutes. Prolonged exposure to water, especially warm water, can compromise the adhesive bond of cold epoxy resins, causing the colored center to lift or cloud. Furthermore, never use rubbing alcohol, acetone, or perfumed cleaning solutions near enameled pieces, as these solvents will dissolve the resin's topcoat, leaving it permanently dull and sticky.
Proper Storage to Prevent Tarnish and Scratching
How you store your gold sand dollar earrings between wears is just as critical as how you clean them. The raised textures of nautical jewelry make them highly prone to friction damage if tossed loosely into a communal jewelry box.
Expert Archival Tip: Always store textured gold pieces in individual, non-PVC polyethylene bags. PVC plastics emit gases that accelerate the tarnishing of the copper and silver alloys present in 14k gold.
For long-term storage, place each earring inside a dedicated anti-tarnish microfiber pouch along with a small silica gel packet to control ambient humidity. If your environment is particularly humid, slip a 3M anti-tarnish strip into the storage bag. These strips absorb airborne sulfur compounds before they can react with the alloy metals in your gold, ensuring that the deep grooves of your sand dollar earrings remain bright, reflective, and free of dark oxidation for years to come.


