Fixing & Styling Carrot Earrings: A Troubleshooting Guide
Learn how to fix broken enamel, reinforce weak posts, and prevent lobe stretching with our expert troubleshooting guide for carrot earrings.

The Unique Structural Challenges of Carrot Earrings
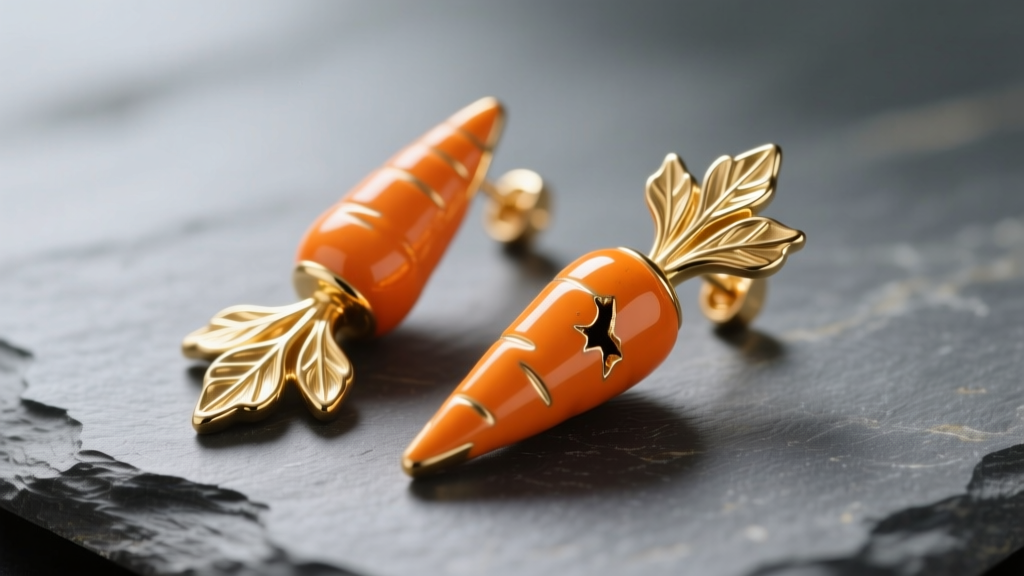
Carrot earrings occupy a fascinating niche in the botanical and novelty jewelry market. Whether crafted from vibrant vitreous enamel, carved citrine, or painted cold resin, their distinct elongated shapes and top-heavy leaf clusters present unique structural challenges. Unlike standard geometric studs or balanced hoops, the anatomy of a carrot earring concentrates stress at the 'neck'—the narrow junction where the green leafy bail meets the wider orange root. When this junction fails, or when the weight of a carved gemstone root pulls on a standard earring post, the results can be frustrating. In this comprehensive troubleshooting guide, we will explore the exact failure modes of carrot earrings and provide actionable, professional-grade solutions to repair, reinforce, and maintain your favorite botanical drops.
Troubleshooting Enamel Chips and Resin Yellowing
The most common aesthetic issue with novelty carrot earrings is surface degradation. High-end pieces typically use vitreous enamel (glass fused to metal at high temperatures), while more affordable options rely on cold enamel (a pigmented epoxy resin). According to the Gemological Institute of America (GIA), both materials require distinct care protocols, especially when damage occurs.
Fixing Chipped Vitreous Enamel
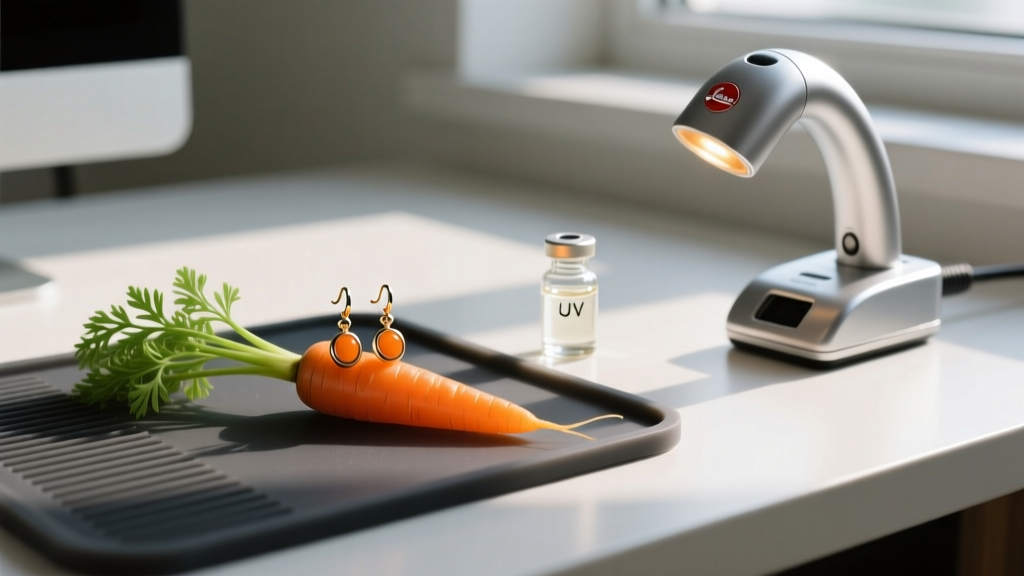
If your vitreous enamel carrot earring suffers a chip on the orange body, you cannot simply melt more glass onto the piece without risking the integrity of the entire setting and the metal base. Instead, the industry standard for at-home repair in 2026 is using a color-matched, high-viscosity UV jewelry resin. Clean the chipped area with isopropyl alcohol, apply a micro-drop of orange-tinted UV resin using a precision needle applicator, and cure it under a 36W UV lamp for 60 seconds. This creates a durable, glass-like fill that mimics the original enamel finish.
Reversing Cold Enamel Yellowing
Cold enamel and painted resin carrot earrings are notorious for yellowing over time due to UV exposure and contact with skin oils. To reverse mild yellowing, avoid harsh chemical solvents that will strip the paint. Instead, use a specialized plastic polish like Novus 2 (Fine Scratch Remover) applied with a microfiber cloth. Buff the orange 'root' section in gentle, circular motions to restore the original vibrancy without damaging the metallic leaf accents.
Solving the 'Heavy Drop' Lobe Stretch Problem
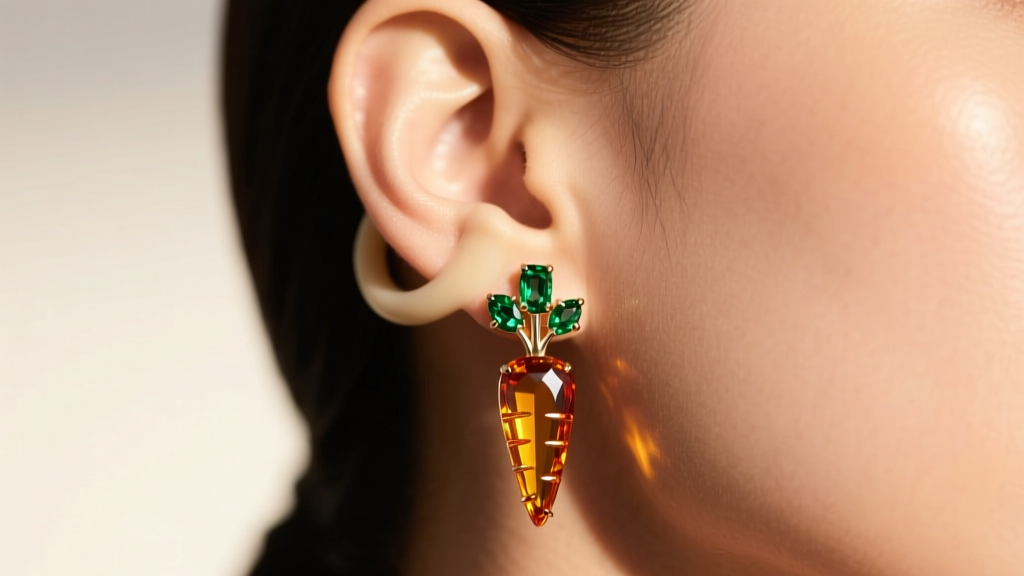
Carrot earrings carved from dense gemstones—such as orange calcite, carnelian, or citrine—are inherently bottom-heavy. This uneven weight distribution creates a fulcrum effect on the earlobe, leading to the dreaded 'drooping' look and, over time, permanent lobe stretching. The Association of Professional Piercers (APP) emphasizes that standard 20-gauge (0.8mm) butterfly backs are entirely insufficient for supporting heavy, elongated novelty drops.
Understanding Gauge and Post Thickness
Most mass-produced carrot earrings come with 20G posts. For heavy drops, this thin wire will easily bend and dig into the tissue. If you are having custom carrot earrings made, or if you are upgrading your jewelry, request an 18-gauge (1.0mm) or even a 16-gauge (1.2mm) post. The thicker wire provides the necessary rigidity to keep the carrot hanging perfectly vertical without slicing into the piercing channel.
Upgrading Earring Backs for Novelty Shapes
To counteract the bottom-heavy pull of a gemstone carrot, you must increase the surface area of the earring back. Ditch the standard metal friction backs and opt for one of the following:
- Flat Disc Backs: Silicone or metal disc backs (8mm to 10mm in diameter) distribute the weight across a wider area of the rear lobe, preventing the post from tilting forward.
- La Pousette Screw Backs: These feature a locking mechanism that grips the post securely, ensuring the heavy carrot cannot slide off if the lobe stretches slightly throughout the day.
- Silicone O-Rings: Brands like BlingGuard offer double-grooved silicone O-rings that provide superior friction against the post, locking heavy drops firmly in place.
Repairing Detached 'Carrot Tops' and Bails
The 'carrot top'—the cluster of green leaves that connects the root to the earring hook or post—is the most frequent point of catastrophic failure. Many manufacturers use cheap cyanoacrylate (Super Glue) to attach the bail to the leaves. Cyanoacrylate becomes brittle when exposed to the natural acidity and oils of human skin, eventually snapping off without warning.
Choosing the Right Adhesive for Jewelry Repair
To permanently reattach a detached carrot top, you must select an adhesive that offers both high tensile strength and slight flexibility to absorb the shock of daily movement. Below is a comparison of common jewelry adhesives for this specific repair:
| Adhesive Type | Best For | Cure Time | Flexibility & Durability |
|---|---|---|---|
| Cyanoacrylate (Super Glue) | Temporary, non-stress fixes | 10-30 seconds | Brittle; degrades with skin oils |
| G-S Hypo Cement | Small, precise metal-to-metal bonds | 10-15 minutes | Medium; good for lightweight pieces |
| Two-Part Clear Epoxy | Heavy gemstone to metal bails | 5 minutes (set) / 24 hrs (cure) | Extremely high; rigid and waterproof |
| UV Jewelry Resin | Enamel fills and gap bridging | 60-120 seconds under UV | High; glass-like finish, moderate shock absorption |
Expert Repair Step: Lightly score the bonding surfaces on both the metal bail and the top of the carrot with a fine-grit diamond file. This creates microscopic grooves for the two-part epoxy to grip. Apply a micro-drop of 5-minute epoxy, clamp the pieces together using a silicone-tipped jewelry clamp, and let it cure undisturbed for a full 24 hours before wearing.
Step-by-Step: Straightening a Bent Post
Because carrot earrings are often grabbed by the 'root' when being removed, the post frequently bends at the solder joint. Attempting to bend a standard brass or copper-alloy post back into place with your fingers will usually result in metal fatigue and a snapped post. Instead, use a pair of nylon-jaw pliers. The nylon coating prevents marring the metal finish. Grip the base of the post firmly near the solder joint, and apply slow, steady pressure to realign it. If the post is made of surgical steel or titanium, it is highly resistant to bending; if it does bend, it is safer to take it to a jeweler for a laser weld rather than risking a stress fracture at home.
Deep Cleaning Botanical Crevices
The intricate textures of carrot leaves and the ribbed lines of the root are magnets for lotion buildup, dead skin cells, and environmental dust. Never place enamel or resin carrot earrings in an ultrasonic cleaner; the high-frequency vibrations will shatter the glass enamel or cause micro-fractures in the resin. Instead, prepare a lukewarm bath of distilled water and a few drops of pH-neutral dish soap. Soak the earrings for five minutes, then gently agitate the crevices using an extra-soft baby toothbrush. Rinse with distilled water to prevent hard water spots, and dry immediately with a lint-free microfiber cloth. By understanding the specific material science and structural physics of your carrot earrings, you can ensure they remain a vibrant, secure, and comfortable staple in your jewelry rotation for years to come.


