When Can You Change Earring After Piercing? Lobe vs Cartilage Guide
Discover exactly when can you change earring after piercing. Expert timelines for lobes and cartilage, material grades, and safe swapping tips.


The Biology of the Fistula: Why Rushing Causes Rejection
The most frequent question new collectors ask their piercers is, "when can you change earring after piercing?" The answer is never a single, universal number. To understand the timeline, you must first understand the biology of a healing fistula—the tube of skin that forms around your jewelry. When a needle punctures the ear, the body immediately triggers an inflammatory response. Over the next several weeks, epithelial cells migrate along the jewelry to line the wound. If you remove the jewelry before this cellular tube is fully mature and stabilized by collagen, the elastin fibers in the surrounding tissue will cause the hole to shrink or close entirely within minutes.
Furthermore, cartilage lacks its own direct blood supply, relying on the perichondrium (the connective tissue surrounding it) for nutrients. This avascular nature means cartilage piercings heal significantly slower than vascularized earlobes. Rushing a jewelry change in a helix or conch doesn't just risk the hole closing; it can introduce micro-tears that lead to hypertrophic scarring or piercing bumps.
Exact Timelines: Lobe vs. Cartilage Healing Matrix
While individual healing rates vary based on aftercare, sleep habits, and overall health, the Association of Professional Piercers (APP) provides strict baseline windows for when tissue is resilient enough to handle a jewelry swap. Below is the definitive matrix for when can you change earring after piercing based on anatomical placement.
| Piercing Placement | Standard Healing Window | Safe to Change At | Recommended Initial Gauge |
|---|---|---|---|
| Standard Earlobe | 6 - 8 Weeks | 8 Weeks (Minimum) | 18g or 16g |
| Upper Lobe | 3 - 4 Months | 4 Months | 16g |
| Helix / Forward Helix | 6 - 12 Months | 6 Months | 16g |
| Tragus / Conch | 6 - 9 Months | 6 Months | 16g |
| Daith / Rook | 9 - 12 Months | 9 Months | 16g |
| Industrial | 9 - 12+ Months | 12 Months | 14g |
The Crucial "Downsize" Step Most Beginners Miss
There is a vital exception to the timelines above: the initial downsize. When you are first pierced, your piercer will use a labret stud or barbell with an intentionally long post to accommodate the inevitable swelling that occurs during the first two weeks. If you leave this long post in permanently, the excess metal will catch on hair, towels, and clothing, causing angle migration and irritation bumps.
Therefore, your first "change" is actually a downsize. For lobes, this happens around the 3-to-4-week mark. For cartilage, it usually occurs between weeks 4 and 8. You are not changing to a new style; you are swapping the long titanium post for a shorter, snug-fitting post to ensure the fistula heals at a perfectly straight angle. Many reputable studios include this first downsize service for free.
Material Science: ASTM F136 vs. 316L Surgical Steel
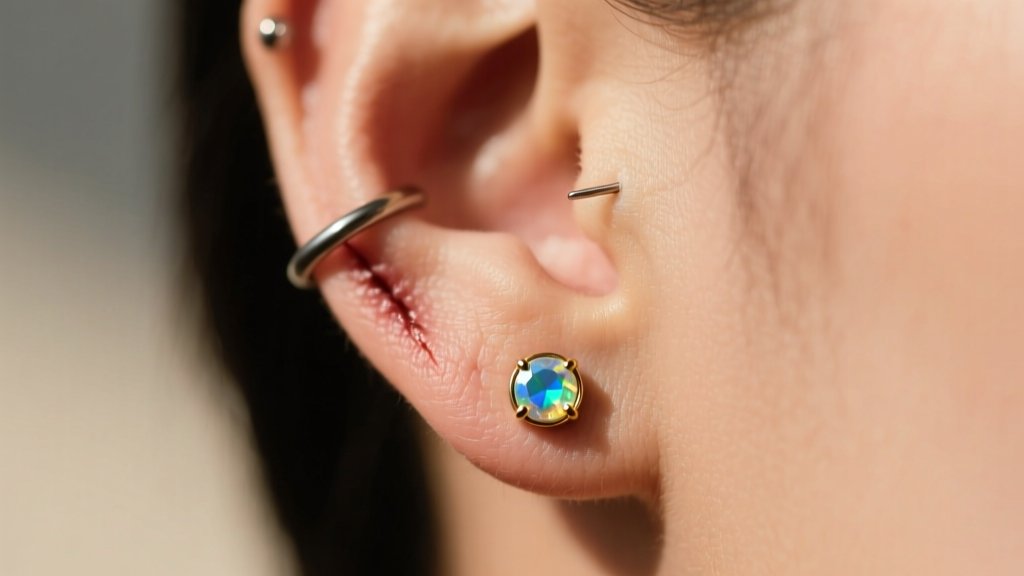
When you finally reach the date when can you change earring after piercing safely, the material you choose for your first swap dictates whether the piercing remains stable or regresses. The gold standard for fresh and newly healed piercings is Implant-Grade Titanium (ASTM F136). This specific alloy is completely nickel-free, highly biocompatible, and polished to a mirror finish that prevents bacteria from adhering to microscopic surface scratches.
Conversely, avoid "surgical steel" (316L or 316LVM) for your first few jewelry changes. Despite the medical-sounding name, 316L steel contains 8% to 10% nickel. As the Mayo Clinic notes regarding piercing allergies, nickel exposure in a micro-wound can trigger contact dermatitis, leading to weeping, crusting, and delayed healing. High-end brands like BVLA, Neometal, and Maria Tash exclusively use ASTM F136 titanium or solid 14k/18k nickel-free gold for their piercing lines.
Step-by-Step Protocol for Your First Earring Change
Changing your jewelry at home requires a sterile environment and the right technique. Threadless jewelry (where a bent pin snaps into a hollow post) is vastly superior to internally threaded jewelry for beginners, as it requires less forceful pulling that can traumatize the fistula.
- Step 1: Preparation. Wash your hands thoroughly with antibacterial soap. Lay out a clean paper towel on your bathroom counter to prevent dropping your jewelry into the sink.
- Step 2: Soften Crusties. Spray the front and back of the piercing with a sterile 0.9% sodium chloride wound wash. Let it sit for 60 seconds to soften any dried lymph fluid.
- Step 3: Removal. For threadless jewelry, hold the front gem and the flat back disk firmly. Pull them straight apart with a slight twisting motion. Do not yank.
- Step 4: Insertion. Immediately insert the new titanium post. Never leave a newly healed hole empty, even for a minute. Guide the post through the exit hole gently.
- Step 5: Securing. Insert the decorative end's pin about halfway into the post, bend it slightly against your thumb to create tension, and push it all the way in until it snaps flush.
Troubleshooting: Tapers, Bleeding, and Closed Holes
Even if you wait the appropriate amount of time, the fistula can be stubborn. If you remove your initial stud and find that the new earring won't slide in, do not force it. Forcing jewelry creates micro-tears inside the healing tube, resetting your healing clock and inviting staph infections.
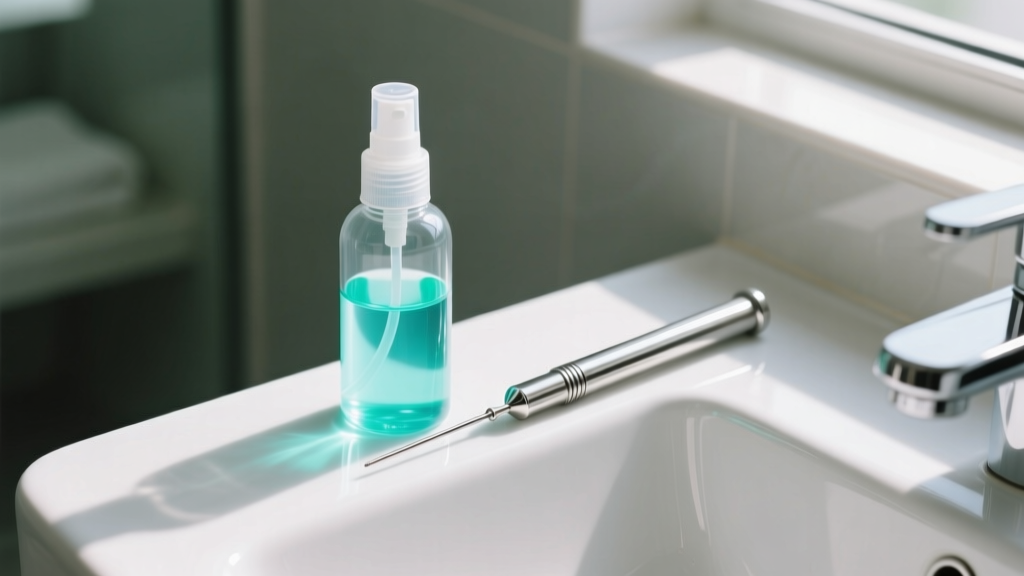
Instead, use a sterile insertion taper. Tapers are conical tools that gradually stretch the fistula from a smaller gauge to your target gauge. Lubricate the taper with a drop of sterile saline or jojoba oil, slide it through the piercing, and use it to guide your new jewelry seamlessly into place. If the taper meets hard resistance, or if the piercing begins to bleed or swell immediately after a swap, revert to your original flat-back labret stud and consult an APP-certified professional. Sometimes, a piercing that feels healed on the outside is still fragile on the inside, and a professional can assess the tissue tension safely.
"A piercing is only as healthy as the jewelry it wears and the patience of the wearer. Changing jewelry before the fistula is fully epithelialized is the leading cause of chronic irritation bumps." — Association of Professional Piercers (APP) Guidelines
Long-Term Maintenance Post-Initial Healing
Once you have successfully navigated the timeline of when can you change earring after piercing and swapped into your favorite hoops or dangles, maintenance shifts from wound care to hygiene management. Hoops and dangles introduce movement, which can drag environmental bacteria into the hole. Clean your earrings weekly by soaking them in a solution of warm water and mild, fragrance-free castile soap. Avoid sleeping in large hoops or heavy dangles, as the pressure can bend the jewelry, altering the angle of the fistula over time and causing the earlobe to tear or migrate. By respecting the biology of your piercings and investing in high-quality, implant-grade materials, your curated ear will remain healthy, stable, and brilliantly styled for a lifetime.


