How Long Until I Can Change My Earrings? Healing & Troubleshooting
Wondering how long until I can change my earrings? Discover exact healing timelines, troubleshooting tips for stuck jewelry, and safe material grades.

The Short Answer: Healing Timelines by Piercing Type
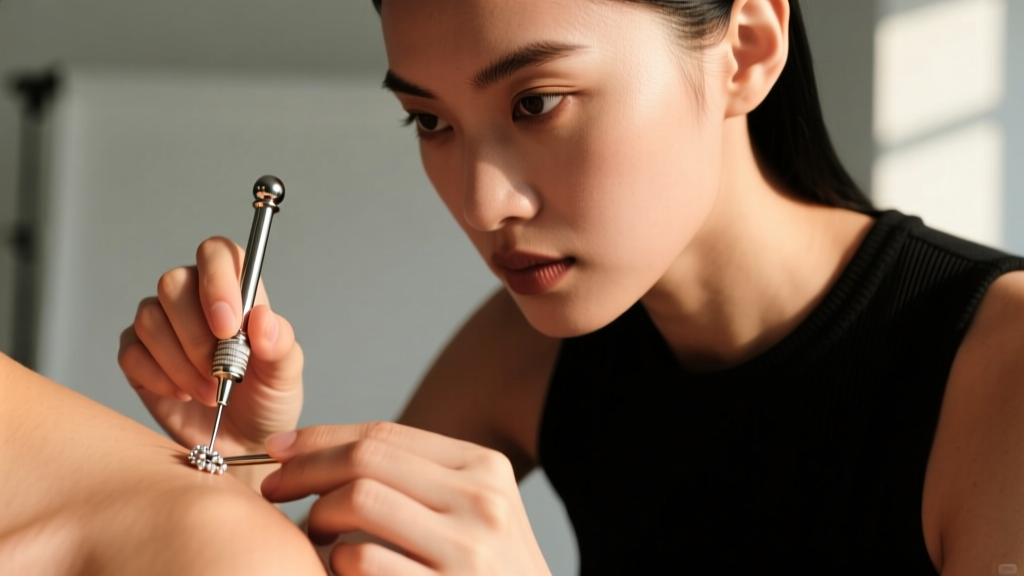
If you are asking yourself, how long until I can change my earrings, the answer depends entirely on the specific anatomy of the piercing and the biological process of fistula formation. The outdated 'six-week rule' is a dangerous myth that leads to severe complications, particularly for cartilage piercings. As of 2026, professional piercers and dermatologists emphasize that a piercing is an open wound that requires a specific, uninterrupted healing window before the jewelry can be safely swapped.
Below is the definitive timeline for when you can safely change your earrings, based on guidelines from the Association of Professional Piercers (APP).
| Piercing Type | Anatomy Location | Minimum Healing Time | Recommended First Change |
|---|---|---|---|
| Standard Lobe | Soft lower ear tissue | 6 - 8 Weeks | 8 - 10 Weeks |
| Upper Lobe | Thicker lobe tissue | 8 - 12 Weeks | 12 - 16 Weeks |
| Helix / Cartilage | Outer ear rim | 6 - 12 Months | 9 - 12 Months |
| Tragus | Small cartilage flap | 8 - 12 Months | 12+ Months |
| Conch | Inner ear cup cartilage | 9 - 12 Months | 12+ Months |
| Industrial | Double cartilage scaffold | 12 - 18 Months | 18+ Months |
The Biology of the Fistula: Why Rushing Causes Damage
When you get your ears pierced, the body forms a fistula—a tube of scar tissue that lines the piercing channel. In the early stages, this tissue is incredibly fragile, resembling wet tissue paper. If you remove the jewelry before the fistula is fully mature and stratified, the channel can collapse in a matter of minutes, or the delicate new cells can tear, resetting your healing progress to day one.
Cartilage piercings take significantly longer because cartilage is avascular, meaning it lacks its own direct blood supply. It relies on the surrounding perichondrium for nutrients and immune response, making the healing process notoriously slow and prone to irritation bumps if the jewelry is disturbed prematurely.
Normal Healing vs. Infection: Spotting the Difference
Many people attempt to change their earrings early because they mistake normal healing symptoms for an infection. According to the Mayo Clinic, understanding the difference is critical for troubleshooting:
- Normal Healing: Clear or pale yellow lymph fluid (crusties), mild tenderness, slight redness immediately after cleaning, and intermittent itching.
- Signs of Infection: Thick, foul-smelling green or dark yellow pus, radiating heat, severe throbbing pain, red streaks spreading from the site, or systemic fever.
If you suspect a true infection, do not remove the earring. Taking the jewelry out can cause the surface holes to close, trapping the infection inside the tissue and potentially forming an abscess. Consult a medical professional immediately.
Troubleshooting: What to Do If Your Earring Gets Stuck
A common issue when attempting your first earring change is the jewelry getting stuck. This usually happens due to dried lymph fluid acting as a biological glue, or because the tissue has slightly swollen around the post. Here is your step-by-step troubleshooting framework:
1. The Post is Stuck in the Channel
Do not force or yank the earring. Forcing a blunt post through a healing fistula will cause micro-tears and bleeding. Instead, apply a warm, sterile saline compress (0.9% sodium chloride) to the area for 5-10 minutes. This softens the lymph crusts and relaxes the tissue. Gently rotate the jewelry while applying slight, steady pressure.
2. The Butterfly Backing is Embedded
If you were pierced with a standard butterfly backing (which is highly discouraged by professionals due to poor airflow and bacteria trapping), swelling can cause the ear tissue to engulf the metal. Do not attempt to dig it out with tweezers. This requires professional intervention. Visit a reputable piercing studio where a professional can use specialized taper tools or safely cut the post with sterile wire cutters to relieve the pressure without damaging the fistula.
3. The New Earring Won't Go Back In
If you successfully removed your starter earring but cannot get the new one in, the channel is likely shrinking. Fresh piercings can close within 15 to 30 minutes. Keep a sterile, water-based lubricant or a drop of sterile saline on hand. If the jewelry still meets resistance, insert the original sterilized starter jewelry to keep the hole open and book an appointment with your piercer to have them insert the new piece using a sterilized insertion taper.
The Safe Earring Change Protocol
Once you have reached the appropriate healing milestone, follow this protocol to ensure your first change is successful and irritation-free:
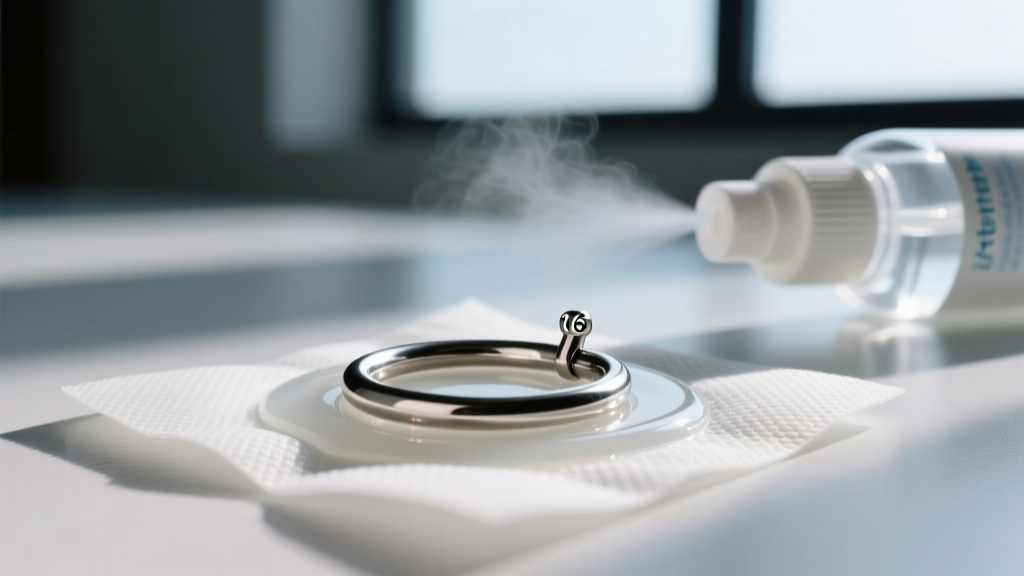
- Preparation: Wash your hands thoroughly with antibacterial soap. Lay out your new jewelry on a clean paper towel.
- Environment: Change your earrings in a well-lit room, ideally over a soft surface or a plugged sink so you don't lose the earring or backing.
- Removal: Gently unscrew or unclip the backing. Support the front of the earring with one hand while removing the back with the other to avoid pulling on the tissue.
- Cleaning: Wipe the earlobe or cartilage with a sterile saline wipe to remove any residual debris.
- Insertion: Slowly guide the new post through the channel. If you feel a 'pop' or resistance, you are likely hitting the side of the fistula. Back up slightly and adjust the angle.
- Securing: Attach the backing securely, but leave a 1-2 millimeter gap between the backing and the skin to allow for natural airflow and minor fluctuations in swelling.
Best Materials for Freshly Healed Piercings
When you finally change your earrings, the material you choose is just as important as the timing. The American Academy of Dermatology (AAD) warns that contact dermatitis from cheap alloys is the leading cause of delayed healing and chronic irritation bumps.
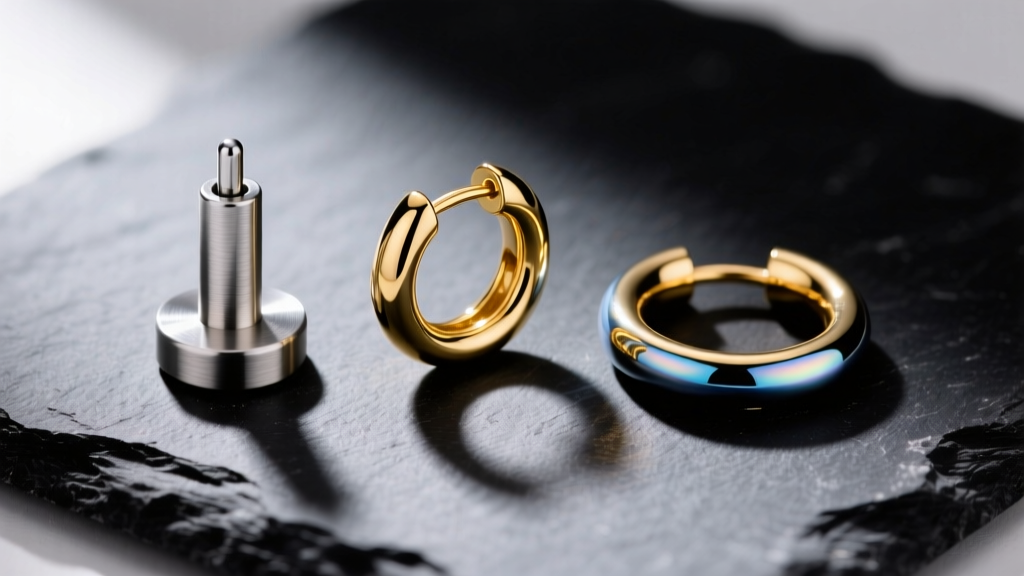
- Implant-Grade Titanium (ASTM F136): The gold standard for healing and freshly healed piercings. It is completely nickel-free, lightweight, and biocompatible.
- Niobium: A highly reactive metal that is safely anodized for color. It is an excellent alternative for those with severe metal sensitivities.
- Solid 14k or 18k Gold: Must be nickel-free and alloyed for biocompatibility. Avoid gold-plated or gold-filled jewelry, as the thin outer layer can wear away inside the friction of the fistula, exposing reactive base metals.
Materials to Avoid: Never put sterling silver in a healing or freshly healed piercing. Silver oxidizes and tarnishes when exposed to moisture and bodily fluids, which can cause permanent dark staining of the tissue (argyria) and severe irritation. Similarly, avoid 'surgical steel' (often 316L), as it contains nickel that can leach into the healing channel and trigger allergic reactions.
Frequently Asked Questions
Can I change my earrings after 2 weeks if it looks healed?
No. Visual healing on the surface is deceptive. The fistula tube inside the ear is still raw and fragile. Changing earrings at 2 weeks will almost certainly cause trauma, swelling, and a high risk of infection.
Will my earlobes close if I take my earrings out overnight?
During the first 6 to 12 months, standard lobe piercings can shrink or close entirely overnight. You should keep jewelry in the piercing 24/7 for the first year. After a year of continuous wear, the fistula becomes permanent and can withstand short periods without jewelry.
What gauge are standard starter earrings?
Standard lobe piercings done with a needle are typically 18G (1.0mm) or 16G (1.2mm). Piercings done with a mall kiosk piercing gun are usually 20G (0.8mm) and cause significant blunt-force trauma. Cartilage piercings are almost universally done at 16G (1.2mm) or 14G (1.6mm) to provide stability and reduce the 'cheese-cutter effect'.


