How to Clean and Care for Butterfly Backing Earrings
Learn expert techniques to clean, maintain, and sanitize butterfly backing earrings. Prevent buildup, odor, and metal fatigue with our care guide.

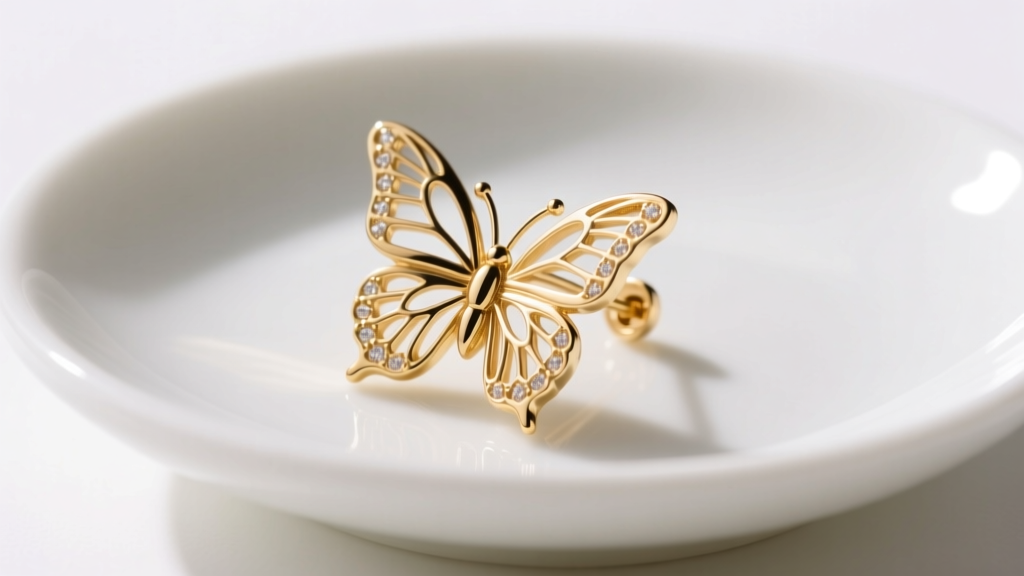
Butterfly backing earrings—often referred to as friction backs or push backs—are the most ubiquitous earring style in the world. Despite their popularity, their mechanical design makes them notorious for trapping sebum, dead skin cells, and cosmetic residue. If you have ever noticed a faint, unpleasant odor emanating from your favorite studs, you are likely experiencing the breakdown of organic matter trapped within the tiny loops of the butterfly clutch.
As jewelry hygiene standards evolve in 2026, dermatologists and jewelers alike emphasize that proper maintenance of your earring backs is just as critical as cleaning the decorative fronts. This comprehensive guide will walk you through the exact protocols for deep-cleaning, sanitizing, and maintaining your butterfly backing earrings to ensure they remain secure, hygienic, and tarnish-free.
The Anatomy of a Butterfly Backing (And Why It Traps Grime)
To understand how to clean butterfly backing earrings, you must first understand their structure. A standard friction back consists of a metal post (typically 20-gauge or 18-gauge) with a small groove near the tip, and a 'clutch' featuring a base plate with two protruding metal loops that resemble butterfly wings. Inside these loops, tension is created to grip the post.
The primary failure mode of this design is its crevice-heavy architecture. The space between the base plate and the earlobe creates a micro-environment that lacks airflow. According to the American Academy of Dermatology, restricted airflow in piercings can promote the overgrowth of naturally occurring skin bacteria and yeast. When sebum (skin oil), sweat, and dead keratinocytes mix in this low-oxygen pocket, they form a waxy, odorous compound colloquially known as 'earring cheese.' Furthermore, hairspray, dry shampoo, and foundation easily cake onto the metal loops, degrading the tension over time.
Essential Cleaning Supplies for Friction Backs
Before beginning your maintenance routine, gather the appropriate tools. Avoid harsh chemicals like bleach or abrasive toothpaste, which can micro-scratch precious metals and strip protective rhodium plating.
- Mild, Phosphate-Free Dish Soap: Ideal for breaking down lipid-based sebum and cosmetic oils without damaging metals.
- Soft-Bristled Baby Toothbrush: The ultra-fine bristles can reach inside the 1mm gaps of the butterfly loops.
- 70% or 90% Isopropyl Alcohol: For final sanitization and rapid drying.
- Ultrasonic Jewelry Cleaner (42kHz): For deep, hands-free cavitation cleaning.
- Microfiber Polishing Cloth: To buff the post and clutch without leaving lint behind.
Step-by-Step Manual Cleaning Protocol
For routine bi-weekly maintenance, manual cleaning is highly effective. Follow this precise protocol to restore your earring backs to a factory-fresh state.
- Disassemble and Inspect: Remove the butterfly backs from the posts. Inspect the metal loops for any signs of bending or asymmetry, which indicates metal fatigue.
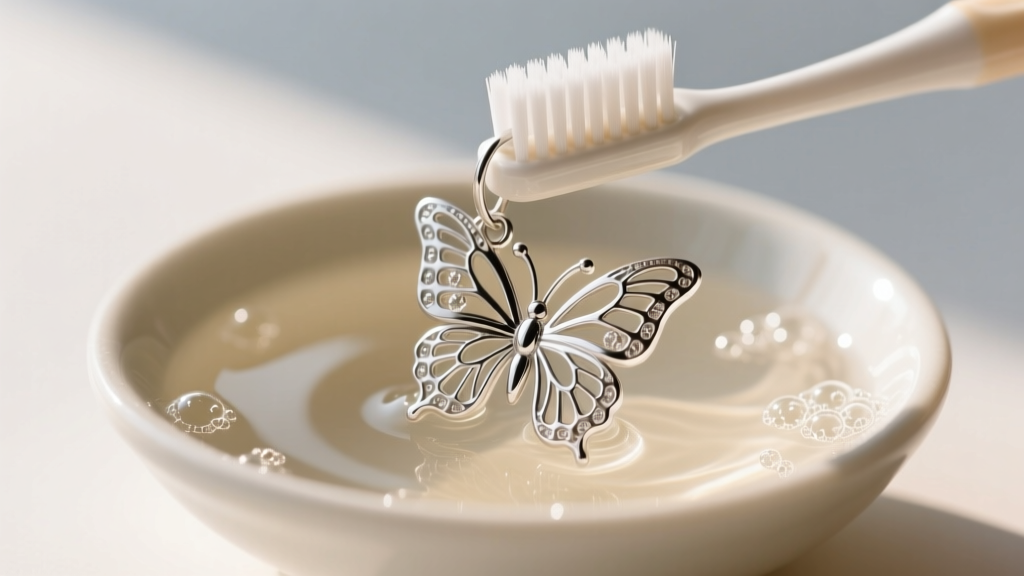
- The Lipid Soak: Fill a small ceramic bowl with warm (not hot) water and three drops of mild dish soap. Submerge both the posts and the clutches. Allow them to soak for 10 to 15 minutes. This crucial step emulsifies the hardened sebum and cosmetic waxes.
- Targeted Agitation: Remove the pieces from the soak. Using your soft-bristled baby toothbrush, gently scrub the interior of the butterfly loops and the grooved notch on the post. Pay special attention to the silicone or plastic inserts found in some modern 'secure-lock' butterfly backs, as these porous materials harbor bacteria.
- Rinse and Sanitize: Rinse thoroughly under lukewarm running water. Pat dry with a lint-free paper towel, then apply a single drop of isopropyl alcohol to a cotton swab and wipe down the post and the interior of the clutch. The alcohol acts as a final disinfectant and evaporates quickly, preventing water spots.
Deep Cleaning: Using an Ultrasonic Jewelry Cleaner
If your butterfly backing earrings feature intricate diamond or sapphire stud fronts attached to the post, manual brushing may not be enough to restore their brilliance. The Gemological Institute of America (GIA) recommends ultrasonic cleaning for diamonds and hard gems, as the high-frequency sound waves create microscopic vacuum bubbles that implode against the jewelry, blasting away dirt from areas a brush cannot reach.
Expert Warning: Never place butterfly backing earrings featuring porous or fractured gems (such as pearls, opals, emeralds, or turquoise) into an ultrasonic cleaner. The 42,000 Hz vibrations can shatter these delicate stones or strip their natural luster.
To use an ultrasonic cleaner safely, fill the tank with distilled water and a few drops of specialized ultrasonic jewelry solution. Run the machine for a standard 3-minute cycle. The cavitation process will forcefully eject the gray, waxy buildup from the tightest corners of the butterfly clutch. Rinse and dry immediately.
Maintenance Matrix: Material-Specific Care
Not all butterfly backing earrings are created equal. The metal composition of both the post and the clutch dictates how often you need to clean them and what products are safe to use. Refer to the matrix below for material-specific guidelines.
| Metal / Material | Tarnish Risk | Recommended Cleaning Agent | Polish Frequency |
|---|---|---|---|
| 14k / 18k Yellow Gold | Very Low | Mild soap & water | Annually |
| Sterling Silver (925) | High (Oxidizes) | Silver dip solution (clutch only) | Monthly |
| White Gold (Rhodium Plated) | Low (Plating wears) | Mild soap & water; avoid abrasives | Re-plate every 1-2 years |
| Implant-Grade Titanium | None | Isopropyl alcohol or saline | Never required |
| Gold-Plated / Vermeil | Moderate (Base metal exposure) | Damp microfiber cloth only | Never (will strip plating) |
When to Replace Your Butterfly Backs
Cleaning can only do so much; mechanical wear and tear is inevitable. The Mayo Clinic notes that ill-fitting earring backs can cause localized trauma to the earlobe, leading to irritation bumps or delayed healing. You should replace your butterfly backs if you notice any of the following failure modes:
- Loss of Tension: If the clutch slides onto the 20-gauge post with zero resistance, the metal loops have suffered from fatigue and stretched out. The earring is now a high flight-risk.
- Degraded Silicone Inserts: Many modern 'jumbo' butterfly backs feature a silicone core for extra grip. Over time, exposure to alcohol and skin oils causes the silicone to become brittle, crack, or turn yellow. Replace these every 6 to 12 months.
- Gauge Mismatch Damage: Forcing a standard 20G (0.8mm) butterfly back onto a thicker 18G (1.0mm) post will permanently warp the clutch. Conversely, using an 18G clutch on a 20G post will result in a loose fit that constantly falls off.
Upgrading: Alternatives to the Standard Butterfly Back
If you find that maintaining traditional butterfly backing earrings is too tedious, or if you suffer from dexterity issues that make handling tiny metal loops frustrating, consider upgrading your hardware. The jewelry industry has developed several superior alternatives that offer easier maintenance and better security:
1. La Backs (Large Friction Backs)
La backs feature a much wider, flat base plate and larger, easier-to-grip loops. The increased surface area distributes the weight of heavy studs more evenly across the earlobe, preventing the 'drooping' effect and allowing for better airflow, which reduces sebum buildup.
2. Screw Backs
Screw backs feature a threaded post and a clutch that screws onto the threads rather than relying on friction. Because they do not rely on metal tension, they never suffer from loop fatigue. They are also significantly easier to clean, as the threads can be easily wiped down with an alcohol swab.
3. Flat Backs (Labret Studs)
Originally designed for cartilage piercings, flat backs feature a smooth, flat disc that sits flush against the back of the earlobe. They eliminate the crevice-heavy butterfly loops entirely, making them the most hygienic option available. They are highly recommended for sleeping, as the flat disc will not dig into the side of your neck.
Daily Habits to Prevent Buildup
The best way to manage the hygiene of your butterfly backing earrings is to prevent heavy buildup from occurring in the first place. Adopt the habit of wiping down your earring posts and clutches with an alcohol prep pad every time you take them off for the night. Always remove your earrings before showering, swimming, or applying aerosol hair products. By integrating these micro-habits into your routine, your favorite studs will remain secure, brilliant, and perfectly hygienic for years to come.


