Ultimate Guide to Cleaning and Caring for Dino Earrings
Learn how to safely clean and maintain enamel, acrylic, and silver dino earrings. Expert tips to preserve paint, prevent tarnish, and extend lifespan.

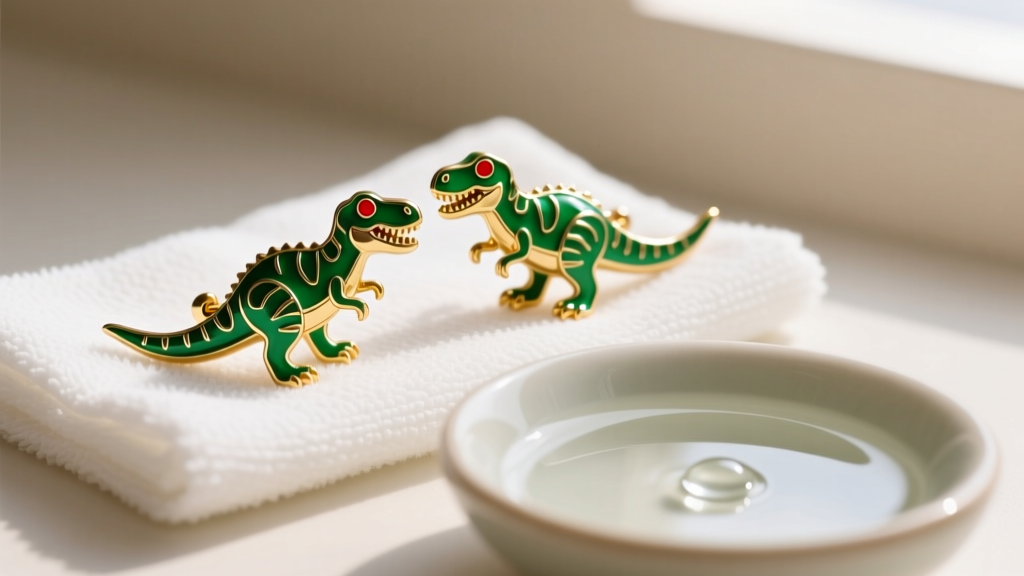
Why Dinosaur Earrings Require Specialized Care
Dinosaur earrings have evolved far beyond cheap plastic toys. In 2026, the novelty jewelry market features intricate, small-batch designs utilizing hard-fired enamel, UV-cured resins, laser-cut acrylics, and oxidized sterling silver. However, this diverse mix of organic and synthetic materials means that standard jewelry cleaning methods can permanently ruin your favorite prehistoric pieces. While a diamond stud can withstand harsh chemical dips and ultrasonic vibrations, a painted resin Triceratops or a cloisonné Pterodactyl requires a highly specific, gentle approach to maintain its structural integrity and vibrant colorways.
The primary challenge with dino earrings lies in their topography. Dinosaur designs feature deep crevices, textured scales, and protruding spikes that trap sebum, dead skin cells, and environmental dust. Furthermore, the connection points—where the earring post solders to the often-heavy novelty backing—are prime stress points. Understanding the exact material composition of your earrings is the first step in establishing a safe, effective maintenance routine that preserves both the aesthetic and the wearable lifespan of the piece.
Material Breakdown: What Your Dino Earrings Are Actually Made Of
Before applying any moisture or friction to your jewelry, you must identify the base material and the surface treatment. According to the Encyclopedia Britannica's guide to enamelwork, the distinction between true glass enamel and modern synthetic resins dictates the thermal and chemical limits of the piece.
| Material Type | Common Dino Styles | Primary Vulnerability | Safe Cleaning Agent |
|---|---|---|---|
| Hard Enamel (Cloisonné) | Intricate T-Rex skulls, fossil studs | Impact chipping, thermal shock | Mild dish soap, distilled water |
| Soft Enamel (Epoxy Resin) | Colorful cartoon dinos, painted scales | Alcohol melting, UV yellowing | Dry microfiber, damp cotton swab |
| Laser-Cut Acrylic | Silhouette drops, neon geo-dinos | Micro-scratches, chemical clouding | Distilled water spray, air dry |
| Oxidized Sterling Silver | Textured raptor claws, hoop skeletons | Loss of intentional patina/tarnish | Polishing cloth (high points only) |
Step-by-Step Cleaning Guide for Enamel and Painted Dinos
The vast majority of enamel dino earrings on the market today utilize 'soft enamel'—a misnomer, as it is actually a pigmented epoxy resin poured into recessed metal channels and cured. Because it is essentially a hardened plastic, it is highly reactive to solvents. To clean these pieces without dissolving the topcoat or dulling the pigment, follow this exact protocol:
1. The Distilled Water Soak
Never use tap water. The dissolved minerals (calcium and magnesium) in hard water will leave microscopic calcified spots on the high-gloss surface of the enamel, making the dinosaur look perpetually cloudy. Mix one cup of distilled water with a single drop of pH-neutral dish soap (like Dawn). Submerge the earrings for exactly three minutes to soften trapped sebum in the scale texturing.
2. Targeted Crevice Cleaning
Do not use standard cotton swabs or cotton balls. The cotton fibers will snag on the microscopic prongs or metal burrs often left behind during the casting process. Instead, use a clean, ultra-soft baby toothbrush. Gently agitate the bristles in a circular motion over the textured areas, such as the stegosaurus plates or the teeth of a raptor jaw.
3. The Microfiber Pat-Down
Rinse briefly under a slow stream of distilled water. Immediately pat dry with a lint-free optical microfiber cloth. Never rub aggressively, as any residual dust particles will act like sandpaper against the resin surface, creating permanent micro-scratches that catch the light and dull the vibrant colors.
Cleaning Sterling Silver Dinosaur Earrings (Without Ruining Patina)
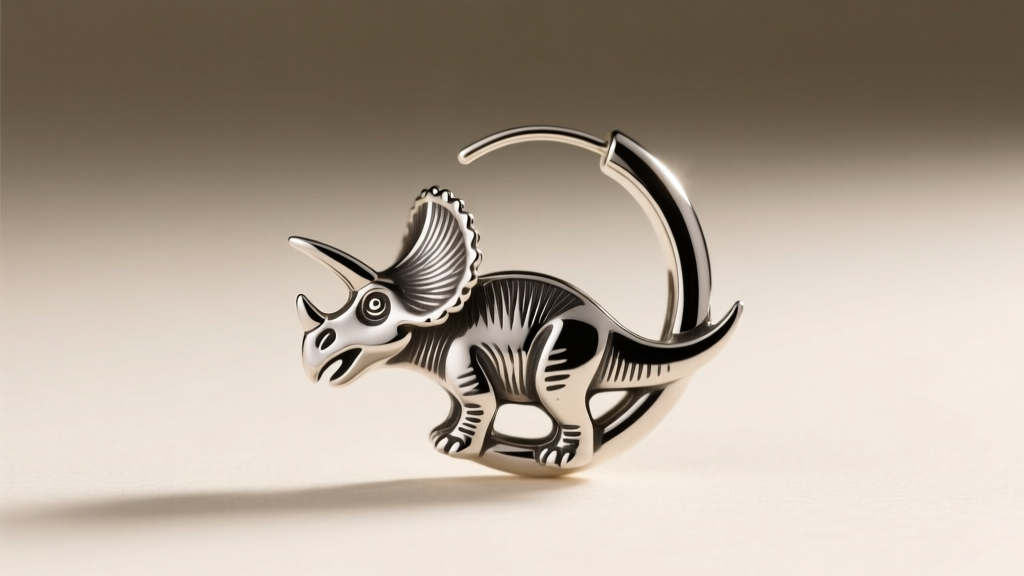
Sterling silver dino earrings, particularly those featuring skeletal structures or heavily textured scales, often rely on intentional oxidation. Jewelers use liver of sulfur to darken the recessed areas of the silver, creating high contrast that highlights the intricate 3D details of the dinosaur's anatomy. If you use a liquid silver dip or a harsh baking soda paste, you will strip this oxidation, leaving the earring flat, overly shiny, and visually unappealing.
To maintain the Gemological Institute of America (GIA) recommended care standards for treated silver, use a treated jeweler's polishing cloth only on the raised, high-friction areas of the earring. Gently glide the cloth over the outer edges of the silver bones or the smooth outer hoops. Avoid pressing the cloth into the deep crevices where the dark oxidation is meant to stay. If the silver post itself has turned black, you can carefully apply a tiny dab of silver polish to a cotton swab and twist it only on the post wire, avoiding the decorative face entirely.
The Danger Zone: What to Never Use on Novelty Jewelry
Misinformation regarding jewelry care abounds online, and applying traditional fine jewelry cleaning methods to novelty pieces is the fastest way to destroy them. Avoid these three common mistakes at all costs:
- Ultrasonic Cleaners: The high-frequency cavitation bubbles generated by ultrasonic machines will shatter hard-fired glass enamel and shake the epoxy resin right out of the metal channels. The vibrations will also easily snap the delicate solder joints connecting heavy dino heads to thin 20-gauge posts.
- Isopropyl Alcohol & Hand Sanitizer: Alcohol is a solvent that will instantly cloud laser-cut acrylic and dissolve the protective UV topcoat on painted resin earrings, leaving them sticky and permanently dull.
- Paper Towels and Tissues: Wood pulp products contain rough fibers that will leave a web of micro-scratches across any high-gloss enamel or acrylic surface.
Storage and Maintenance Framework
Proper storage is just as critical as the cleaning process. Dinosaur earrings often feature protruding spikes, sharp tails, and irregular geometric shapes that can easily scratch neighboring jewelry or become tangled. Furthermore, the brass or copper base metals used under plated enamel pieces are highly susceptible to humidity-induced tarnishing, which can cause the metal to expand and pop the enamel right off the backing.
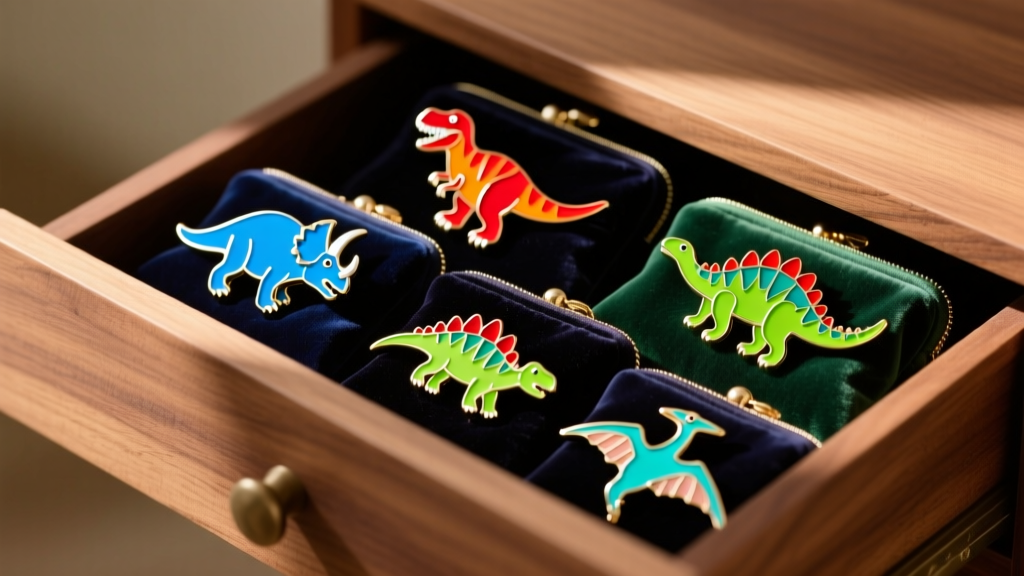
The Anti-Tarnish Pouch System
Store each pair of dino earrings in its own individual flannel or anti-tarnish velvet pouch. For an extra layer of protection against sulfur in the air (the primary catalyst for silver and copper tarnish), drop a small piece of 3M anti-tarnish paper into each pouch. This paper absorbs ambient sulfur gases and can protect the metal posts and base alloys for up to six months before needing replacement.
Post-Alignment Checks
Because novelty earrings are often front-heavy, the posts endure lateral stress every time they are worn. Once a month, inspect the post from a side profile. If a 20-gauge (0.81mm) post has bent, do not bend it back into place with pliers; the work-hardening of the metal will cause it to snap. Instead, take it to a jeweler to be annealed and straightened, or upgraded to a thicker 18-gauge (1.02mm) post for better load-bearing support.
Troubleshooting: Chipped Enamel, Loose Posts, and Tarnish
Even with meticulous care, accidents happen. Here is how to handle the most common failure modes associated with dino earrings:
Chipped Hard Enamel
If a piece of glass enamel chips off a cloisonné T-Rex, the exposed base metal (usually brass or copper) will quickly oxidize and turn your earlobe green. As a temporary, at-home sealant, apply a micro-drop of clear, non-yellowing UV nail topcoat over the exposed metal. Cure it in the sun or under a UV lamp. This creates a moisture barrier until you can send the piece to an enamel artist for a proper kiln-fired repair.
Cloudy Acrylic
If your laser-cut acrylic Stegosaurus drops have become dull from contact with skin oils or accidental chemical exposure, you can sometimes restore the clarity using a specialized plastic polish (like Novus No. 2). Apply a pea-sized amount to a microfiber cloth and buff the acrylic in tight, overlapping circles until the micro-scratches are leveled out and the optical clarity returns.
Stripped Earring Backs
The friction notches on novelty earring posts wear down faster than standard studs due to the heavier weight of the dino designs pulling against the earlobe. If your silicone or metal butterfly backs are sliding off, replace them with heavy-duty 'jumbo' silicone stoppers or locking clutch backs that grip the post via an internal silicone O-ring, ensuring your expensive prehistoric jewelry stays securely attached to your ears.
Conclusion
Caring for dino earrings requires a departure from traditional fine jewelry maintenance and an embrace of specialized, material-specific protocols. By understanding the chemical sensitivities of modern resins, the structural vulnerabilities of novelty solder joints, and the optical requirements of acrylics and enamels, you can ensure your collection remains vibrant, intact, and ready to wear for years to come. Treat your prehistoric pieces with the modern science they deserve, and they will continue to make a bold statement without succumbing to premature wear or chemical damage.


