How to Clean and Care for Christmas Light Earrings
Learn expert cleaning, maintenance, and storage tips for christmas light earrings. Protect resin, enamel, and micro-LED pairs all year round.

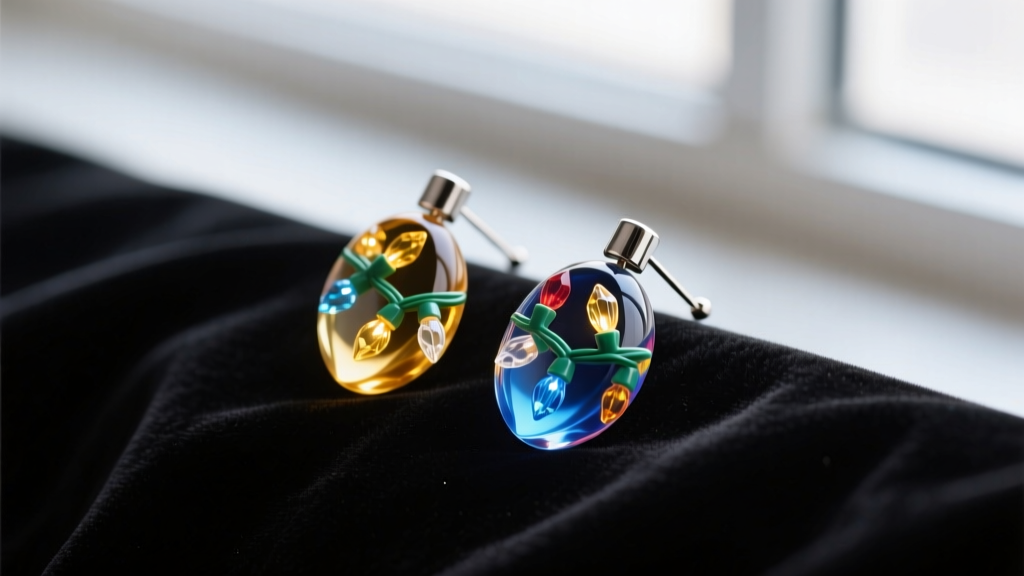
The Unique Challenge of Holiday Novelty Jewelry
Christmas light earrings are a beloved seasonal staple, ranging from simple enameled studs to intricate, battery-operated dangles that actually illuminate. However, because they are often classified as novelty or fashion jewelry, they are frequently constructed from mixed materials that require highly specific care routines. As of 2026, the market has seen a surge in eco-friendly bio-resins and ultra-micro USB-rechargeable LED earrings, which demand different maintenance than older coin-cell battery models. Improper cleaning can lead to cloudy acrylics, stripped enamel, or corroded battery contacts. This comprehensive guide will walk you through the exact protocols for maintaining your festive earwear.
Material Breakdown: Know What You Are Cleaning
Before applying any cleaning solution, you must identify the primary materials used in your christmas light earrings. The Gemological Institute of America (GIA) emphasizes that mixed-material jewelry requires targeted cleaning to avoid chemical reactions that can degrade softer components.
| Material Type | Common Components | Primary Vulnerability | Safe Cleaning Agent |
|---|---|---|---|
| Cast Resin / Acrylic | Translucent "bulb" shapes | Clouding from ammonia or alcohol | Mild dish soap & lukewarm water |
| Enamel on Brass | Opaque colored bases | Chipping from ultrasonic vibrations | Dry microfiber or damp cloth |
| Micro-LED / Wiring | Battery packs, copper wire | Short-circuiting, battery corrosion | 91% Isopropyl alcohol (exterior only) |
| Glass / Crystal | Premium faceted "bulbs" | Loosening of adhesive settings | Glass cleaner applied to cloth |
Step-by-Step Cleaning for Non-Electronic Pairs
If your christmas light earrings are purely decorative (no batteries or wiring), you can safely use wet cleaning methods. According to Connoisseurs Jewelry Care, the key to cleaning fashion jewelry is avoiding harsh abrasives that strip protective topcoats.
Resin and Acrylic Bulbs
Resin is highly porous and easily scratched. Never use ultrasonic cleaners, as the high-frequency vibrations will cause microscopic fractures inside the acrylic, leading to a permanent cloudy appearance. Instead, mix two drops of pH-neutral dish soap (like Dawn) into a bowl of lukewarm water. Submerge the earrings for no more than three minutes. Use a baby-soft toothbrush to gently agitate dirt from the crevices where the "bulb" meets the metal cap. Rinse under a gentle stream of distilled water to prevent hard water spots, and pat dry immediately with a lint-free microfiber cloth.
Enamel and Metal Bases
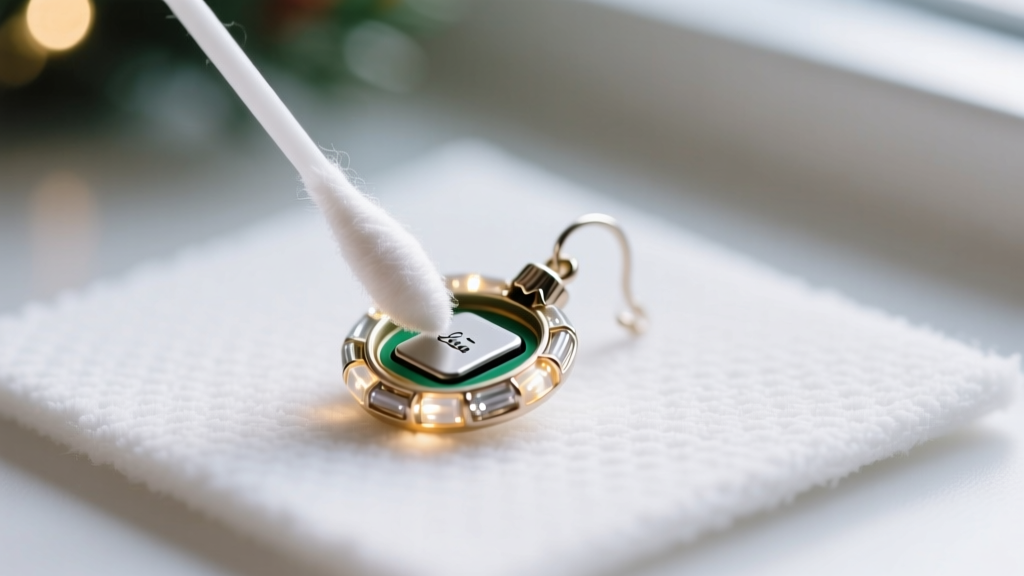
Enamel is essentially fused glass powder. While durable, it can chip if knocked against hard surfaces. To clean enameled christmas light earrings, avoid submersion if the metal base is unplated brass or copper, as water can accelerate oxidation. Dampen a cotton swab with warm soapy water, trace the enameled grooves, and immediately dry with a separate swab. If the metal base has tarnished, use a dry silver-polishing cloth on the metal parts only, ensuring the abrasive polishing compounds do not transfer onto the enamel.
Specialized Care for Battery-Operated Micro-LED Earrings
Earrings that actually light up present a significant maintenance challenge due to the integration of electronics. Water is the enemy here. Even a single drop of moisture inside the battery housing can cause a short circuit or lead to potassium carbonate buildup (battery corrosion).
Safe Exterior Wiping
To clean the exterior of electronic pairs, remove the batteries first. Dampen a microfiber cloth with 91% isopropyl alcohol—do not spray the alcohol directly onto the jewelry. Gently wipe the resin bulbs and the wire wrapping. The alcohol will evaporate rapidly, leaving no moisture behind. Avoid getting alcohol near the LED diodes themselves, as it can degrade the soft silicone diffusers often used in modern 2026 micro-LED designs.
Dealing with Battery Corrosion
If you left coin-cell batteries (typically LR44 or CR2032) inside the earrings during the off-season, you may find a crusty white or blue residue on the contacts. This is corrosive and will ruin the earring if not addressed. Put on nitrile gloves. Dip a wooden toothpick or a dry cotton swab into a tiny amount of white vinegar to neutralize the alkaline leakage. Gently scrape the contacts until bare metal is visible. Follow up with a dry swab dipped in isopropyl alcohol to remove the vinegar residue, and let the compartment air dry completely before inserting fresh batteries.
Post and Backing Maintenance: Preventing Infections
Novelty holiday jewelry is notorious for using cheap base metals for the ear posts, which can cause contact dermatitis. Most christmas light earrings feature standard 20-gauge (0.81mm) or 18-gauge (1.0mm) posts. Before wearing them, you must sanitize the post and inspect the backing.
- Sanitization: Wipe the post thoroughly with a 70% isopropyl alcohol pad. This removes manufacturing oils, dust, and bacteria.
- Allergy Prevention: If the post is not explicitly marked as 316L surgical steel, titanium, or 14k gold, coat the post in a thin layer of clear nail polish or a specialized jewelry shield. This creates a barrier between the nickel-containing alloy and your skin.
- Backing Care: Discard cheap butterfly backs that have lost their tension. Replace them with high-quality silicone friction backs or stainless steel screw-backs to ensure the heavier novelty earrings do not slip out and get lost.
Off-Season Storage: Keeping Them Tangle-Free and Bright
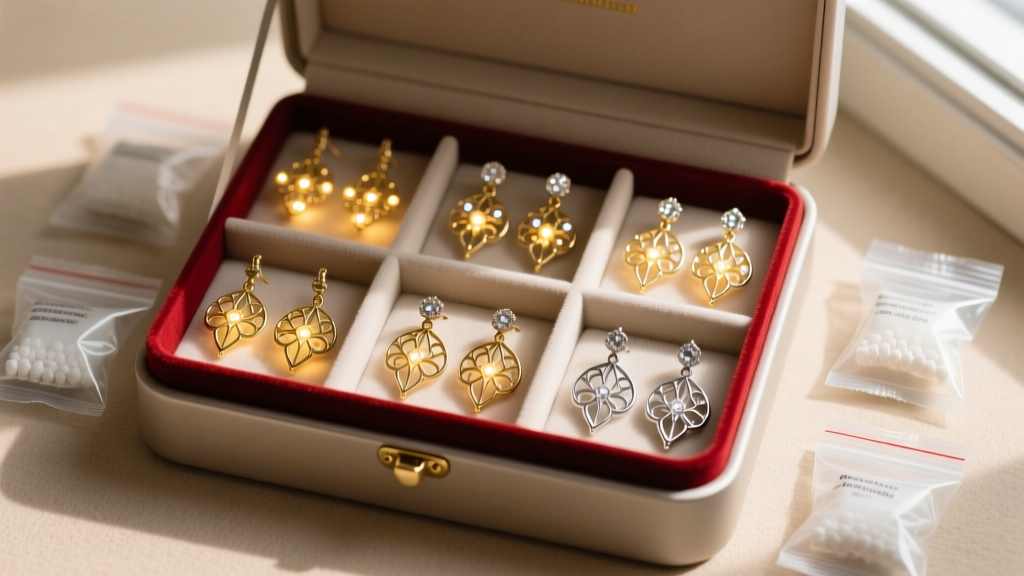
How you store your christmas light earrings from January to November dictates their lifespan. The thin copper wires used to wrap the "lights" are highly malleable and will easily bend or snap if crushed in a communal jewelry box.
The Compartmentalization Rule
Store each pair in its own individual compartment or a small, sealable polyethylene bag. This prevents the wire hooks from tangling with other pieces. For dangle styles, lay them flat rather than hanging them, as the weight of the novelty charms can warp the ear wire over time.
Moisture and Tarnish Control
Place a small silica gel packet inside the storage box to absorb ambient humidity, which is crucial for preventing the battery compartments from rusting. Additionally, include 3M anti-tarnish strips in the storage container. These strips absorb airborne sulfur compounds that cause the brass and copper components of the earrings to turn black and brittle.
Troubleshooting Common Issues
Even with meticulous care, novelty jewelry can develop quirks. Here is how to handle the most frequent problems:
Cloudy or Scratched Resin
If your acrylic bulbs have lost their shine, do not use metal polish. Instead, use a specialized plastic polish like Novus Plastic Polish #2. Apply a few drops to a soft cotton cloth and buff the resin in circular motions. This will gently level out micro-scratches and restore optical clarity.
Flickering LEDs
If your electronic earrings flicker when you move your head, the issue is usually a loose battery contact rather than a dead bulb. With the batteries removed, use a small flathead precision screwdriver to gently pry the negative contact spring upward by a fraction of a millimeter. This increases the tension against the coin cell, ensuring a stable electrical connection.
Loose Bulb Caps
The metal caps that glue the resin bulb to the ear wire frequently loosen due to body heat and movement. If you notice a cap twisting, apply a microscopic drop of cyanoacrylate (super glue) or jeweler's epoxy to the seam using a toothpick. Hold it firmly for 60 seconds, and let it cure for 24 hours before wearing.


