How to Clean an Earring Needle to Prevent Irritation and Odor
Learn how to properly clean an earring needle and post to prevent irritation, odor, and infection. Expert tips on materials, solutions, and daily care.

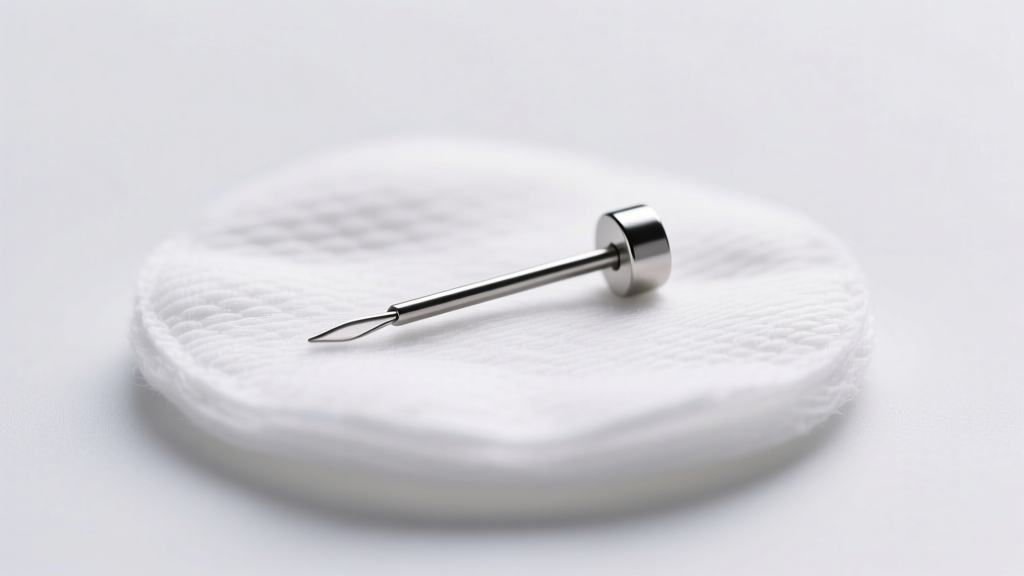
The Anatomy of an Earring Needle and the Hidden Buildup
In the jewelry and body modification industries, the term earring needle refers to the post, wire, or barbell shaft that physically passes through your piercing fistula. While most people diligently clean the decorative face of their earrings, the needle itself is frequently neglected. This narrow column of metal is the primary contact point with your skin's microbiome, making it a magnet for sebum, dead skin cells (keratin), soap scum, and environmental pollutants.
When left uncleaned, this organic matter breaks down and produces a notoriously foul odor—colloquially known as 'earring cheese'—caused by Corynebacterium bacteria metabolizing lipids. Beyond the unpleasant smell, a dirty earring needle can cause micro-abrasions, contact dermatitis, and delayed healing in newer piercings. Proper maintenance of the earring needle is not just about aesthetics; it is a critical component of dermatological health and piercing longevity.
Material Matters: Cleaning Protocols by Metal Type
Not all earring needles are created equal. The metallurgical composition of your post dictates which cleaning agents are safe and which will cause irreversible damage or allergic reactions. According to the Association of Professional Piercers (APP), using implant-grade materials is the gold standard, but even these require specific care routines.
| Material Grade | Best Cleaning Agent | What to Avoid | Common Gauge Sizes |
|---|---|---|---|
| Implant-Grade Titanium (ASTM F136) | Sterile Saline (0.9% NaCl) | Harsh chemicals, bleach, alcohol | 18G, 16G, 14G |
| Solid Gold (14k or 18k, Nickel-Free) | Mild Castile Soap & Warm Water | Ultrasonic cleaners (if gem-set) | 20G, 18G, 16G |
| 316L Surgical Steel | Warm Water & Mild Soap | Prolonged soaking, salt solutions | 20G, 18G |
| Sterling Silver (925) | Silver Polishing Cloth (Dry) | Saline, water, sulfur, lotions | 20G, 18G |
Note: If you experience persistent itching or redness around the earring needle, you may be reacting to nickel alloys often found in lower-grade surgical steel or white gold. The Mayo Clinic's guide on contact dermatitis highlights nickel as one of the most common triggers for localized skin allergies.
The Crucial Role of Threading and Needle Design
Before applying any liquid cleaner, you must evaluate the physical design of the earring needle. The threading mechanism drastically impacts how much debris the post traps and how it interacts with the delicate tissue of the fistula.
- Externally Threaded Needles: The screw threads are cut into the post itself. As you insert the earring, these sharp, jagged threads act like a cheese grater, scraping the fistula lining and creating micro-tears that harbor bacteria. These require rigorous cleaning with a soft-bristled interdental brush to dislodge trapped sebum from the thread grooves.
- Internally Threaded Needles: The threads are inside the decorative end, leaving the earring needle perfectly smooth. This is vastly superior for tissue health and much easier to wipe clean.
- Threadless (Press-Fit) Needles: These rely on tension rather than screws. The smooth, continuous surface of a threadless titanium needle is the easiest to maintain and presents the lowest risk of bacterial trapping.
Step-by-Step Guide to Deep Cleaning Earring Posts
For a thorough deep clean that removes oxidized sebum and environmental grime, follow this three-step protocol. This should be performed weekly for daily-wear earrings.
1. The Ultrasonic Bath (For Solid Gold and Platinum Only)
If your earring needle is made of solid 14k or 18k gold without porous gemstones (like opals or pearls), an ultrasonic cleaner is highly effective. The high-frequency sound waves create microscopic cavitation bubbles that blast debris off the metal surface. Run the cycle for exactly three minutes using distilled water and a drop of mild dish soap. Never use this method on plated metals, as the vibrations will strip the plating.
2. The Saline Soak (For Titanium and Healing Piercings)
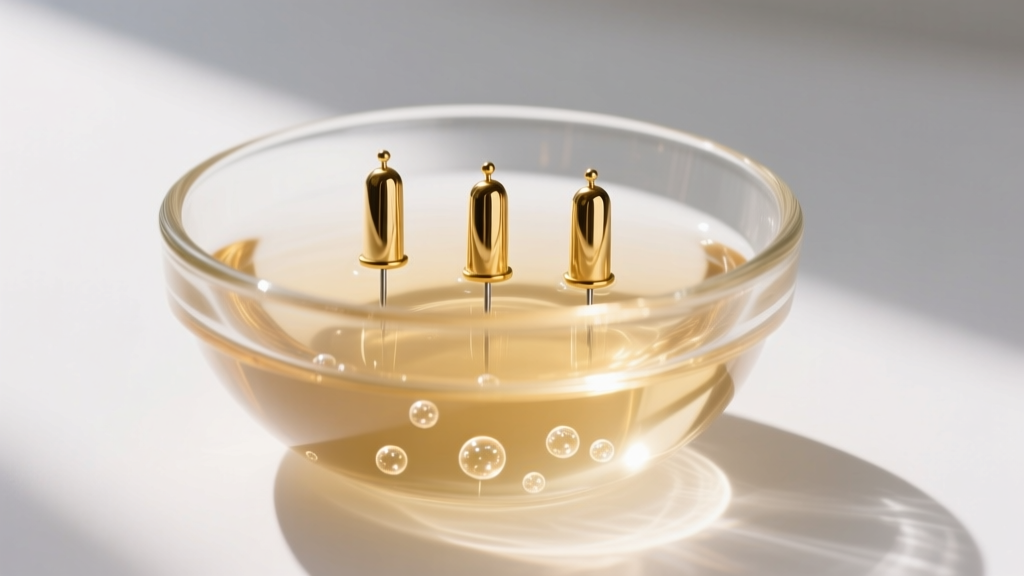
For implant-grade titanium (ASTM F136) or earrings currently worn in healing piercings, sterile saline is the only approved soaking agent. Submerge the earring needles in a small cup of 0.9% sodium chloride solution for 5 to 10 minutes. This softens hardened keratin and sebum without disrupting the metal's passive oxide layer, which is what makes titanium so biocompatible.
3. Mechanical Removal and Drying
After soaking, use a clean, soft-bristled baby toothbrush or a specialized jewelry brush to gently sweep along the length of the earring needle. Pay special attention to the junction where the post meets the decorative head. Rinse thoroughly under distilled water to prevent hard water spots, and dry completely with a lint-free microfiber cloth. Moisture left on the needle can lead to fungal growth when reinserted into the warm environment of the ear.
Troubleshooting Common Earring Needle Issues
Even with regular cleaning, you may encounter specific physical issues with your earring posts. Here is how to diagnose and resolve them:
- Sluggish or Painful Insertion: If the earring needle feels like it is 'catching' on the way in, inspect it under a magnifying glass. You likely have microscopic scratches or burrs on the metal, often caused by dropping the earring or using harsh abrasive polishes. Solution: Discard the scratched post. A damaged needle will continually irritate the fistula.
- Persistent Dark Tarnish on Silver: Sterling silver earring needles react with sulfur in the air and skin acids to form silver sulfide (black tarnish). Solution: Use a dedicated silver polishing cloth. Do not use liquid dip cleaners, as they leave toxic chemical residues that will burn the inside of your piercing.
- Bent Posts (20G and 22G): Thinner earring needles, commonly used for standard butterfly-back studs, are highly susceptible to bending. A bent needle will cause localized pressure necrosis inside the earlobe. Solution: Attempting to bend it back weakens the metal's structural integrity. Replace it with a thicker 18G threadless post for better stability.
Daily Maintenance and Insertion Best Practices
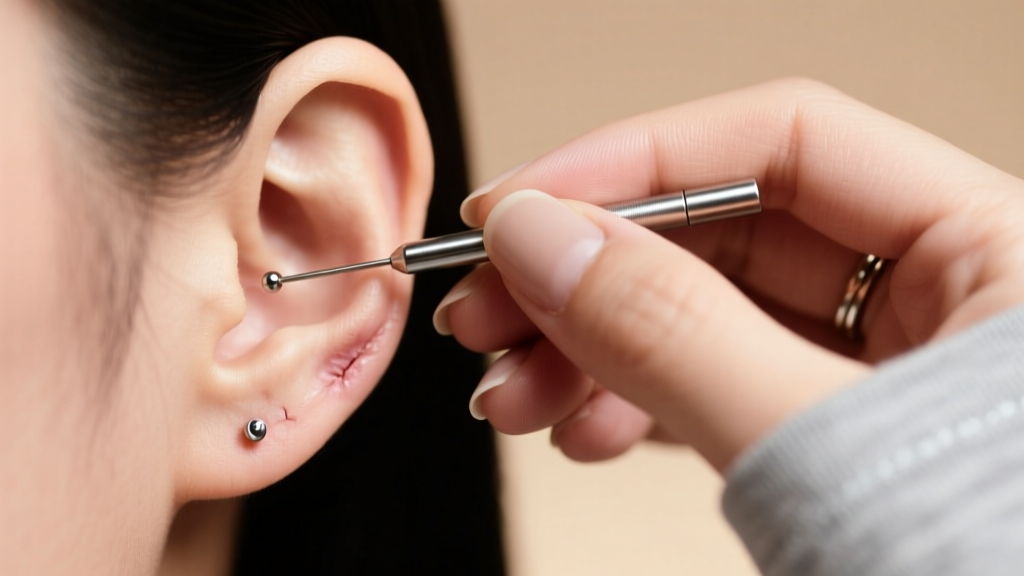
Deep cleaning is essential, but daily habits dictate the long-term health of your piercings. Before inserting any earring needle, wipe the post with a sterile alcohol prep pad. While alcohol should never be used inside a healing piercing, it is perfectly safe and highly recommended for sanitizing the metal post of an earring destined for a fully healed fistula.
'If you struggle to insert a clean, smooth earring needle into a healed piercing, never force it. Apply a microscopic drop of pure, cold-pressed jojoba oil to the tip of the post. Jojoba mimics human sebum, providing safe lubrication that won't trap bacteria or clog the pore like petroleum jelly does.' - Senior Piercing Technician & Jewelry Metallurgist
Furthermore, always store your earrings in a dry, airtight container when not in use. Humidity from bathroom counters accelerates oxidation and encourages bacterial colonization on the earring needle before it even touches your skin.
When to Replace the Earring Needle Entirely
Cleaning can only do so much. There is a lifecycle to every piece of jewelry. You must replace the earring needle if you notice deep pitting, persistent discoloration that polishing cannot remove, or if the metal is plated and the base metal (often brass or copper) is beginning to show through. Exposed base metals will rapidly oxidize and cause severe localized infections. Investing in high-quality, solid-body implant-grade titanium or nickel-free gold ensures that your earring needles remain safe, hygienic, and comfortable for a lifetime of wear.


