How To Clean A Kim Kardashian Diamond Earring Replica
Learn expert care, cleaning, and maintenance tips to keep your Kim Kardashian diamond earring styles sparkling like high-carat luxury jewelry.

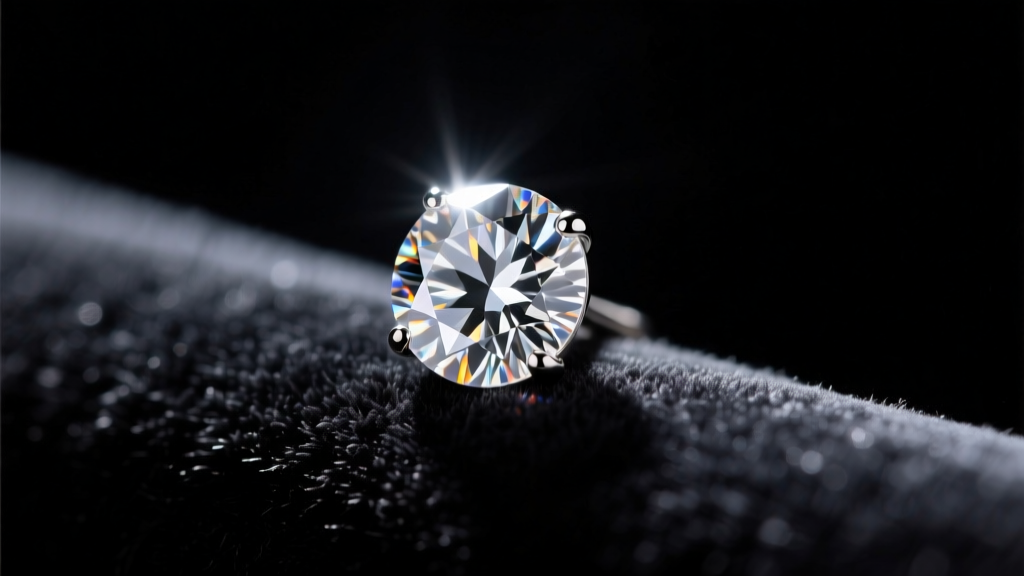
The iconic Kim Kardashian diamond earring aesthetic is synonymous with unapologetic luxury, characterized by massive carat weights, flawless clarity, and high-impact silhouettes. Whether you are wearing natural earth-mined solitaires, high-end lab-grown equivalents, or meticulously crafted replicas, maintaining that red-carpet brilliance requires rigorous, specific care. As of 2026, the market offers incredible access to large-carat diamond alternatives, but the physics of light performance and material degradation remain exactly the same. A cloudy, grease-laden stone will look dull regardless of its origin or price tag.
This comprehensive guide dives deep into the metallurgy, gemology, and daily maintenance protocols required to keep heavy, high-carat diamond earrings sparkling and structurally sound.
The Science of Sparkle: Why Diamonds Get Cloudy
To understand how to clean your earrings, you must first understand the chemical nature of a diamond. Diamonds are lipophilic (oil-loving) and hydrophobic (water-repelling). This means the surface of the stone naturally attracts and holds onto oils from your skin, hair products, lotions, and environmental sebum.
When oil coats the pavilion (the bottom half of the diamond) and the culet (the bottom point), it disrupts the stone's ability to reflect and refract light. Instead of bouncing light back to your eye, the light leaks out the bottom, resulting in a flat, cloudy, or 'dead' appearance. This effect is especially noticeable in large, Kim K-style solitaires or cluster drops, where the sheer surface area of the pavilion acts as a magnet for cosmetic residue.
Daily Maintenance: Preventing the 'Cloudy' Effect
Deep cleaning is necessary, but daily maintenance is what keeps your earrings looking flawless between washes. Adopt these habits to minimize oil buildup:
- The 'Last On, First Off' Rule: Always put your diamond earrings on after applying makeup, hairspray, perfume, and skincare. Conversely, remove them before washing your face or applying night creams.
- Microfiber Wiping: Keep a dedicated, clean jewelry microfiber cloth on your nightstand. Gently wipe the crown (top) and pavilion (bottom) of the stones before storing them. Do not use tissue paper or cotton balls, as they can leave microscopic lint fibers trapped in the prongs.
- Avoid Touching the Stone: The oils from your fingertips are the primary culprit behind cloudy diamonds. Always handle your earrings by the metal post or the gallery (the metal basket holding the stone).
The Ultimate Deep-Cleaning Protocol
For a thorough restoration of brilliance, you need to break down the molecular bonds of the oils trapped beneath the setting. The Gemological Institute of America (GIA) recommends a gentle, ammonia-free or mild soap approach for routine home cleaning.
Step-by-Step Cleaning Guide
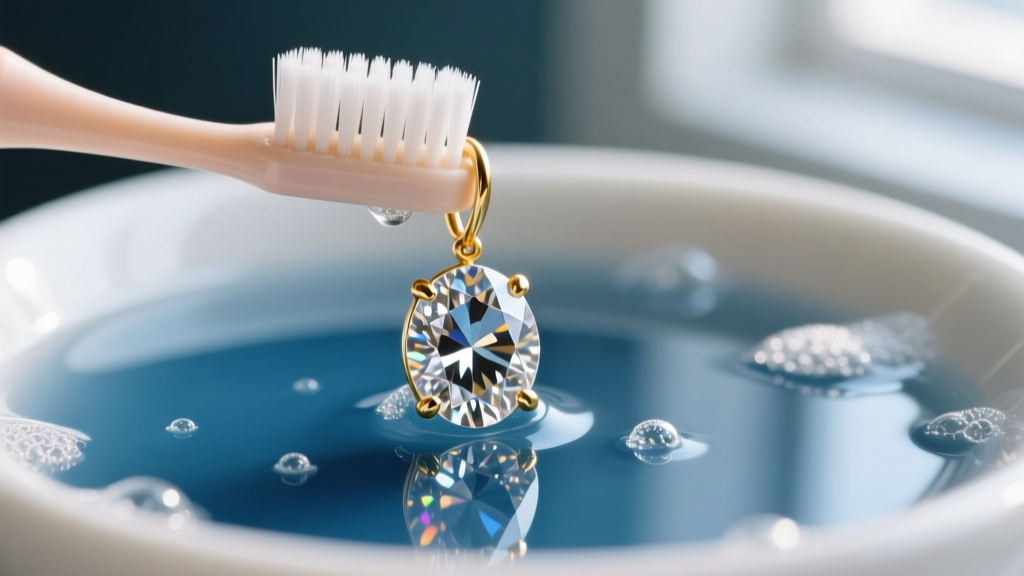
- The Soak: Fill a small glass bowl with warm (not hot) water and add a few drops of grease-cutting dish soap (like original blue Dawn). Avoid soaps with added moisturizers or lotions. Let the earrings soak for 20 to 30 minutes to loosen hardened sebum and cosmetic buildup.
- The Brush: Use a brand-new, ultra-soft baby toothbrush. Gently scrub the stone in circular motions. Pay special attention to the underside of the setting, the gallery wire, and the prongs. Never use a hard-bristled brush, as it can scratch the precious metal setting, even if it won't scratch the diamond.
- The Rinse: Rinse the earrings under a gentle stream of lukewarm water. Crucial: Always place a stopper in the sink or use a mesh strainer to prevent dropping a heavy, expensive earring down the drain.
- The Dry: Pat dry with a lint-free microfiber cloth. Avoid air-drying, as hard water minerals can leave microscopic water spots on the diamond's table (top facet).
The Ultrasonic Cleaner Warning: Know Your Stone
Ultrasonic cleaners use high-frequency sound waves (typically 40 to 45 kHz) to create microscopic cavitation bubbles in a liquid solution. When these bubbles collapse, they generate intense localized heat and pressure, blasting dirt out of microscopic crevices.
While ultrasonic cleaners are excellent for removing grime from plain metal and untreated diamonds, they can be catastrophic for certain stone treatments and fragile settings.
If your Kim Kardashian diamond earring replicas or budget-friendly alternatives utilize fracture-filled diamonds (often treated via the Yehuda process to hide internal fissures with a glass-like resin), you must never use an ultrasonic cleaner or harsh chemicals like ammonia. The cavitation process can shatter the filler or cloud it permanently, ruining the stone's clarity. Always consult the GIA Diamond Treatment Guide if you are unsure about your stone's enhancement history.
Cleaning Method Comparison Chart
| Cleaning Method | Best For | Risk Level | Frequency |
|---|---|---|---|
| Mild Dish Soap & Soft Brush | All diamonds, lab-grown, and simulants | Very Low | Weekly |
| Ultrasonic (40kHz) | Untreated natural/lab diamonds in secure settings | High (if fracture-filled or pave) | Monthly |
| Steam Cleaner | Heavy grease removal on robust settings | Medium (thermal shock risk) | Quarterly |
| Ammonia Solution (1:6 ratio) | Untreated diamonds only | Medium (degrades some alloys over time) | Monthly |
Structural Integrity: Managing Heavy Carat Weights
The Kim K aesthetic often involves substantial carat weights—think 3-carat to 5-carat solitaire studs or heavy chandelier drops. This weight introduces a unique maintenance challenge: post bending and setting stress.
Upgrading Your Earring Backs
Standard friction backs (butterfly backs) on thin 20-gauge posts are entirely insufficient for heavy stones. The weight of a 4-carat diamond will cause the earring to droop, putting immense lateral stress on the post where it meets the basket. Over time, this metal fatigue can cause the post to snap or the solder joint to fail.
- La Pousette Backs: These feature a mechanical locking mechanism with a tiny spring-loaded clutch. They grip the post securely and distribute the weight of the earring more evenly against the earlobe.
- Screw Backs: The post is threaded, and the back screws on. This is the gold standard for heavy, high-value diamond studs, as it prevents the earring from falling off if bumped.
- Post Gauge: If you are having custom heavy earrings made, request an 18-gauge or 16-gauge post (which are thicker and stronger than the standard 20-gauge) paired with a platinum or 18k white gold setting for maximum rigidity.
Professional Servicing and Storage
Even with meticulous home care, high-end diamond earrings require professional attention. If your settings are crafted from 14k or 18k white gold, they are likely rhodium-plated to achieve that bright, silvery-white finish. Rhodium wears off over time, especially on the posts and backs where friction occurs. Plan to have your earrings professionally polished and rhodium-replated every 12 to 18 months.
During this visit, a jeweler will also use a microscope to check the prong integrity. Heavy stones can shift slightly during daily wear, causing prongs to lift or wear thin. A quick 'prong retipping' or tightening can prevent the catastrophic loss of a valuable stone.
Proper Storage for Drop Earrings
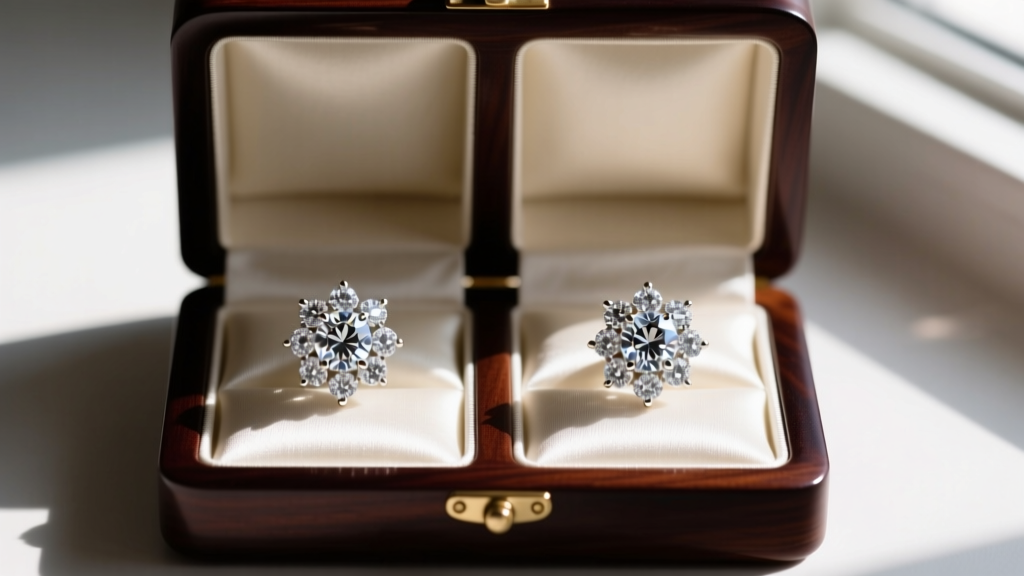
Never toss heavy diamond earrings into a communal jewelry box. The diamonds are a 10 on the Mohs hardness scale and will easily scratch the metal settings of your other jewelry, or even scratch each other if forced together. Store them individually in silk-lined compartments or soft leather rolls. For long drop earrings, hang them from a dedicated jewelry arbor to prevent the delicate articulation joints from becoming kinked or bent out of shape.
By treating your diamond earrings with the same level of care and respect as a museum-grade artifact, you ensure they will maintain their blinding brilliance and structural integrity for decades to come.


