How to Clean and Maintain Earrings with Push Back Closures
Learn expert methods to clean, sanitize, and maintain earrings with push back closures to prevent buildup, skin irritation, and lost jewelry.

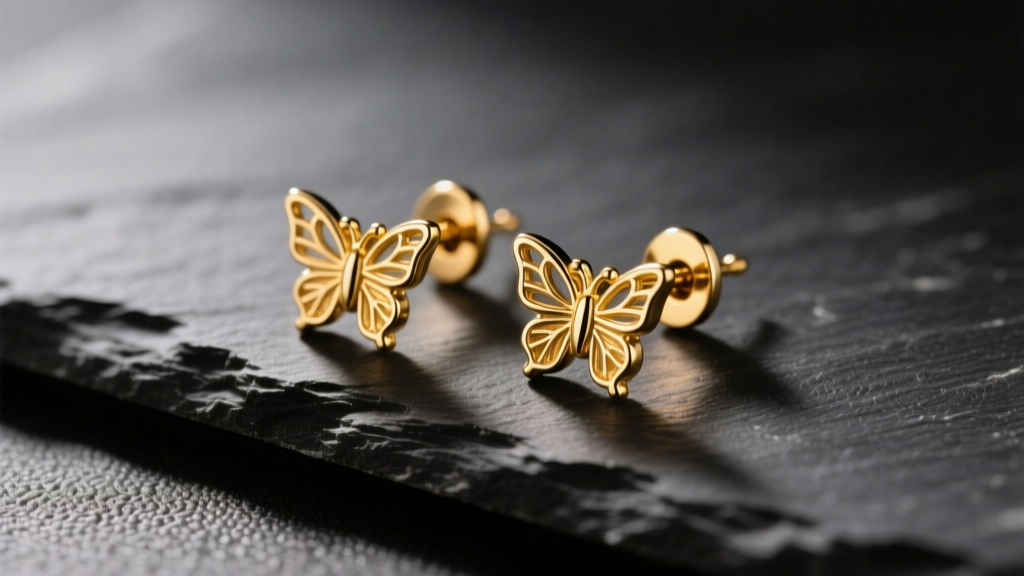
The Anatomy of Push Back Earrings and Why They Trap Debris
Friction closures, universally known as push backs or butterfly backs, are the most common earring securing mechanism in the world. Yet, their very design makes them notorious for trapping biological debris, cosmetics, and environmental pollutants. To properly care for earrings with push back mechanisms, you must first understand their anatomy and the specific failure points where grime accumulates.
A standard earring post is typically crafted in a 20-gauge (0.81mm) or 18-gauge (1.02mm) thickness. Near the end of the post, a small groove or "notch" is machined into the metal. This notch is the primary anchor point for the clutch. While it secures the earring, this 1-millimeter crevice acts as a magnet for sebum (skin oils), dead keratinocytes (skin cells), and soap scum. Over time, this mixture calcifies into a hardened, odorous substance colloquially known in the jewelry industry as "ear cheese." If left unaddressed, this buildup not only causes contact dermatitis but can also degrade the metal post and compromise the structural integrity of the clutch.
The "Gunk" Factor: Identifying Buildup on Posts and Clutches
Before reaching for harsh chemicals, it is crucial to identify the type of buildup on your earrings. Different substances require different chemical interventions to break down safely without damaging precious metals or gemstones.
- Sebum and Keratin (Biological): Appears as a greyish-white, waxy paste. It requires enzymatic breakdown or mild surfactants (like dish soap) and warm water to emulsify.
- Cosmetics and Hairspray (Synthetic): Often forms a sticky, amber-colored film. Requires isopropyl alcohol (for non-porous gems) or specialized jewelry degreasers.
- Hard Water and Soap Scum (Mineral): Presents as a chalky, white crust. Requires a mild acidic solution (like diluted white vinegar) to dissolve calcium deposits.
- Silver Sulfide (Tarnish): Black or brown oxidation on sterling silver posts. Requires chemical reduction (silver dip) or gentle mechanical polishing.
Material-Specific Cleaning Protocols
Not all metals and gemstones can withstand the same cleaning agents. Using the wrong solvent can strip rhodium plating, cloud porous gemstones, or melt silicone components. Refer to the table below for safe cleaning parameters.
| Material / Component | Safe Cleaning Agents | Agents to Avoid | Special Considerations |
|---|---|---|---|
| 14k / 18k Solid Gold | Warm water, mild dish soap, ammonia-free cleaners | Chlorine bleach, harsh abrasives | Chlorine causes microscopic stress fractures in gold alloys. |
| Implant Grade Titanium (ASTM F-136) | Sterile saline, 70% isopropyl alcohol, mild soap | Hydrogen peroxide (prolonged soaking) | Highly corrosion-resistant; ideal for sensitive or healing lobes. |
| Sterling Silver (925) | Silver polish, baking soda paste, mild soap | Bleach, salt water | Keep dry; moisture trapped in the clutch accelerates tarnishing. |
| Silicone / Rubber Clutches | Mild dish soap, warm water | Isopropyl alcohol, acetone, UV sanitizers | Alcohol dries out silicone, causing it to crack and lose grip. |
| Diamonds, Sapphires, Rubies | Ultrasonic (40kHz), ammonia-based cleaners | Thermal shock (sudden temp changes) | Ensure prongs are tight before using ultrasonic vibrations. |
Step-by-Step Deep Cleaning Guide for Push Backs
For a thorough, hygienic deep clean that restores the brilliance of your studs and the functionality of your clasps, follow this professional protocol. According to the Gemological Institute of America (GIA), regular gentle cleaning is vastly superior to infrequent, aggressive scrubbing.
Tools You Actually Need
Ditch the standard toothbrush. The bristles are too thick to reach the post notch or the internal spring of a butterfly clutch. Instead, gather:
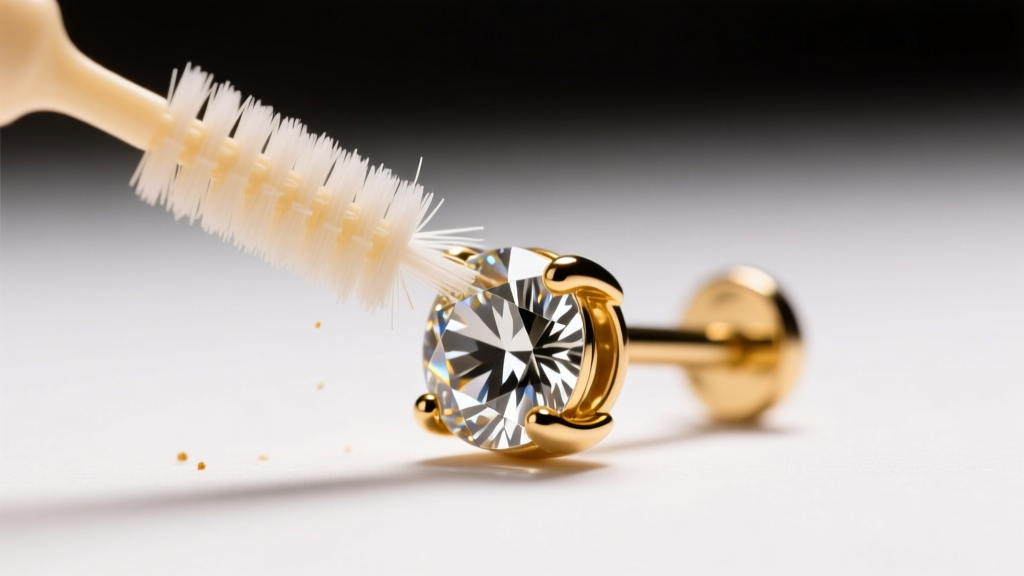
- Interdental brushes (Size 0.4mm or 0.6mm): Perfect for threading through the loops of butterfly backs and scrubbing the post groove.
- Lint-free microfiber cloths: Cotton swabs and tissues leave behind micro-fibers that get snagged in the clutch mechanism.
- Mild liquid dish detergent: A grease-cutting formula (like Dawn) is ideal for breaking down sebum.
- Nylon-jaw pliers: For adjusting metal tension without scratching precious metals.
The Cleaning Process
- Disassemble Completely: Remove the push back from the post. Never attempt to clean the earring while the clutch is attached; you will only push debris deeper into the mechanism.
- The Soak: Mix a few drops of mild dish soap into a bowl of warm (not hot) distilled water. Submerge the posts and clutches for 5 to 10 minutes. Distilled water prevents hard water spots from forming during the drying process.
- Agitate the Crevices: Take your 0.4mm interdental brush, dip it in the soapy solution, and gently thread it through the loops of the butterfly back. Scrub the grooved notch of the earring post using short, horizontal strokes.
- Rinse and Sanitize: Rinse thoroughly under lukewarm running water. For solid gold, platinum, or titanium posts (without porous gems), you can finish by wiping the post with a cotton pad soaked in 70% isopropyl alcohol to sanitize it before reinserting it into the ear.
- Dry Thoroughly: Pat dry with a microfiber cloth. Use a hair dryer on the "cool" setting to blow out any trapped moisture from inside the metal clutch.
The Ultrasonic vs. Soak Debate
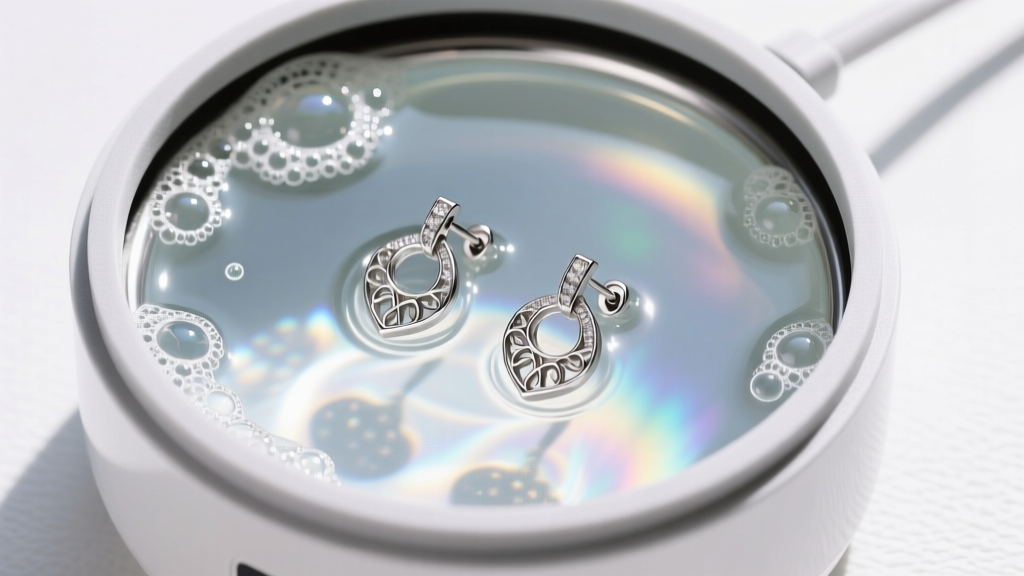
Ultrasonic jewelry cleaners use high-frequency sound waves (typically 40kHz to 45kHz) to create microscopic cavitation bubbles in a liquid solution. When these bubbles collapse, they generate localized shockwaves that blast debris out of microscopic crevices.
When to use Ultrasonic: If your earrings feature secure prong-set diamonds, sapphires, or rubies, and the metal is solid gold or platinum, an ultrasonic cleaner is the most effective way to remove calcified sebum from the post notch. However, you must remove silicone push backs before turning the machine on, as the vibrations and heat can degrade the rubber.
When to Avoid Ultrasonic: Never place emeralds, opals, pearls, or turquoise in an ultrasonic cleaner. The vibrations can shatter stones with internal inclusions, and the heat can strip the natural oils from pearls and opals, causing them to crack. For these delicate stones, stick to the manual soak-and-brush method.
Maintaining the Friction Mechanism: Preventing Lost Earrings
The most common complaint regarding earrings with push back closures is that they eventually become loose, leading to lost jewelry. This is a mechanical failure, not a cleaning issue, but it requires routine maintenance.
How to Tighten a Loose Metal Butterfly Back
Standard metal butterfly backs rely on the tension of two curved metal loops that press against the earring post. Over months of pushing and pulling, these loops stretch outward, losing their grip. The Fix: Place the butterfly back on a soft surface. Using nylon-jaw pliers (never steel pliers, which will gouge the gold or platinum), gently squeeze the two loops inward toward the center hole. Test the tension on the post. You should feel a distinct "click" or resistance when the clutch passes over the post notch.
When to Replace the Clutch
Metal clutches can last a lifetime if periodically tightened. However, if you use silicone or rubber bullet clutches, they are considered consumable items. Silicone degrades when exposed to UV light, body heat, and alcohol sanitizers. If your silicone push back feels sticky, looks discolored, or slides off the post without resistance, it has suffered polymer breakdown and must be discarded. Replace silicone clutches every 6 to 12 months for optimal security.
Daily Habits to Prevent Sebum and Soap Scum
Preventative care drastically reduces the need for deep cleaning. The American Academy of Dermatology (AAD) emphasizes that keeping jewelry clean is a primary defense against allergic contact dermatitis and localized infections.
Expert Rule of Thumb: Always put your earrings in after applying makeup, hairspray, and perfume. Cosmetic chemicals can create a sticky film on the post that acts as an adhesive for dead skin cells and dust.
- The Weekly Wipe: Once a week, remove your studs and wipe the post with an alcohol prep pad. This takes 10 seconds and prevents sebum from calcifying in the notch.
- Shower Protocol: Avoid wearing push back earrings in the shower. Shampoo and conditioner contain heavy silicones and waxes that coat the post and the inside of the clutch, creating a slippery surface that causes the earring to slide out of the earlobe.
- Sleeping Habits: Remove earrings before bed. The pressure of your head against the pillow bends the posts and puts uneven stress on the clutch, accelerating the stretching of the metal loops.
Troubleshooting Common Push Back Failures
Even with meticulous care, you may encounter mechanical issues. Here is how to troubleshoot the most frequent problems associated with friction backs.
The Clutch is Stuck and Won't Come Off
This usually happens when soap scum or hairspray acts as a glue inside the clutch, or when the post notch is burred (rough metal edges). Solution: Do not pull aggressively, as you risk tearing the earlobe or snapping the post. Soak the entire earring (while still in the ear, if comfortable, or immediately after removal) in warm, soapy water for 15 minutes to dissolve the adhesive bond. Grip the clutch with a piece of rubber (like a latex glove or rubber band) for extra traction, and twist gently while pulling straight back. If the post is burred, a jeweler will need to file and re-polish the tip.
The Post is Too Short for My Earlobe
Standard push back posts are typically 10mm to 11mm long. If you have thicker earlobes, the clutch will press tightly against the skin, trapping moisture and causing localized swelling or "cheese" buildup. Solution: You cannot safely stretch a post. Instead, visit a bench jeweler to have the post laser-welded to a longer replacement (13mm or 15mm), or switch to a secure screw-back or locking La Poussette clutch system, which allows for adjustable tension without requiring a deep post notch.
By understanding the mechanical realities of friction closures and implementing a targeted cleaning routine, you can ensure your earrings remain secure, hygienic, and brilliant for decades. Proper maintenance of your earrings with push back mechanisms is not just about aesthetics; it is a fundamental aspect of earlobe health and jewelry preservation.


