How to Clean, Polish, and Style Ball Silver Earrings
Learn how to safely clean, polish, and style ball silver earrings. Expert tips on removing tarnish, choosing gauges, and matching face shapes.

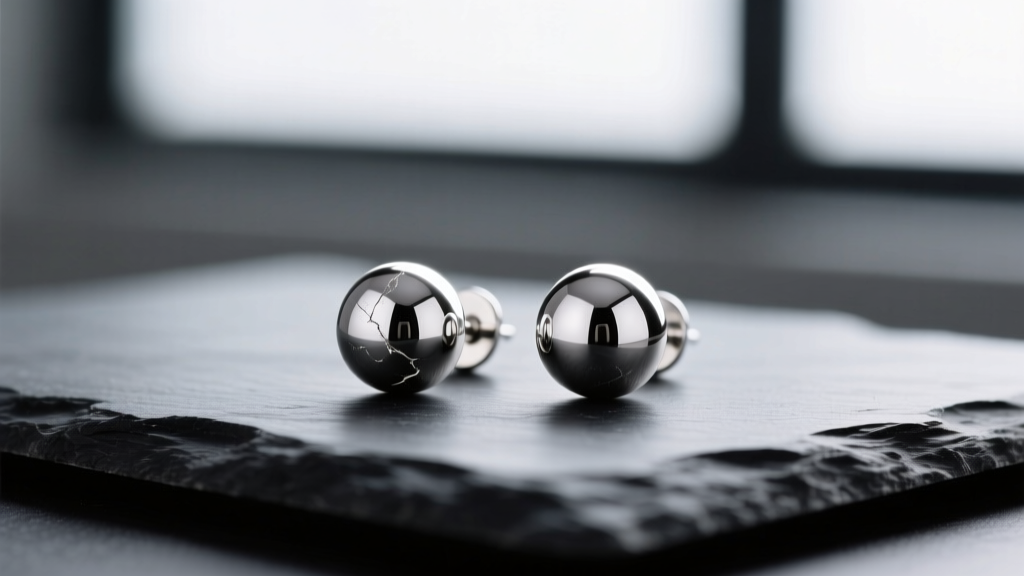
The Timeless Appeal of Ball Silver Earrings
Ball silver earrings are the undisputed workhorses of modern jewelry wardrobes. Whether you are opting for a minimalist aesthetic, curating a curated ear stack, or simply need a reliable daily stud, the spherical silver silhouette offers unmatched versatility. However, as any dedicated jewelry wearer knows, silver requires specific care to maintain its brilliant luster. Furthermore, selecting the correct gauge, backing mechanism, and sphere diameter is crucial for both comfort and piercing health. In this comprehensive guide, we break down the exact chemistry of silver tarnish, provide step-by-step restoration methods, and detail how to properly size and style your ball studs for every piercing type.
Understanding Your Silver: Sterling vs. Fine vs. Plated
Before applying any cleaning solution, you must identify the metallurgical composition of your earrings. According to the Gemological Institute of America (GIA), pure silver is highly resistant to tarnish but far too malleable for jewelry posts. Therefore, alloys are introduced, which fundamentally changes how the metal reacts to your environment and skin chemistry.
| Silver Grade | Composition | Tarnish Resistance | Best Use Case |
|---|---|---|---|
| .999 Fine Silver | 99.9% Silver | Excellent (Rarely tarnishes) | Decorative ball ends, bezel settings |
| .925 Sterling Silver | 92.5% Silver, 7.5% Copper | Moderate (Copper oxidizes) | Standard posts, seamless hoops, solid balls |
| Silver Plated | Brass/Copper core, thin silver coat | Poor (Wears off, exposes base metal) | Fashion jewelry, temporary wear |
The tarnish you see on your .925 sterling ball earrings is not dirt; it is silver sulfide. The copper alloyed with the silver reacts with hydrogen sulfide in the air, as well as sulfur compounds found in sweat, lotions, and even certain foods. Understanding this chemical reaction is the key to reversing it without stripping the metal.
Step-by-Step Guide to Cleaning Tarnished Ball Silver Earrings
Forget abrasive commercial silver dips, which strip away microscopic layers of metal and leave a dull, chalky finish over time. Instead, utilize these two jeweler-approved methods tailored to the severity of the oxidation.
Method 1: The Gentle Surfactant Soak (For Light Tarnish & Daily Grime)
If your ball silver earrings have lost their shine due to skin oils, sebum, and cosmetic buildup rather than heavy black oxidation, a gentle surfactant is all you need.
- Prepare the Solution: Mix three drops of phosphate-free, mild dish soap (like Dawn) into a bowl of lukewarm distilled water. Avoid hot water, which can shock certain gemstone inlays if your ball earrings feature pearls or opals.
- Soak: Submerge the earrings for 5 to 10 minutes to loosen the lipid bonds of skin oils.
- Agitate Gently: Use an extra-soft baby toothbrush to lightly brush the crevices where the ball meets the post or backing. Never use hard-bristled brushes, as silver has a Mohs hardness of just 2.5 to 3, making it highly susceptible to micro-scratches.
- Rinse and Dry: Rinse under distilled water and immediately buff dry with a lint-free microfiber cloth. Air drying leaves hard water spots that mimic tarnish.
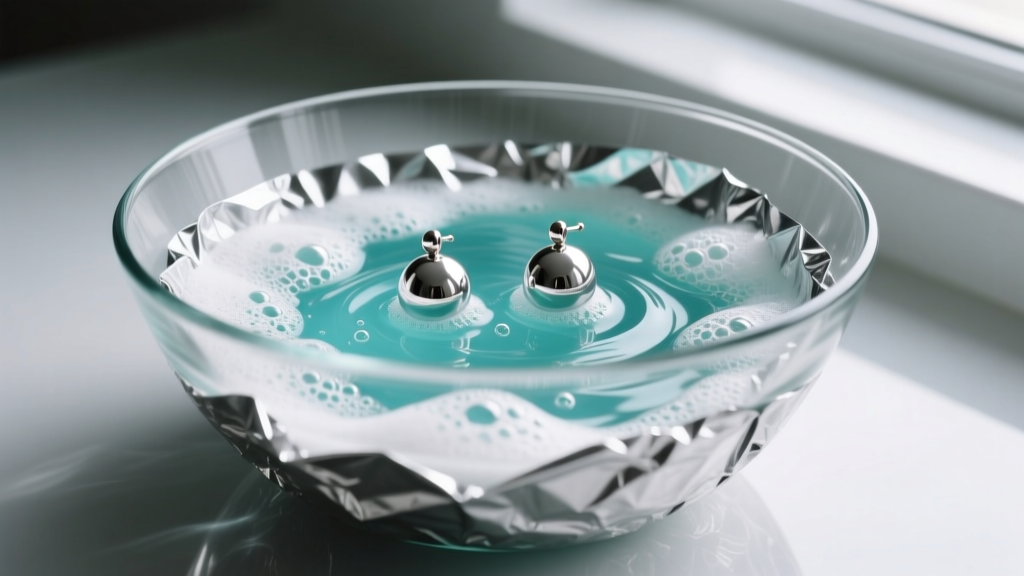
Method 2: The Electrochemical Ion Exchange Bath (For Heavy, Black Tarnish)
When your sterling silver balls have turned dark brown or black, you need a chemical reduction reaction. This method reverses the silver sulfide back into pure silver without removing any of the underlying metal.
- Line a Glass Bowl: Cover the inside of a glass or ceramic bowl with aluminum foil, shiny side facing up. (Do not use metal bowls, as they will interfere with the ion exchange).
- Add the Electrolytes: Sprinkle 1 tablespoon of baking soda and 1 tablespoon of non-iodized sea salt over the foil.
- Activate with Heat: Pour boiling water into the bowl. You will see immediate bubbling as the electrolytes dissolve and the chemical reaction begins.
- Submerge the Earrings: Using wooden tongs, drop your ball silver earrings into the bath. Ensure they are physically touching the aluminum foil. This contact is mandatory for the electron transfer to occur.
- Wait and Extract: Leave them in for 2 to 5 minutes. You may notice a faint sulfur (rotten egg) smell—this is the hydrogen sulfide gas being released as the sulfur leaves the silver and bonds to the aluminum.
- Final Polish: Remove the earrings, rinse thoroughly with cool water, and buff to a mirror shine with a dedicated silver polishing cloth.
Warning: Never use the aluminum foil bath on intentionally oxidized (blackened) silver designs, as it will strip the deliberate antiquing from the textured crevices.
How to Choose the Right Gauge and Backing for Ball Studs
A pristine polish means nothing if the earring post causes irritation or the backing harbors bacteria. According to the Association of Professional Piercers (APP), matching the correct gauge and backing mechanism to your specific piercing anatomy is critical for long-term tissue health.
Decoding Wire Gauges
- 20 Gauge (0.81mm): The standard for traditional earlobe piercings done with a needle or gun. Ideal for lightweight, small-diameter (2mm-4mm) ball studs.
- 18 Gauge (1.02mm): Slightly thicker, often used for older lobe piercings that have stretched slightly, or for delicate cartilage piercings like the forward helix.
- 16 Gauge (1.29mm): The gold standard for most cartilage piercings (helix, conch, tragus). If you are buying ball silver earrings for a cartilage stack, 16G is the most likely fit.
- 14 Gauge (1.60mm): Typically reserved for industrial bars or heavy-gauge lobe stretches, though occasionally used in conch piercings.
Upgrading Your Backing Mechanisms
The traditional "butterfly" or friction clutch backing is a relic of the past. The hollow metal loops trap dead skin, sebum, and moisture, frequently leading to contact dermatitis and localized infections. In 2026, the industry standard has shifted toward high-end, secure alternatives:
- Threadless Push-Pin (Tension Fit): The ball end features a slightly bent pin that snaps into a hollow post. This offers incredible security, a seamless look, and zero threading to harbor bacteria.
- Internally Threaded Flat-Back Labret: The screw threads are located on the ball end, not the post. This prevents the sharp threads from tearing the delicate fistula (piercing channel) during insertion. The flat back sits flush against the ear, making it perfectly comfortable for sleeping.
- Screw-Back Clutches: A safer alternative to butterfly backs for standard friction posts, providing a secure lock for active lifestyles or children.
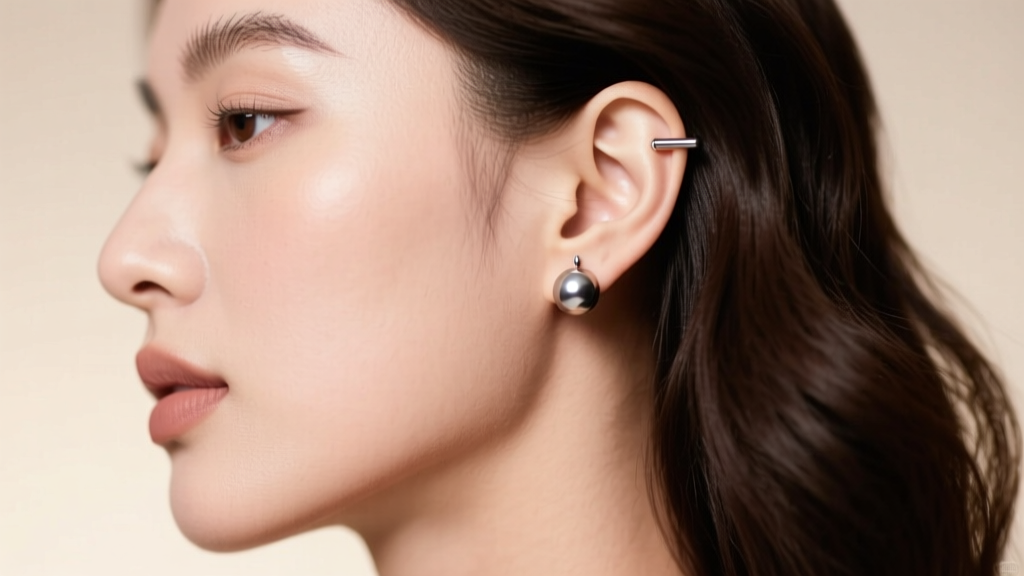
Styling Guide: Matching Ball Sizes to Piercing Locations
The diameter of the silver ball drastically alters the visual weight and physical comfort of the earring. Here is a structural framework for sizing your ball silver earrings based on piercing placement:
- Tragus & Rook (2mm - 3mm): These piercings sit in tight, anatomically complex areas of the inner ear. A ball larger than 3mm will likely press against the anti-tragus or catch on headphones, causing pressure necrosis.
- Helix & Forward Helix (3mm - 4mm): A 3mm ball offers a delicate, sparkling point of light on the outer rim of the ear, while a 4mm provides a bold, modern aesthetic that anchors a cartilage stack.
- Standard Lobe (4mm - 6mm): The classic everyday size. A 5mm sterling silver ball provides excellent presence without dragging down the lobe tissue over time.
- Stretched Lobes & Conch (6mm - 10mm+): Larger spheres make a striking, avant-garde statement. For heavy balls, ensure the post is at least 14G or 12G to prevent the "cheese-cutter effect," where a thin wire slowly migrates downward through the tissue.
Troubleshooting Common Silver Earring Issues
Even with meticulous care, mechanical and environmental issues can arise. Here is how to handle the most frequent problems encountered with ball silver earrings:
Problem: The internally threaded ball is stuck and won't unscrew.
Solution: Do not use pliers, which will crush the silver sphere and mar the finish. Instead, put on a pair of nitrile medical gloves. The rubber provides immense friction. Grip the ball with your thumb and forefinger of one hand, and the flat back with the other, twisting counter-clockwise. If body heat has caused the metal to expand, run the earring under cold water for 30 seconds to contract the metal slightly before trying again.
Problem: The silver post feels "soft" and bends easily when inserting.
Solution: You likely have a .999 fine silver post rather than .925 sterling. Fine silver is exceptionally hypoallergenic but lacks structural integrity. If it bends, do not repeatedly bend it back, as work-hardening will eventually cause the metal to snap. Have a jeweler solder a thicker, stainless steel or titanium post onto your silver ball end for permanent durability.
Pro Tips for Long-Term Silver Maintenance
Prevention is always superior to restoration. To keep your ball silver earrings gleaming between deep cleans, store them in an airtight, anti-tarnish ziplock bag with a silica gel packet to control ambient humidity. Consider placing a piece of standard blackboard chalk or a commercial anti-tarnish strip inside your jewelry box; these act as sacrificial absorbers, pulling sulfur and moisture out of the air before it can reach your silver. Finally, always adhere to the golden rule of jewelry wear: your ball silver earrings should be the last thing you put on when getting dressed, and the first thing you take off when you get home, keeping them safe from the corrosive effects of perfumes, hairsprays, and acidic skin care serums.


