How to Clean Silver Earrings at Home: A Beginner's Safe Guide
Learn how to clean silver earrings at home safely. Discover beginner-friendly methods for sterling silver, oxidized finishes, and gemstone studs.

Why Silver Tarnishes: The Science for Beginners
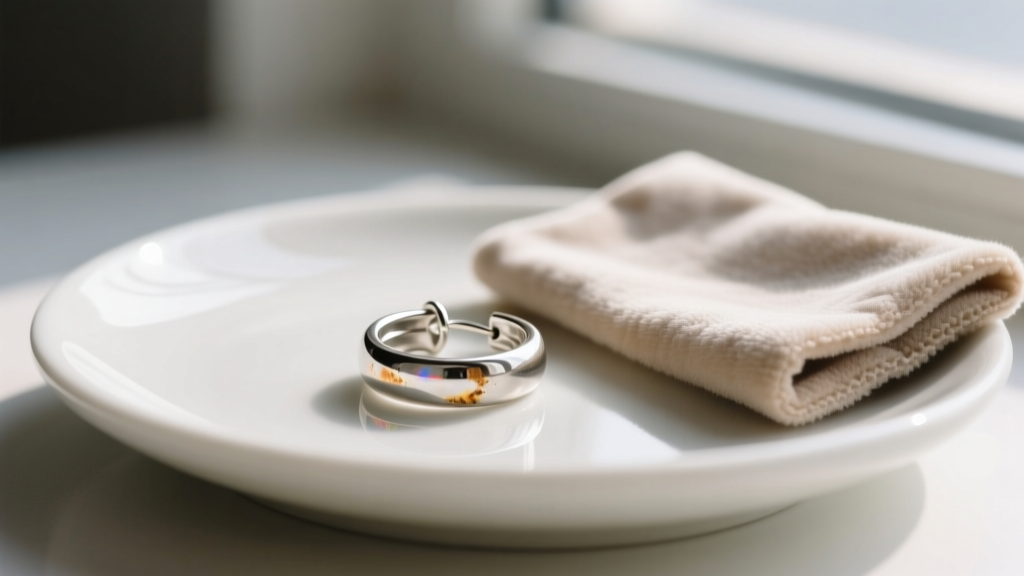
Before diving into the cleaning process, it is crucial to understand why your favorite silver earrings lose their shine. Pure silver (.999) is highly resistant to tarnish, but it is far too soft for jewelry making. To create durable earrings, jewelers alloy pure silver with other metals—usually copper—to create .925 Sterling Silver (92.5% silver, 7.5% copper). It is this copper content that reacts with hydrogen sulfide and moisture in the air, creating a dark layer of silver sulfide on the surface. This is tarnish. Understanding this chemical reaction is the first step in learning how to clean silver earrings at home without damaging the underlying metal or any delicate gemstones set into the piece.
Identify Your Silver and Gemstones Before Cleaning
Not all silver earrings are created equal, and applying the wrong cleaning method can permanently ruin a piece. Before you mix any solutions, inspect your earrings for hallmarks and stone types.
Check the Hallmark
- .925 or Sterling: Solid sterling silver. Safe for most home cleaning methods, including chemical ion baths.
- EPNS or Silver-Plated: A microscopic layer of silver over a brass or copper base. Aggressive polishing or harsh chemicals will strip the plating, exposing the base metal.
- Oxidized Silver: Sterling silver that has been intentionally treated with a black patina to highlight intricate engravings. Liquid dips will strip this intentional darkening.
Identify the Gemstones
According to the Gemological Institute of America (GIA), gemstones have vastly different chemical tolerances and hardness levels on the Mohs scale. Non-porous stones like diamonds, sapphires, and rubies (Mohs 9-10) can withstand warm water and mild chemical reactions. However, porous, organic, or low-hardness stones like pearls, opals, turquoise, and lapis lazuli (Mohs 2.5-6) are highly sensitive. Never submerge these stones in chemical baths or expose them to sudden temperature changes, as thermal shock can cause internal fracturing.
Method 1: The Gentle Soap Soak (Best for Everyday Studs & Hoops)
For routine maintenance of standard 18-gauge (1.0mm) or 20-gauge (0.8mm) earring posts, huggie hoops, and simple gemstone studs, a gentle soap soak is the safest and most effective method. Tarnish and dead skin cells frequently build up in the microscopic grooves near the butterfly back or the hinge of a huggie hoop, requiring a targeted approach.
- Prepare the Solution: Fill a small glass bowl with lukewarm water (never hot) and add three drops of a mild, phosphate-free dish soap like Dawn.
- Soak: Submerge your earrings for 5 to 10 minutes. This loosens sebum, lotion residue, and light surface tarnish.
- Agitate: Use a brand-new, extra-soft baby toothbrush to gently scrub the earring posts, clutch backs, and the intricate crevices of huggie hinges. Brush in a circular motion to avoid scratching the silver.
- Rinse and Dry: Rinse thoroughly under lukewarm running water. Pat completely dry with a lint-free microfiber cloth. Ensure the earring post is 100% dry before reinserting it into your piercing to prevent bacterial growth or irritation.
Method 2: The Aluminum Foil Ion Bath (For Heavy Tarnish)
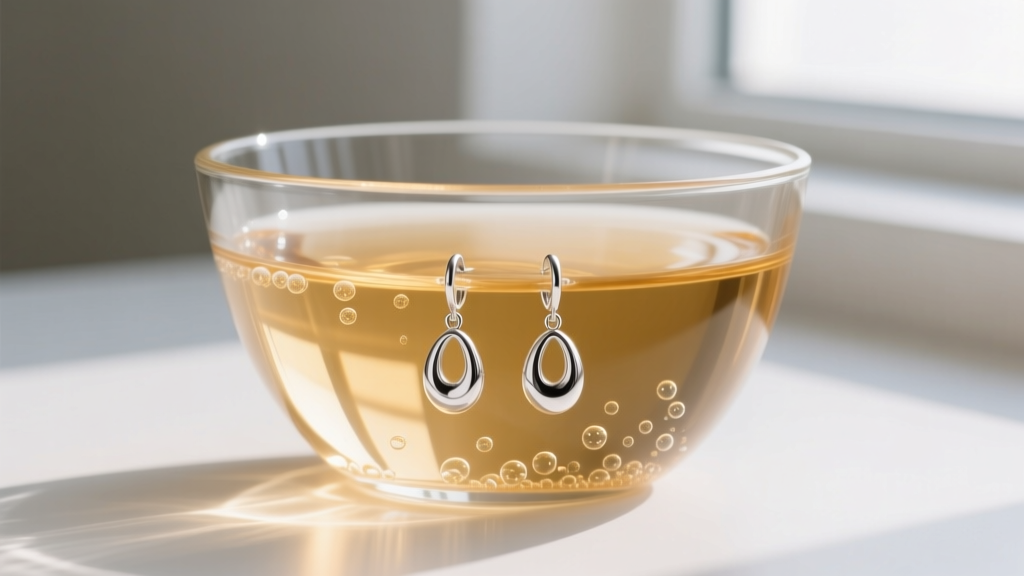
If your sterling silver dangles or large hoops have developed a thick, yellowish-brown or black layer of tarnish, polishing alone will take hours and remove microscopic layers of silver. Instead, use an electrochemical ion exchange bath. This method reverses the chemical reaction, converting silver sulfide back into pure silver without any abrasive scrubbing.
Step-by-Step Foil Bath Instructions
- Line the inside of a glass or ceramic bowl with aluminum foil, shiny side facing up.
- Place your heavily tarnished .925 sterling silver earrings on the foil, ensuring they are physically touching the aluminum.
- Sprinkle 1 tablespoon of baking soda and 1 teaspoon of coarse salt over the jewelry.
- Carefully pour boiling water into the bowl, just enough to submerge the earrings. You will immediately see bubbling and smell a faint sulfur (rotten egg) odor—this means the ion exchange is working.
- Let them sit for 2 to 5 minutes. Use wooden tongs to remove the earrings, rinse in cool water, and buff dry with a soft cloth.
Material Compatibility Chart for the Foil Bath
| Material / Stone Type | Foil Bath Safe? | Expert Notes |
|---|---|---|
| .925 Sterling Silver (Bare) | Yes | Ideal candidate; restores bright shine rapidly. |
| Diamonds, Sapphires, Rubies | Yes | Mohs 9-10, non-porous, highly stable. |
| Pearls, Opals, Turquoise | NO | Porous and heat-sensitive; will degrade or crack. |
| Oxidized / Patina Silver | NO | Will strip the intentional blackened antiquing. |
| Silver-Plated Brass | NO | Can cause base metal pitting and plating loss. |
Method 3: Dry Polishing for Oxidized and Plated Silver
If your earrings feature intentional oxidized details (where the recessed areas are black to create contrast) or if they are silver-plated, liquid baths and abrasive pastes are strictly forbidden. Instead, rely on dry polishing. Invest in a high-quality treated jeweler's cloth, such as a Sunshine Polishing Cloth. These cloths are impregnated with microscopic jeweler's rouge and anti-tarnish agents. Gently rub the raised, high-polish areas of the earring to restore the shine, deliberately avoiding the dark, recessed engravings. For silver-plated earrings, use the absolute lightest pressure possible to avoid rubbing through the microscopic silver layer down to the brass core.
Common Beginner Mistakes That Ruin Earrings
The Toothpaste Myth: Never use toothpaste to clean silver earrings. Toothpaste contains hydrated silica and calcium carbonate, which are highly abrasive. While it may remove tarnish, it will leave thousands of micro-scratches in the silver, dulling the mirror finish and creating microscopic grooves where future tarnish will accumulate even faster.
Another frequent mistake is tossing all jewelry into an ultrasonic cleaner. While ultrasonic waves are excellent for dislodging dirt from diamond settings, the high-frequency vibrations can easily shatter fragile stones like emeralds, opals, and tanzanite, or shake loose the adhesive holding pearl studs to their posts. Furthermore, boiling water directly from a kettle onto gemstone earrings can cause immediate thermal shock, fracturing stones internally even if the surface looks intact.
How to Store Silver Earrings to Prevent Future Tarnish
Learning how to clean silver earrings at home is only half the battle; proper storage is the ultimate defense against tarnish. Tarnish requires moisture and airborne sulfur compounds to form. By controlling the micro-environment where your earrings live, you can drastically reduce the need for deep cleaning.
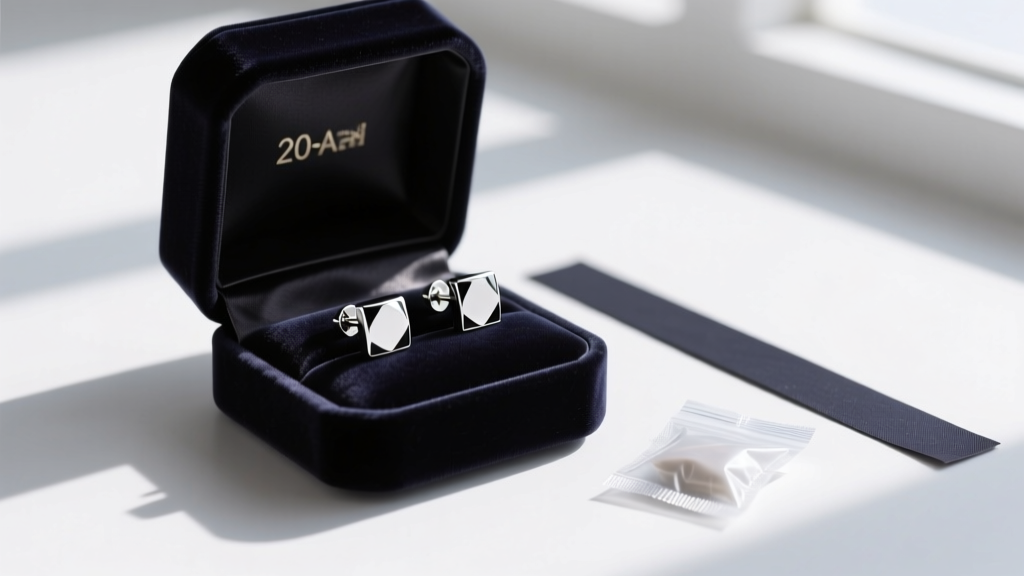
- Use Anti-Tarnish Strips: Drop a 3M anti-tarnish strip into your jewelry box or storage bag. These strips absorb airborne sulfides before they can reach your silver. They typically last 6 to 12 months before needing replacement.
- Airtight Storage: Store individual pairs of earrings in small, zip-top polyethylene bags. Squeeze out as much air as possible before sealing. Avoid polyvinyl chloride (PVC) plastics, which can emit chemicals that accelerate tarnishing.
- Control Humidity: If you live in a humid climate, include a small silica gel desiccant packet in your main jewelry storage container to absorb ambient moisture.
- The Chalk Trick: In a pinch, a simple piece of standard blackboard chalk placed in your jewelry drawer acts as a natural desiccant, absorbing excess moisture from the air.
By understanding the metallurgy of your earrings and matching the cleaning method to the specific materials and gemstones involved, you can keep your collection looking brilliant for decades. Whether you are maintaining a simple pair of 20-gauge sterling studs or restoring an intricate pair of vintage drop earrings, these safe, science-backed methods will ensure your silver remains a staple in your jewelry rotation. For more specialized care, always consult the American Gem Society guidelines regarding specific stone tolerances.


