How to Properly Clean and Maintain All Parts of Earrings
Learn expert techniques to clean and maintain all parts of earrings, from posts and clutches to hinges and settings, ensuring lasting shine.

Most jewelry owners focus solely on the visible face of a stud or hoop, neglecting the intricate mechanics that keep the earring secure and comfortable. Understanding how to properly clean and maintain all parts of earrings is not just about aesthetics; it is a critical matter of dermatological health and structural longevity. From the microscopic crevices of a butterfly clutch to the delicate tension of a hinged clicker, every component requires a tailored maintenance protocol to prevent infection, metal fatigue, and gemstone damage.
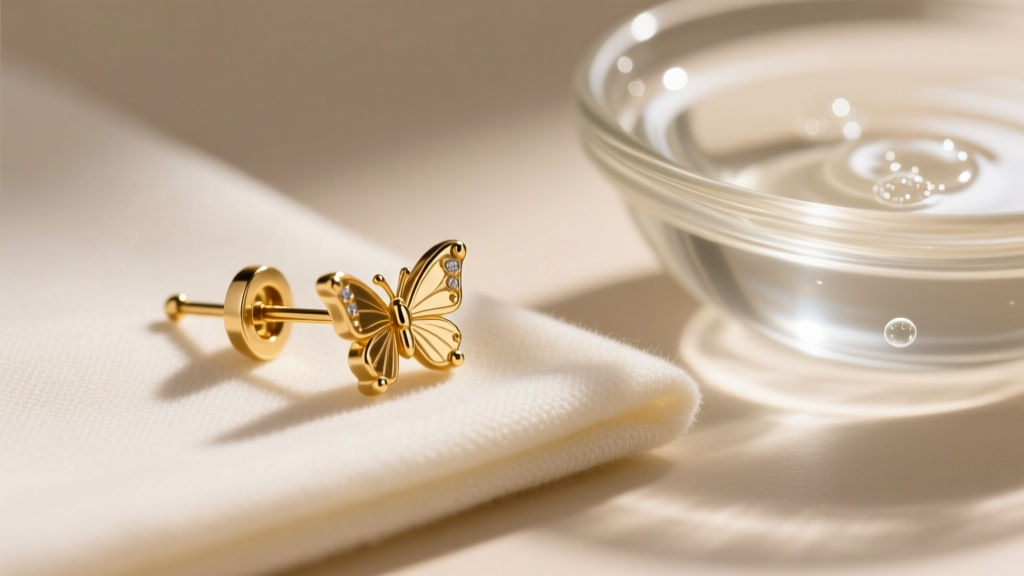
The Hidden Anatomy: Why Targeted Cleaning Matters
Earrings are essentially complex mechanical and aesthetic devices worn in a warm, moist, and biologically active environment: the human ear. The skin on the earlobe and cartilage continuously sheds dead cells and secretes sebum. When this biological matter mixes with cosmetic residue, hair products, and environmental dust, it creates a calcified matrix that clings to the hidden parts of earrings. Neglecting these areas leads to localized contact dermatitis, foul odors, and the eventual mechanical failure of clasps and hinges. A comprehensive cleaning routine must address the entire anatomy of the piece, not just the decorative facade.
Cleaning Specific Parts of Earrings: A Component Guide
Posts and Friction Backs (Butterfly Clutches)
The post and clutch system is the most common closure for stud earrings, typically manufactured in 20-gauge (0.81mm) or 18-gauge (1.02mm) thicknesses. The primary enemy here is sebum and keratin buildup that calcifies inside the clutch’s metal loops. This debris harbors bacteria that can trigger nickel allergies or skin irritation, a common issue highlighted by the American Academy of Dermatology. To clean these parts, soak the clutches in a solution of warm water and a few drops of mild, phosphate-free dish soap for 10 minutes. Use a soft-bristled baby toothbrush to gently dislodge debris from the inner springs. Never use metal pins or needles to pick out debris, as this will scratch the interior metal and create new microscopic grooves for bacteria to colonize.
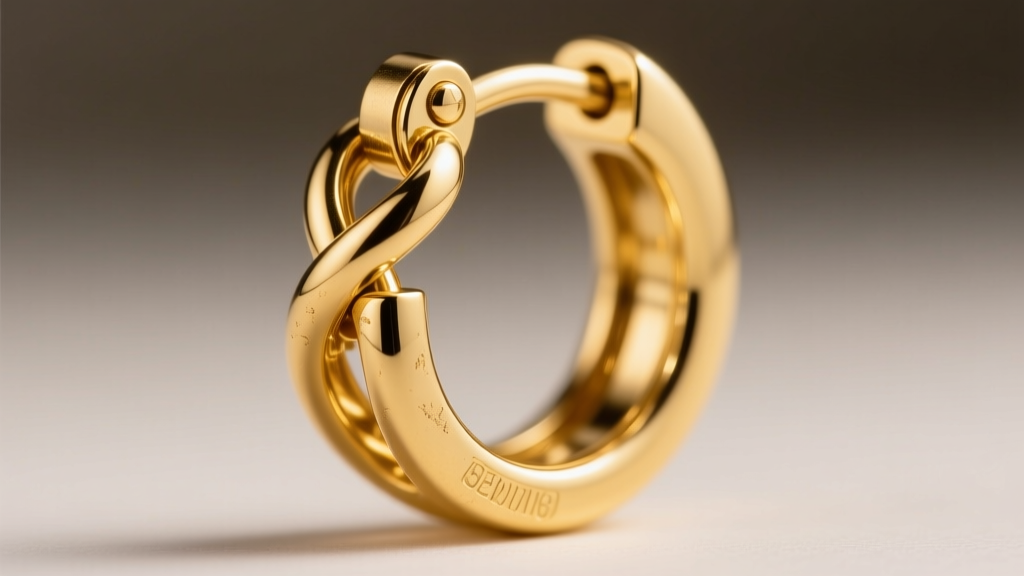
Hinges, Latch-Backs, and Clickers
Hinged hoops and segment rings rely on microscopic mechanical tolerances. A standard 16-gauge (1.29mm) clicker hinge contains a tiny pin and a locking groove. When lotion, soap scum, or lint infiltrates this hinge, it creates a viscous sludge that prevents a secure closure. Over time, forcing a clogged hinge can bend the pin or strip the locking groove entirely. Apply a single drop of 90% isopropyl alcohol directly to the hinge using a precision syringe or a cotton swab. Work the hinge open and closed repeatedly to flush out the dissolved oils. Avoid ultrasonic cleaners for hinged jewelry unless the manufacturer explicitly states the hinge is sealed, as high-frequency vibrations can loosen the internal pin or warp the tension.
Prongs, Bezels, and Gemstone Settings
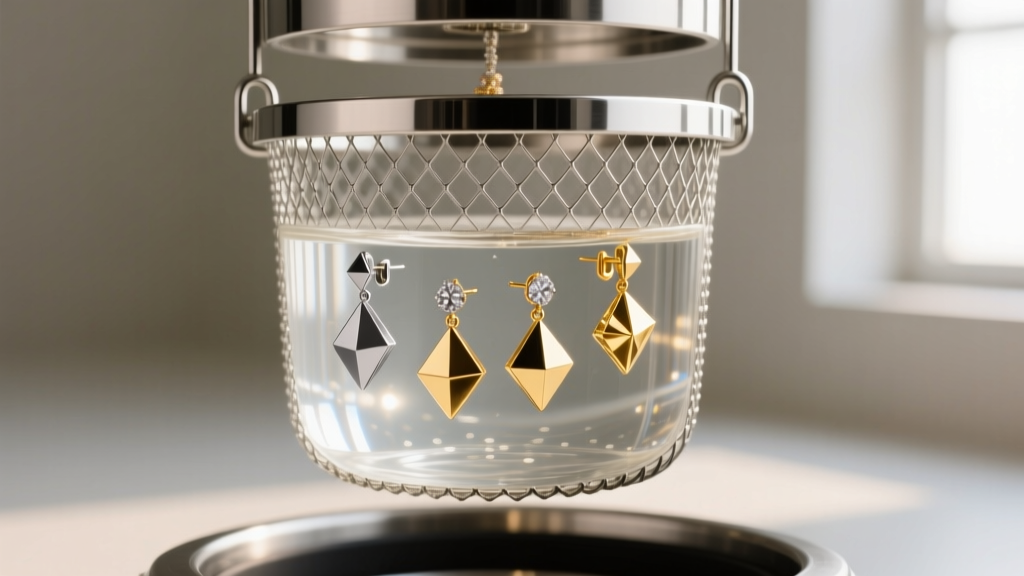
The setting is where structural integrity meets gemological vulnerability. According to the Gemological Institute of America (GIA), cleaning methods must be strictly dictated by the Mohs hardness and porosity of the stone. For diamond or sapphire prong settings, an ultrasonic cleaner operating at 35–40 kHz is highly effective at vibrating microscopic dirt out from beneath the girdle. However, for emeralds (which are often fracture-filled with oils) or porous stones like turquoise, pearls, and opals, ultrasonic waves and chemical solvents will cause catastrophic, irreversible damage. For these delicate parts of earrings, use only a damp, lint-free microfiber cloth and a soft brush with plain, lukewarm water.
Material-Specific Maintenance Matrix
Different metals react uniquely to cleaning agents. Using the wrong chemical can strip plating, cause oxidation, or pit the surface of the metal. Refer to the matrix below to match your earring material with the correct maintenance protocol.
| Material Grade | Safe Cleaners | Strictly Avoid | Optimal Drying Method |
|---|---|---|---|
| Implant-Grade Titanium (ASTM F-136) | Mild dish soap, 70% isopropyl alcohol | Hydrofluoric acid, bleach, chlorine | Lint-free cloth or air dry |
| 14k / 18k Yellow or White Gold | Warm water with mild surfactant | Chlorine, harsh abrasives, toothpaste | Microfiber polishing cloth |
| 925 Sterling Silver | Silver dip (briefly), baking soda paste | Bleach, salt water, ammonia | Tarnish-resistant storage cloth |
| Surgical Steel (316L) | Antibacterial soap, warm water | Prolonged soaking in saline solutions | Paper towel or air dry |
The Professional Deep-Cleaning Protocol
For a thorough, jewelry-store-level clean at home, follow this step-by-step protocol. This method is safe for solid gold, platinum, and hard gemstones (diamonds, sapphires, rubies).
- Step 1: The Pre-Soak. Fill a glass bowl with warm (not hot) distilled water and add three drops of mild liquid dish soap. Submerge the earrings for 15 minutes to soften calcified sebum and cosmetic residue.
- Step 2: Agitation. Using a dedicated, ultra-soft jewelry brush, gently scrub the backs of the settings, the posts, and the clasps. Pay special attention to the area where the post meets the decorative head, as this is a primary trap for debris.
- Step 3: The Rinse. Rinse the earrings under a gentle stream of lukewarm distilled water. Avoid tap water if your local supply is high in minerals or chlorine, which can leave hard water spots on high-polish metals.
- Step 4: Drying and Polishing. Pat dry with a lint-free microfiber cloth. Use a clean, dry section of the cloth to gently buff the metal components to a high shine.
Troubleshooting Mechanical Failures and Wear
Even with meticulous cleaning, the physical parts of earrings endure mechanical stress. A common issue is 'work hardening' of the post. If you frequently bend the post of a stud earring to secure a tight clutch, the metal (especially 14k gold or sterling silver) will become brittle and eventually snap. Always push the clutch onto the post straight on, rather than angling it. If a butterfly clutch loses its grip, it is usually due to metal fatigue in the tension loops. You can carefully squeeze the loops together with flat-nose pliers to restore tension, but replacement is often the safer, more hygienic option.
When to Replace Earring Components
Maintenance also involves knowing when a part has reached the end of its functional lifespan. Silicone O-rings and disc backs degrade over time, absorbing oils and becoming brittle; these should be replaced every 6 to 12 months. Friction posts that are deeply scratched or bent beyond a 5-degree angle should be professionally replaced by a bench jeweler to prevent the earring from slipping out and being lost. By treating every component—from the decorative bezel to the hidden clutch—with specialized care, you ensure your earrings remain secure, hygienic, and brilliant for a lifetime.
For further guidance on body jewelry materials and safe cleaning practices for fresh or healed piercings, consult the Association of Professional Piercers (APP) guidelines on implant-grade metals and aftercare protocols.


