The Ultimate Guide to Cleaning and Maintaining 3D Earrings
Discover expert tips for cleaning, polishing, and storing complex 3D earrings. Learn how to remove tarnish from sculptural crevices safely.

The Unique Challenge of 3D Earring Geometries
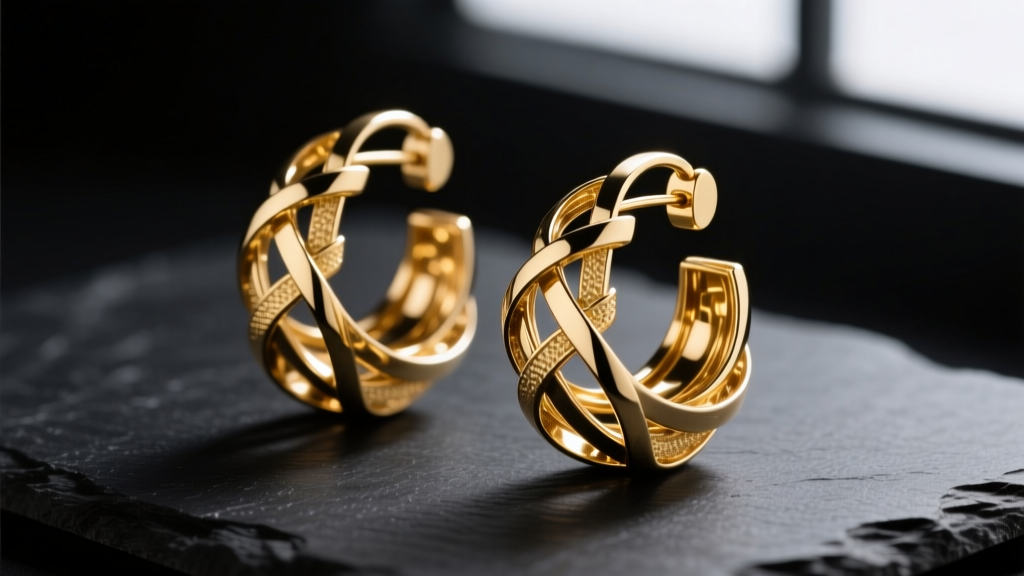
When we talk about 3D earrings, we are referring to jewelry that possesses significant Z-axis depth. Unlike traditional flat-stamped studs or simple wire hoops, 3D earrings feature sculptural elements, interlocking geometric layers, deep undercuts, and complex negative spaces. In 2026, the market is flooded with stunning volumetric designs ranging from cast precious metals to advanced SLA/DLP 3D-printed photopolymer resins. However, this architectural complexity introduces a massive maintenance challenge.
Standard polishing cloths cannot reach into the deep crevices of sculptural jewelry. Sebum (natural skin oils), dead skin cells, and cosmetic emulsifiers pool in these negative spaces. Over time, this trapped organic matter creates a localized acidic environment that accelerates galvanic corrosion in mixed-metal pieces and fosters bacterial buildup on porous resins. Maintaining the structural integrity and visual brilliance of 3D earrings requires a specialized, multi-step approach that goes far beyond a simple wipe-down.
Material-Specific Cleaning Protocols
The first rule of jewelry maintenance is understanding your material. The cleaning agents that will make cast sterling silver shine can instantly destroy a 3D-printed resin piece. According to the Gemological Institute of America (GIA), matching the chemical cleaner to the specific metallurgical or polymer profile is critical to preventing irreversible surface damage.
Cast Metals (Sterling Silver, Gold, Brass)
Sculptural metal 3D earrings are often cast using the lost-wax method. Sterling silver is particularly prone to sulfide tarnishing, which manifests as a dark, stubborn film deep inside the crevices where polishing tools cannot reach. For these pieces, avoid abrasive pastes. Instead, utilize a chemical reduction bath: line a glass bowl with aluminum foil, add boiling water, a tablespoon of baking soda, and a pinch of salt. The electrochemical reaction transfers the silver sulfide from the earring to the foil, lifting tarnish from the deepest undercuts without removing any base metal.
3D-Printed Resins and Polymers
The explosion of high-resolution resin 3D earrings has democratized avant-garde jewelry design. However, UV-cured photopolymers are highly sensitive to harsh chemicals. Never use isopropyl alcohol (IPA), ammonia, or acetone on 3D-printed earrings. These solvents can leach uncured photoinitiators from the resin matrix, causing micro-cracking, clouding, and severe structural brittleness. Stick to a neutral pH (7.0) surfactant and lukewarm distilled water.
Mixed Media and Enamel Inlays
Many complex 3D earrings incorporate cold enamel or epoxy resin inlays within their geometric folds. These materials are glued or poured into place. Submerging them in hot water or using ultrasonic cleaners will degrade the adhesive bonds, leading to delamination and the loss of the inlay material.
Step-by-Step Deep Cleaning Framework
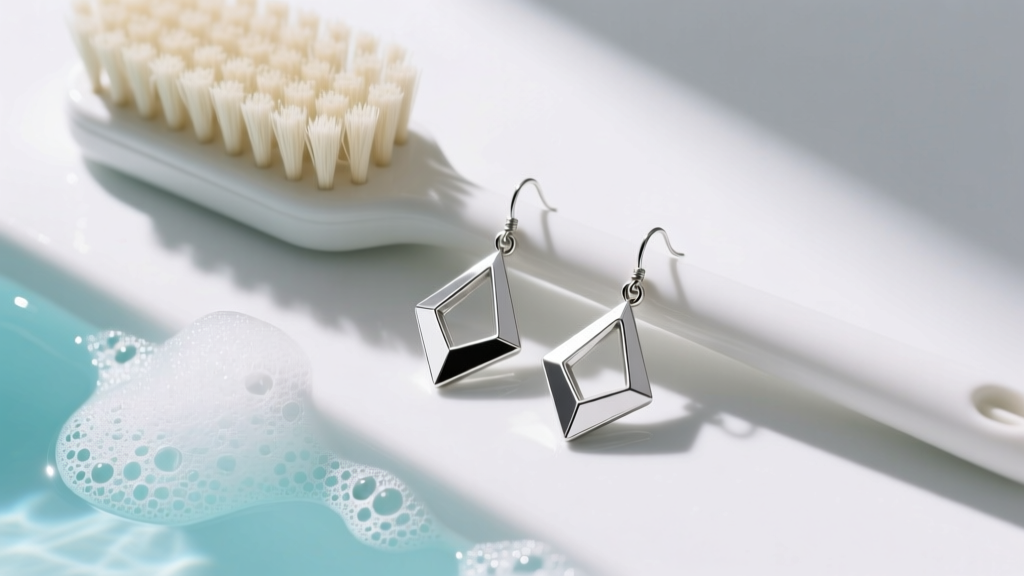
To safely remove buildup from complex geometries without scratching high-polish finishes, follow this professional framework recommended by master jewelers and technical suppliers like Rio Grande.
- Dry Debris Removal: Before introducing moisture, use a clean, dry cosmetic makeup brush (with soft synthetic bristles) to sweep out loose dust and dead skin from the earring's undercuts. Moistening this debris first turns it into a sticky paste that is harder to remove.
- The Soak: Mix 1 part phosphate-free mild dish detergent with 10 parts lukewarm distilled water. Submerge metal 3D earrings for exactly 5 to 7 minutes. Do not exceed 35°C (95°F), as excessive heat can warp delicate wax-cast prongs or loosen glued posts.
- Agitation: Use a baby-soft toothbrush or a specialized jewelry detailing brush to gently agitate the crevices. Brush in a circular motion, ensuring the bristles flex into the negative spaces rather than scratching the high vertices.
- The Rinse and Dry: Rinse thoroughly under a gentle stream of distilled water. Crucial Step: Do not rub dry with a microfiber cloth, which will snag on sharp geometric vertices and leave lint behind. Instead, use a cosmetic air duster or a can of compressed air (held at least 6 inches away) to forcefully blow water out of blind holes and deep crevices.
The Ultrasonic Cleaner Dilemma: A Data Comparison
Ultrasonic cleaners use high-frequency sound waves (typically 40-45 kHz) to create microscopic vacuum bubbles in a liquid solution. When these bubbles collapse against the jewelry, they generate localized shockwaves—a process called cavitation. While this is miraculous for cleaning diamond settings, it is highly dangerous for many types of 3D earrings. The shockwaves can easily shatter brittle 3D-printed resins, chip enamel, and vibrate glued friction posts right out of their housings.
| Material | Ultrasonic Safe? | Primary Risk | Recommended Alternative |
|---|---|---|---|
| Cast 14k/18k Gold | Yes (with caution) | Loosening of glued posts or tension settings | Warm soapy soak + soft brush |
| Sterling Silver | Yes (if no oxidized finish) | Stripping of intentional patina/oxidation in crevices | Aluminum foil + baking soda bath |
| SLA/DLP 3D Resin | NO | Micro-fractures, surface clouding, structural failure | Distilled water wipe + air dry |
| Enamel / Epoxy Inlays | NO | Chipping, delamination from metal housing | Damp microfiber swab |
Preventative Maintenance and Storage
Because 3D earrings have a high surface-area-to-volume ratio, they are more exposed to ambient humidity and airborne sulfur compounds than flat jewelry. Proper storage is not just about organization; it is a chemical necessity.
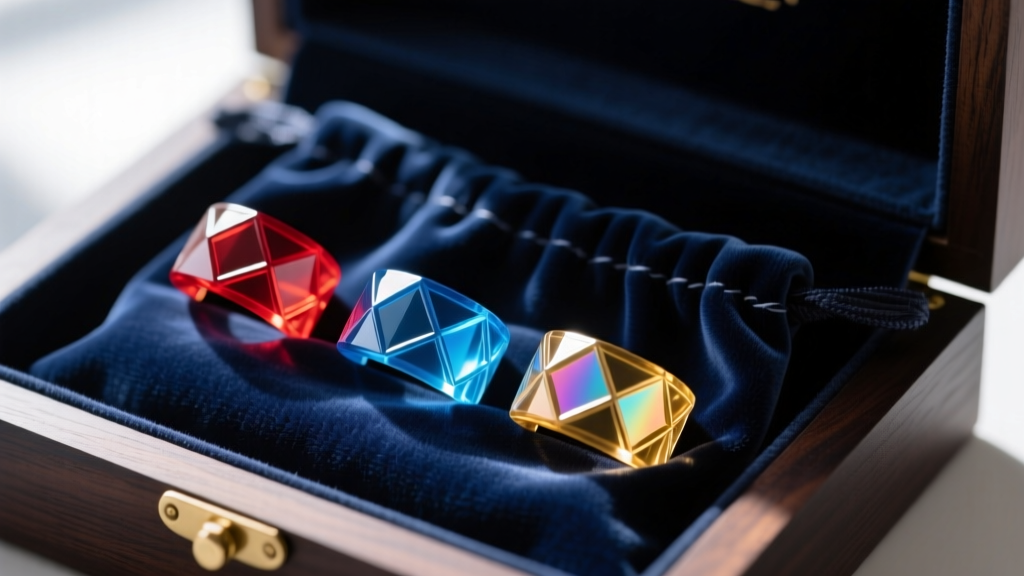
Expert Storage Tip: Never store mixed-metal 3D earrings touching one another in a communal jewelry box. The varying electrochemical potentials of different alloys, combined with ambient moisture, will create a microscopic galvanic cell, leading to rapid localized corrosion. Store each piece individually in an airtight polyethylene bag with a 3M anti-tarnish strip and a small silica gel desiccant packet.
For 3D-printed resin earrings, UV exposure is the ultimate enemy. Even ambient room lighting over several months will cause the polymer chains to degrade, resulting in an irreversible yellow tint and a chalky surface texture. Always store resin pieces in opaque, UV-blocking drawers or boxes.
Troubleshooting Common 3D Earring Failures
The volumetric nature of 3D earrings often makes them front-heavy. This shifted center of gravity creates continuous mechanical torque on the earring post, leading to specific failure modes that require proactive maintenance.
- Post Bending and Shearing: Standard 20-gauge (0.8mm) or 18-gauge (1.0mm) friction posts are often too weak to support heavy sculptural 3D earrings. The constant drooping bends the post, eventually causing metal fatigue and shear. If you design or buy heavy 3D pieces, look for upgraded 16-gauge (1.2mm) posts, or switch to flat-back labret studs which distribute the weight more evenly across the earlobe.
- Resin Yellowing: If your white or translucent 3D-printed earrings have yellowed, the UV stabilizers in the resin have been depleted. While you cannot reverse this chemically, you can carefully sand the outermost microscopic layer with 2000-grit wet sandpaper and apply a UV-resistant clear coat to halt further degradation.
- Trapped Moisture Odor: If your complex metal earrings develop a metallic, musty smell, it is due to trapped moisture reacting with skin bacteria in blind holes. Use a cotton swab dipped in a 50/50 mix of distilled water and white vinegar to swab the deep crevices, followed immediately by a compressed air blow-out to ensure zero moisture remains.
Conclusion
Maintaining 3D earrings requires a shift in mindset from simple surface polishing to deep structural hygiene. By respecting the specific material properties of your sculptural metals and 3D-printed polymers, avoiding the destructive forces of ultrasonic cavitation, and implementing a rigorous drying and storage protocol, you can preserve the intricate geometry and brilliance of your favorite pieces for decades. Treat the negative spaces with the same care as the polished surfaces, and your 3D earrings will remain wearable works of art.


