Ultimate Guide to Cleaning & Caring for Steampunk Earrings
Discover expert cleaning and maintenance tips for steampunk earrings. Learn how to preserve patina, clean watch gears, and prevent brass tarnish.
The Unique Anatomy of Steampunk Earrings
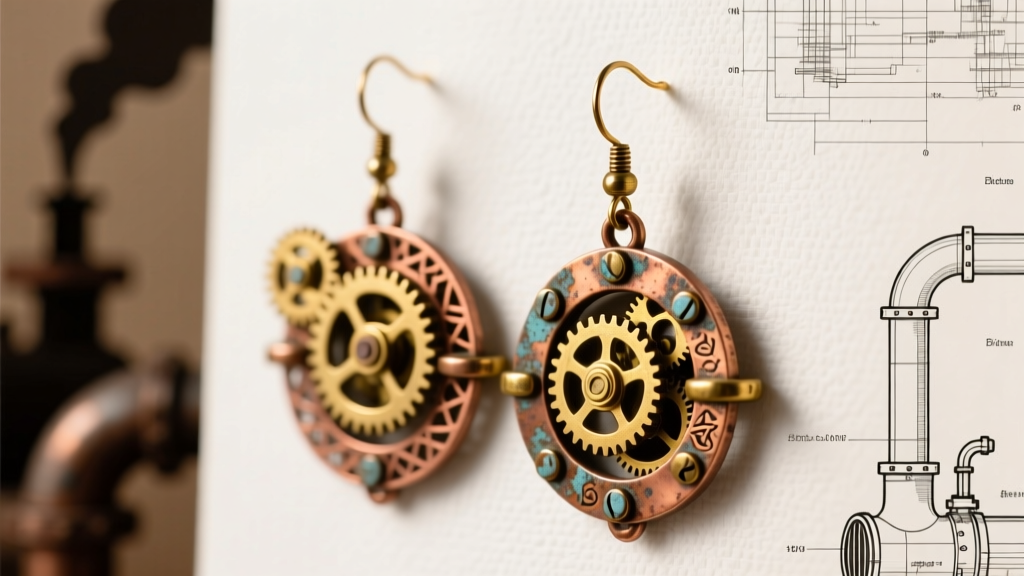
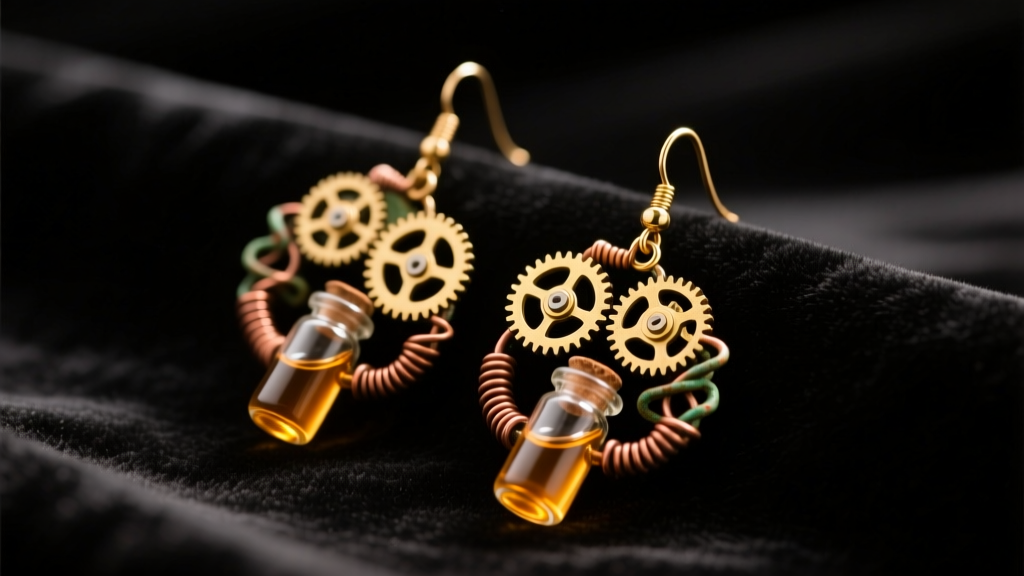
Steampunk earrings are a masterclass in mixed-media jewelry design, blending Victorian aesthetics with industrial machinery. Unlike standard gold or silver studs, these pieces frequently incorporate raw brass, oxidized copper, bronze, salvaged watch movements, glass vials, leather, and UV resin. This complex anatomy makes their care and maintenance highly specialized. According to technical guidelines from Rio Grande, a premier jewelry supply authority, mixed-metal and mixed-media pieces require compartmentalized cleaning strategies to prevent chemical reactions that can ruin delicate components.
Furthermore, handmade steampunk dangles often utilize 20-gauge or 18-gauge ear wires to support the heavy weight of clockwork mechanisms. These thicker gauges are prone to bending if snagged, and the tension loops can loosen over time. Proper maintenance isn't just about aesthetics; it is about structural preservation.
The Golden Rule: Preserving the Patina
The most common mistake owners make is treating intentional antiquing like standard tarnish. Steampunk jewelers frequently use liver of sulfur or cupric nitrate to force a dark, aged patina onto brass and copper, highlighting the crevices of watch gears and wire-wrapping. If you use harsh commercial silver dips or abrasive pastes, you will strip this intentional oxidation, leaving the piece looking flat, unnaturally bright, and stripped of its Victorian character.
Distinguishing Tarnish from Destructive Corrosion
- Patina (Keep): A dark brown or black film (cupric oxide) in the recesses of the metal. This is intentional and adds depth.
- Tarnish (Clean Gently): A dull, even darkening on the high-polish surfaces of the metal caused by ambient sulfur.
- Verdigris (Remove Immediately): A powdery, bright green or blue crust (copper carbonate). This is active, destructive corrosion that will eventually eat through the metal and can cause skin irritation.
Material-Specific Maintenance Matrix
Because steampunk earrings are rarely made of a single material, you must tailor your cleaning agents to the most delicate component in the assembly. Refer to the matrix below before applying any liquids.
| Material Component | Safe Cleaning Agent | Tool | What to Strictly Avoid |
|---|---|---|---|
| Raw Brass / Copper | Distilled water + drop of mild dish soap | Soft-bristle baby toothbrush | Ammonia (causes dezincification) |
| Antiqued Silver | Dry microfiber cloth only | Lint-free polishing cloth | Silver dip liquids, baking soda |
| Watch Gears (Steel/Brass) | Isopropyl alcohol (90%+) on a swab | Cotton swab, compressed air | Water immersion (causes pivot rust) |
| Glass Vials / Resin | Glass cleaner or mild soapy water | Microfiber cloth | Acetone, alcohol (dissolves resin) |
| Leather Accents | Leather conditioner (sparingly) | Soft cotton cloth | Water soaking, alcohol-based wipes |
Step-by-Step Deep Cleaning Protocol
When your steampunk earrings accumulate skin oils, makeup, and environmental dust, a dry wipe is no longer sufficient. Follow this meticulous protocol to deep-clean your pieces without compromising the adhesives or metal finishes.
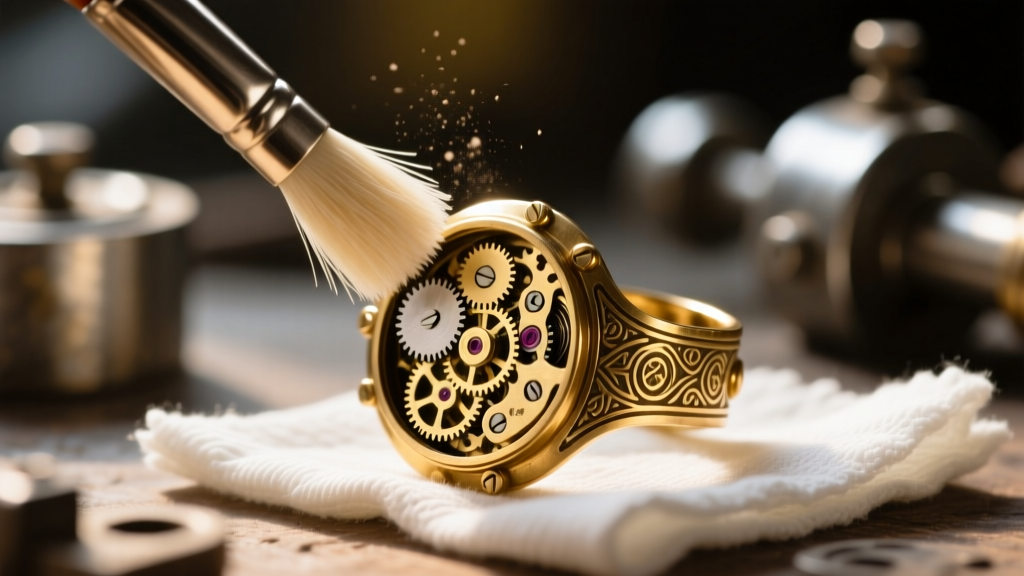
- Dry Dusting: Use a clean, dry makeup brush or a soft-bristle artist's brush to sweep loose dust out of the gear teeth and wire-wrapping crevices.
- Targeted Swabbing: Dip a cotton swab in 90% or higher isopropyl alcohol. Gently run it over the watch gears and metallic joints. The high alcohol content evaporates almost instantly, preventing moisture from becoming trapped in the steel pivots, which would lead to flash rusting.
- Mild Base Metal Wash: For heavily soiled brass or copper frames, mix a bowl of lukewarm distilled water with a single drop of pH-neutral dish soap (like Dawn). Dip a soft baby toothbrush into the suds—not the water—and gently agitate the surface. Avoid submerging the entire earring.
- The Rinse: Dampen a clean microfiber cloth with distilled water and wipe away the soap suds. Never hold the earring under a running tap, as water pressure can bend delicate 20-gauge wire elements.
- Forced Air Drying: This is the most critical step. Use a can of compressed air (held upright to avoid propellant spray) to blast moisture out of the gear pivots and under the bezel settings. Follow up with a hairdryer on the 'cool' setting for 30 seconds.
"Ultrasonic cleaners are the enemy of mixed-media jewelry. The high-frequency cavitation bubbles will shatter glass vials, fracture UV resin bonds, and violently strip intentional chemical patinas from base metals." — Gemological Institute of America (GIA) jewelry care guidelines.
Sealing and Protecting Your Steampunk Pieces
Raw brass and copper are highly reactive to the sulfur and moisture naturally present in human skin. If your steampunk earrings frequently leave green or black marks on your earlobes, or if the metal tarnishes within days of wearing, you need to apply a barrier sealant.
The Renaissance Wax Method
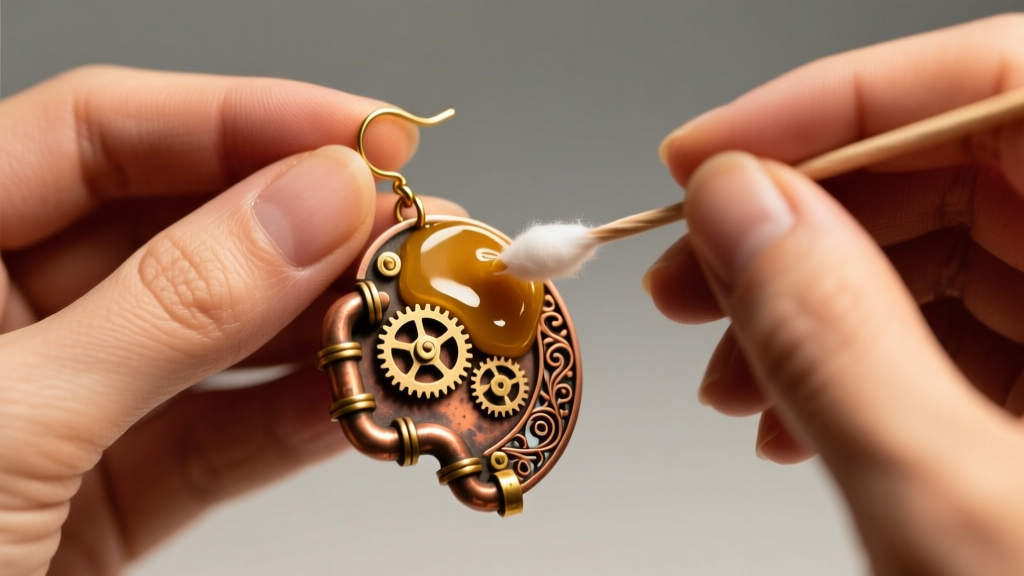
Originally developed by the British Museum for conserving metal artifacts, Renaissance Wax is a micro-crystalline wax that provides a hard, invisible barrier against moisture and oxygen. Using a lint-free cotton swab, apply a microscopic amount of the wax to the raw metal surfaces of your earrings. Allow it to dry for 10 minutes until it hazes, then buff it gently with a clean microfiber cloth. This process will not alter the color of your intentional patina but will lock it in place and prevent skin discoloration. Reapply every 3 to 4 months depending on wear frequency.
Liquid Polymer Coatings
For pieces with extreme textures where wax might build up in the crevices and look cloudy, a liquid polymer coating like ProtectaClear is ideal. It dries to a completely clear, flexible film that is practically undetectable on complex clockwork assemblies.
Storage Solutions to Prevent Oxidation
How you store your steampunk earrings between wears dictates how much cleaning they will require. Leaving them exposed to ambient air guarantees a slow, even layer of tarnish that dulls the metallic shine.
- Anti-Tarnish Strips: Place a 3M anti-tarnish strip inside your jewelry box. These strips absorb ambient sulfur gases before they can react with the copper and brass in your earrings. Replace the strips every 6 months.
- Silica Gel Packets: Steampunk jewelry often includes steel components that are highly susceptible to humidity-induced rust. Store your earrings in airtight ziplock bags with a small, indicating silica gel packet to maintain a bone-dry microenvironment.
- Compartmentalization: Because these earrings feature jagged gears, protruding wires, and fragile glass, they must be stored individually in soft flannel pouches. Tossing them into a communal jewelry box will result in scratched glass vials and bent ear wires.
Troubleshooting Common Steampunk Earring Failures
Even with meticulous care, the complex nature of steampunk jewelry can lead to specific mechanical and chemical failures. Here is how to address the most common issues:
1. Flash Rust on Watch Gears
If you notice orange spotting on the steel gears, act immediately. Do not use water. Apply a tiny drop of lightweight synthetic watch oil or mineral oil to a toothpick and dab it directly onto the rust spot. Let it sit for an hour to penetrate, then gently scrape the rust away with a brass-bristled detail brush. Wipe clean with a dry swab.
2. Cloudy or Yellowing UV Resin
Many steampunk pieces use UV resin to encapsulate tiny gears or seal paper elements. Over time, exposure to UV light from the sun causes the resin to yellow and become brittle. While you cannot reverse the yellowing, you can restore surface clarity by lightly polishing the resin dome with a plastic polish like Novus 2, applied with a soft cotton pad.
3. Loose Ear Wire Tension
The weight of brass gears often pulls on the ear wire, causing the loop that connects the wire to the earring body to gap open. Inspect this connection point monthly. If a gap appears, use two pairs of smooth-jawed chain-nose pliers to gently squeeze the loop closed. Never use serrated pliers, as they will mar the soft brass or copper wire.


