How to Craft Custom Rainbow Beaded Earrings: A Step-by-Step Guide
Learn how to craft custom rainbow beaded earrings with our expert step-by-step guide covering wire gauges, bead selection, and structural integrity.

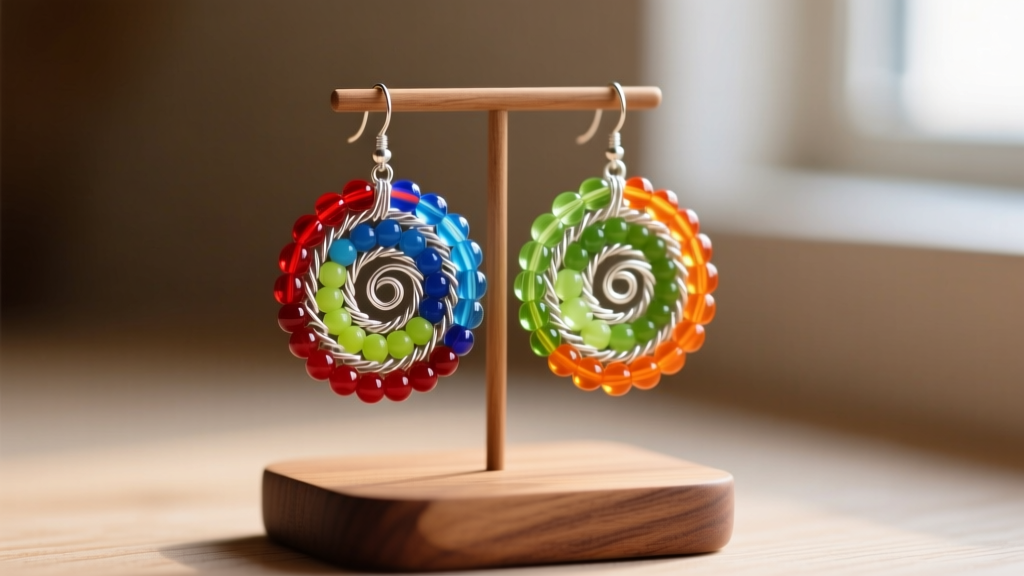
The Architecture of Color: Designing Rainbow Beaded Earrings
Rainbow beaded earrings are a vibrant staple in contemporary jewelry design, offering a playful yet sophisticated way to incorporate the full color spectrum into wearable art. However, transitioning from a simple craft project to a professional-grade accessory requires a deep understanding of structural integrity, weight distribution, and material metallurgy. Poorly constructed beaded dangles often suffer from wire fatigue, bead slippage, and excessive weight that causes ear lobe stretching over time.
As a jewelry designer, your goal is to balance the visual impact of the ROYGBIV (Red, Orange, Yellow, Green, Blue, Indigo, Violet) spectrum with ergonomic wearability. The ideal rainbow beaded earring should weigh no more than 12 to 15 grams per ear to prevent lobe fatigue. This comprehensive guide will walk you through the precise materials, wire wrapping techniques, and structural troubleshooting required to craft durable, high-end rainbow beaded earrings that stand the test of time.
Material Selection: Beads, Wire, and Findings
The longevity of your earrings begins with selecting the correct materials. According to the Gemological Institute of America (GIA), understanding the hardness and fracture toughness of your chosen beads is critical, especially when applying tension during wire wrapping.
Bead Types and Hole Diameters
For a seamless rainbow gradient, consistency in bead shape and hole diameter is paramount. Czech glass beads (typically 4mm to 6mm) offer uniform sizing and a standard 0.8mm hole. For high-end designs, consider semi-precious gemstone beads like dyed agates or natural tourmaline, though you must verify the hole size, as natural stones often vary between 0.6mm and 1.0mm. To prevent color muddying between contrasting hues (such as transitioning from deep indigo to bright yellow), integrate 2mm sterling silver or 14k gold-filled spacer beads. These metallic breaks reflect light and maintain the distinct identity of each color band.
Wire Gauges and Metallurgy
Wire hardness dictates the structural success of your earrings. As detailed by jewelry supply authority Rio Grande, wire is categorized by its temper: dead-soft, half-hard, and full-hard. Dead-soft wire is malleable and ideal for creating wrapped loops and weaving, but it will easily bend out of shape if used for ear wires. Half-hard wire has been drawn and stressed to hold its form, making it the mandatory choice for fabricating custom ear wires and structural frames.
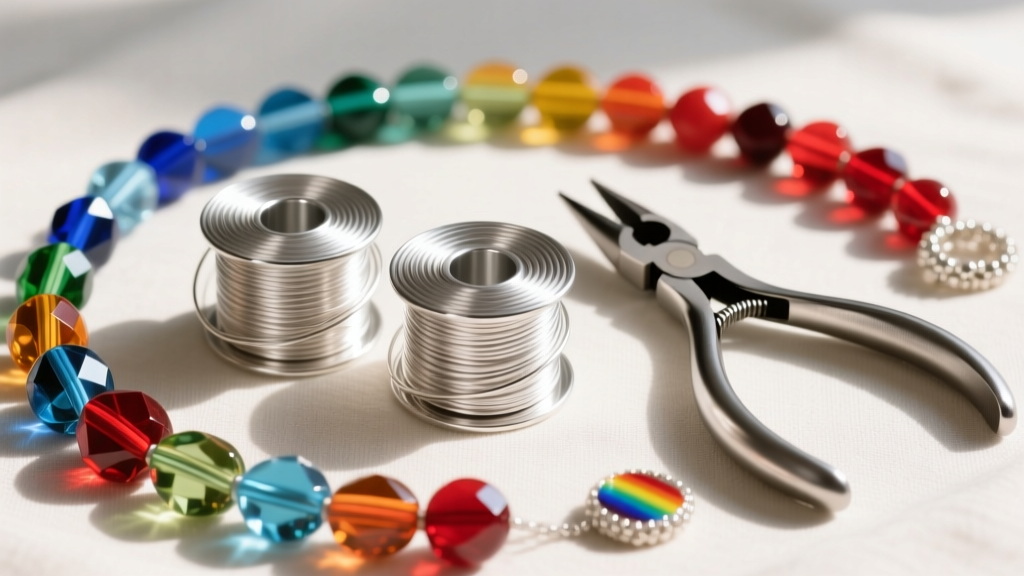
Wire and Bead Compatibility Matrix
| Wire Gauge | Diameter (mm) | Temper | Best Application | Compatible Bead Hole Size |
|---|---|---|---|---|
| 20-Gauge | 0.81mm | Half-Hard | Ear wires, structural clasps | 1.0mm and larger |
| 22-Gauge | 0.64mm | Dead-Soft | Wrapped loops, dangle stems | 0.8mm to 1.2mm |
| 24-Gauge | 0.51mm | Dead-Soft | Seed bead weaving, tight wraps | 0.5mm to 0.8mm |
Step-by-Step Assembly Guide
Creating a secure dangle requires moving away from simple loops, which inevitably pull open under the kinetic friction of daily movement. Instead, we utilize the wrapped loop technique to permanently lock the beads in place.
Step 1: Fabricating the Ear Wire
Cut a 3-inch length of 20-gauge half-hard sterling silver or niobium wire (niobium is highly recommended for hypoallergenic requirements). Using the roundest tip of your round-nose pliers, form a small 3mm loop at one end. This loop will eventually connect to the dangle. Next, wrap the wire around a 7mm ear wire mandrel to create the main hook. Use a jeweler's file to file the terminal end completely flush and smooth, ensuring it glides through the ear lobe piercing without micro-tearing the tissue.
Step 2: Threading the Rainbow Gradient
Cut a 4-inch length of 22-gauge dead-soft wire. Create a 90-degree bend exactly 1.5 inches from the end using chain-nose pliers. Thread your beads in a precise spectrum order: starting with deep red at the bottom, moving through orange, yellow, green, blue, and finishing with violet at the top. Slide the beads down until they rest flush against the 90-degree bend. Leave approximately 15mm of bare wire protruding from the top violet bead to allow room for the wrapping mechanism.
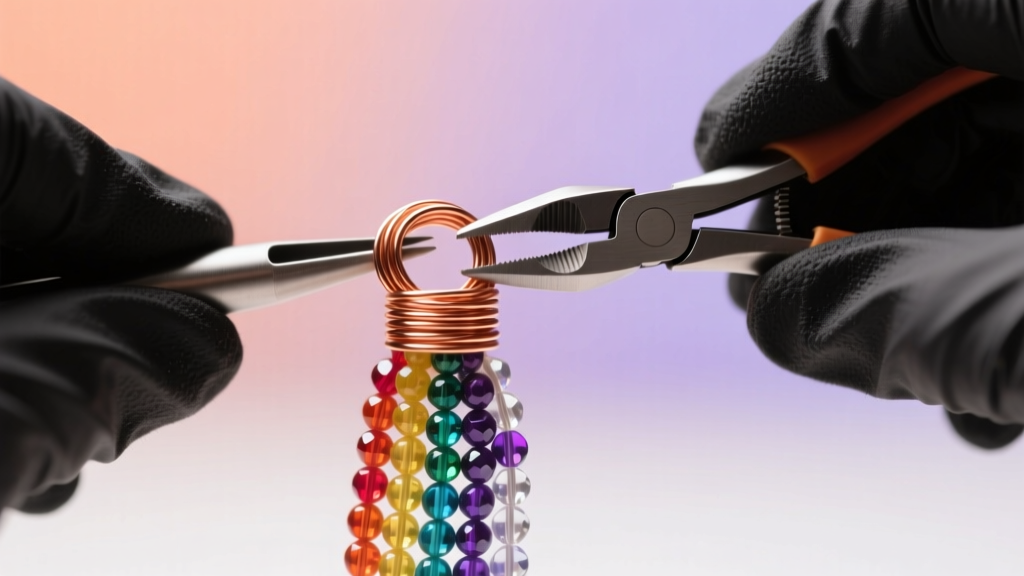
Step 3: Executing the Wrapped Loop
Using your round-nose pliers, grip the bare wire just above the top bead and bend it back over the plier jaw to form a complete loop. Before closing the loop, ensure it is aligned perfectly straight with the bead column. Take the trailing wire tail and begin wrapping it tightly around the stem wire directly beneath the loop. Make exactly three to four tight, adjacent coils. Use flush cutters to snip the remaining tail, and use chain-nose pliers to gently squeeze the cut end flush against the stem to prevent it from snagging on clothing or hair.
Troubleshooting Common Structural Failures
Even experienced jewelers encounter structural anomalies when working with multi-bead dangles. Here is how to diagnose and fix the most common failure modes:
- Bead Slippage and Gap Formation: If your beads shift and create gaps, your wire gauge is too thin for the bead holes. Always match the wire to the largest hole in your sequence, or use 1mm crimp beads at the top and bottom of the bead column to lock the stack in place.
- Wire Snapping at the Loop Base: This occurs due to work-hardening. If you bend and re-bend dead-soft wire too many times, the crystalline structure of the metal fatigues and snaps. Make your bends decisive and use nylon-jaw pliers to straighten wire without adding stress.
- Color Bleeding: When using dyed glass or porous semi-precious stones, moisture and skin oils can cause colors to migrate. Seal dyed beads with a micro-thin coat of jewelry-grade epoxy resin or opt for color-fast Czech glass.
- Ear Lobe Drooping: If the finished earring exceeds 15 grams, the ear wire will pull forward. Counteract this by using a French wire (fishhook) style with a slightly thicker 19-gauge wire, or incorporate lightweight acrylic or hollow glass beads to reduce overall mass without sacrificing visual volume.
Styling, Maintenance, and Longevity
Rainbow beaded earrings are inherently bold, making them a focal point of any outfit. For optimal styling, pair them with neutral, monochromatic clothing—such as a crisp white linen blouse or a sleek black turtleneck—to allow the spectral gradient to command attention without clashing with patterned textiles.
Maintenance is crucial for preserving the brilliance of the beads and the integrity of the wire. Sterling silver wire will naturally oxidize over time, especially in high-humidity environments. Advise your clients to store their earrings in anti-tarnish cloth pouches. For cleaning, avoid ultrasonic cleaners, as the high-frequency vibrations can fracture glass beads and shatter semi-precious stones with internal inclusions. Instead, use a mild, phosphate-free dish soap and a soft-bristled baby toothbrush to gently clean the wire wraps and bead surfaces, drying immediately with a microfiber cloth.
Expert Insight: When working with expensive gemstone beads in your rainbow spectrum, always test the structural integrity of your wrapped loops on cheap glass beads first. The cost of a snapped 22-gauge wire is negligible, but the cost of a dropped and chipped paraiba tourmaline bead is catastrophic.
By adhering to these precise metallurgical standards and assembly techniques, you elevate the rainbow beaded earring from a fleeting trend into a durable, heirloom-quality accessory. For further reading on advanced wire-weaving techniques and tension management, resources from Interweave provide excellent visual tutorials to supplement your physical practice.


