How to Craft Hypoallergenic Pokeball Earrings: A DIY Guide
Learn how to make custom, hypoallergenic pokeball earrings with our step-by-step guide covering polymer clay, UV resin doming, and 20G posts.

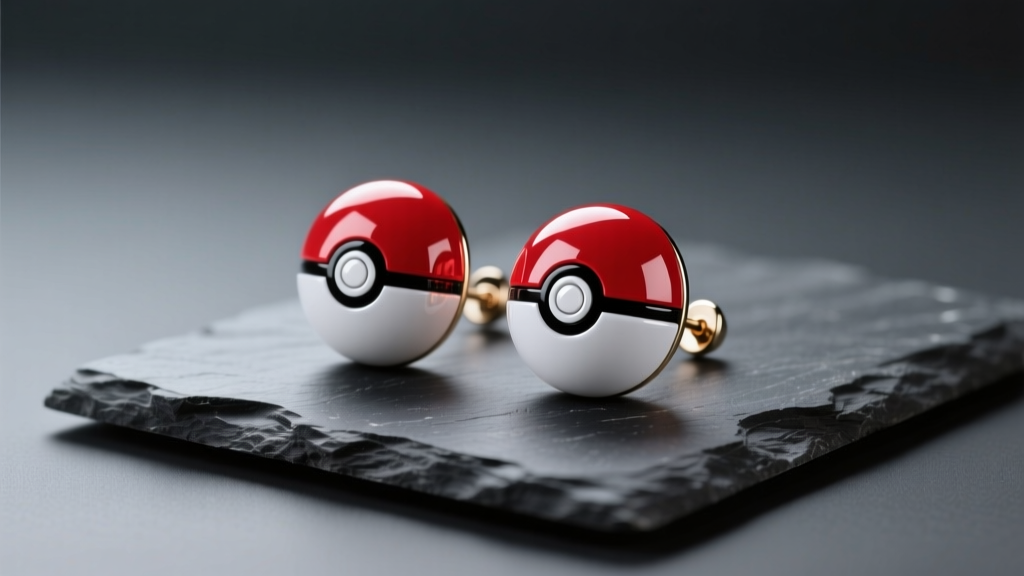
The Appeal of Custom Pokeball Earrings
Fandom jewelry has evolved far beyond cheap, mass-produced acrylics that turn your skin green. For Pokémon trainers and collectors alike, pokeball earrings are a staple accessory for conventions, casual outings, and geek-chic everyday wear. However, finding high-quality, hypoallergenic options can be surprisingly difficult. Many commercial novelty earrings rely on nickel-heavy base metals that trigger contact dermatitis, especially in fresh or sensitive piercings.
By crafting your own pokeball earrings at home, you take complete control over the materials. You can pair skin-safe, implant-grade hardware with professional jewelry-making techniques like UV resin doming. As of 2026, the accessibility of non-yellowing, HALS-stabilized UV resins and precision 3D-printed or clay-crafted bases means DIY jewelry can easily rival boutique quality. This step-by-step guide will walk you through creating a durable, vibrant, and completely hypoallergenic pair of pokeball earrings from scratch.
Essential Materials and Tool Kit
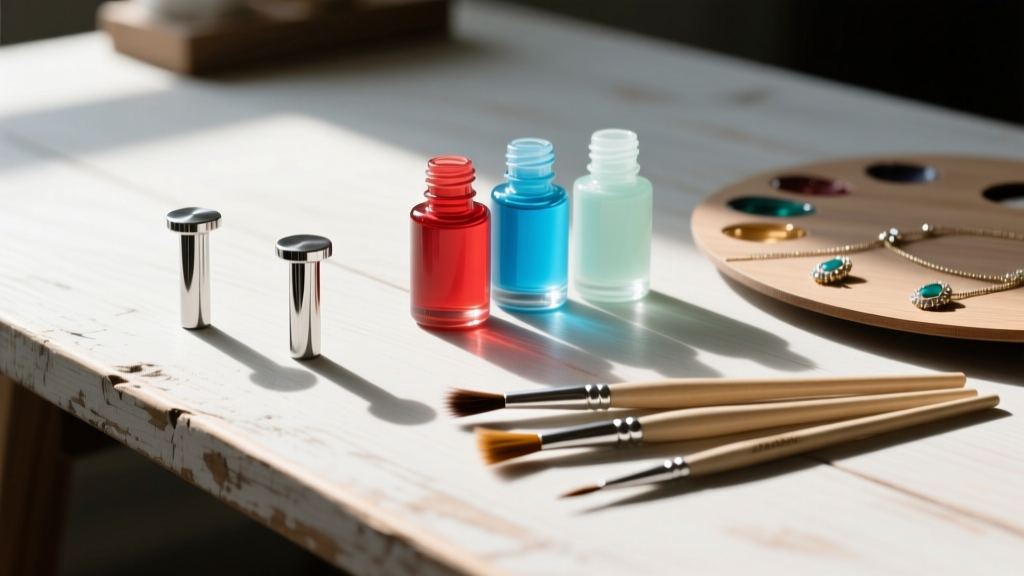
Before you begin, gather high-grade materials. According to jewelry supply standards outlined by Fire Mountain Gems, using the correct findings and sealants is the difference between a craft project and a wearable piece of art.
- Earring Posts: 20-Gauge (0.81mm) flat pad earring posts. Opt for 316L surgical stainless steel or ASTM F136 implant-grade titanium to guarantee hypoallergenic wear.
- Base Material: White polymer clay (e.g., Sculpey Premo or Fimo Professional) for a lightweight, durable canvas.
- Resin: Hard-type UV Resin with a non-yellowing formula. Avoid soft resins, as they remain tacky and attract lint.
- Curing Lamp: A 36W or higher UV/LED hybrid nail lamp for rapid, thorough curing.
- Paints: Acrylic model paints (Vallejo Game Color 'Evil Suns Scarlet' and 'Black' offer excellent opacity and adhesion).
- Tools: 12mm circular clay punch, 400-grit sandpaper, size 0 and 2 fine-tip detailing brushes, flexible masking tape, and a silicone dotting tool.
- Adhesive: Two-part jeweler's epoxy or a high-viscosity UV bonding gel.
Step 1: Sculpting and Baking the Clay Bases
The foundation of a great pokeball earring is a perfectly smooth, uniformly thick base. Polymer clay is ideal because it bakes hard and provides a porous surface that grips paint and resin beautifully.
Rolling and Cutting
Condition your white polymer clay by kneading it until pliable. Roll it out between two 3mm thickness guides to ensure absolute consistency. Use your 12mm circular punch to cut out two perfect discs. If the edges are slightly jagged, gently smooth them with your fingertip dipped in a tiny amount of cornstarch.
Baking for Durability
Place the discs on a piece of parchment paper atop a ceramic tile. Bake at 275°F (135°C) for 20 minutes. While the standard recommendation is 15 minutes per quarter-inch, giving slightly thicker 12mm discs an extra five minutes ensures the clay is fully cured and less prone to snapping under the weight of the resin dome. Let them cool completely before handling.
Step 2: Precision Painting the Pokeball Motif
Painting a crisp equator line freehand is a recipe for frustration. Instead, use a masking technique to achieve the sharp, factory-molded look of a real Poké Ball.
- Prep the Surface: Lightly scuff the baked clay discs with 400-grit sandpaper. This creates microscopic grooves for the acrylic paint to bite into. Wipe away dust with a slightly damp cloth.
- Mask the Equator: Cut a thin, 2mm strip of flexible masking tape or automotive pinstriping tape. Wrap it perfectly around the horizontal center of the clay disc, pressing down firmly on the edges to prevent paint bleed.
- Paint the Top Half: Using your size 2 brush, apply two thin coats of 'Evil Suns Scarlet' to the top half. Thin coats prevent brush strokes and dry faster. Allow 20 minutes of drying time between coats.
- The Black Line and Button: Carefully peel away the tape. Use your size 0 brush and black paint to trace a crisp line over the tape's boundary. For the center button, use a 2mm silicone dotting tool to stamp a perfect black circle in the middle of the line. Add a tiny white highlight dot to the top left of the button to simulate a glossy reflection.
Step 3: The Art of UV Resin Doming
Resin doming mimics the look of soft enamel pins and provides a scratch-resistant, waterproof seal. The key to a perfect dome is understanding surface tension.
Pro Tip: Always work in a low-dust environment. Turn off any overhead fans and let the room settle for 10 minutes before opening your UV resin bottle to prevent airborne particles from ruining your glossy finish.
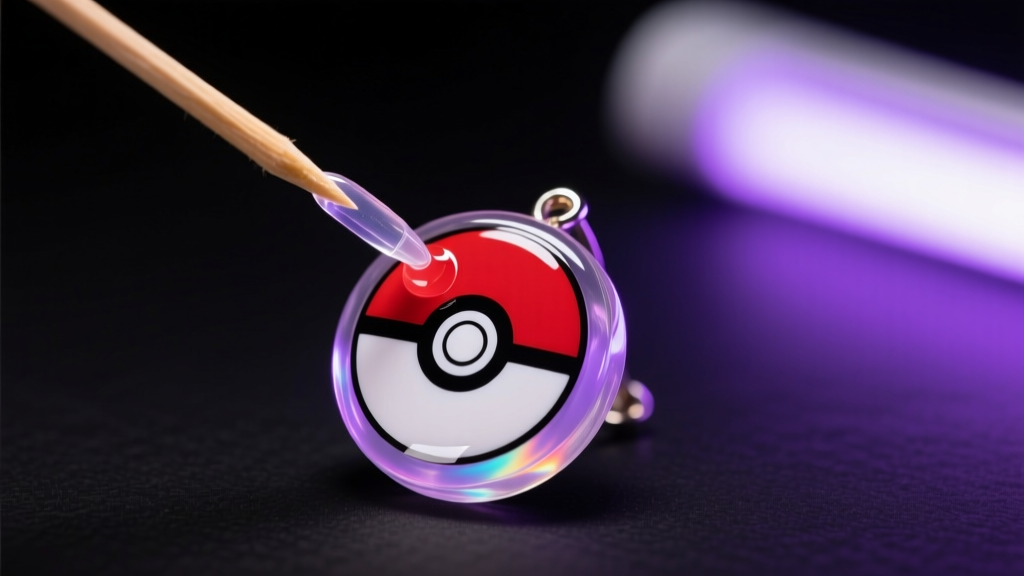
Apply a micro-thin 'seal coat' of UV resin over the painted clay using a silicone brush. This seals the acrylic paint and prevents it from reactivating or bleeding when the thicker dome coat is applied. Cure this seal coat under your 36W lamp for 60 seconds.
Next, apply a generous drop of resin to the center of the earring. Use a toothpick to gently drag the resin outward toward the edges. Stop exactly at the border; surface tension will hold the resin in a convex dome without spilling over the sides. Cure for 3 minutes. Flip the earring over, apply a thin coat to the back to seal the raw clay, and cure for another 60 seconds.
Resin Troubleshooting Chart
| Issue | Cause | Solution |
|---|---|---|
| Sticky or Tacky Spots | Under-curing or uneven resin mixing | Ensure lamp bulbs are not degraded; cure for an additional 2 minutes on each side. |
| Micro-Bubbles | Shaking the resin bottle or cold resin | Warm the resin bottle in hot water before use; pass a lighter quickly over the surface to pop bubbles before curing. |
| Resin Spilling Over Edges | Applying too much resin too quickly | Build the dome in two separate medium layers rather than one massive drop. |
| Yellowing Over Time | Using cheap, non-UV-stabilized resin | Invest in premium HALS-stabilized resins specifically marketed as non-yellowing for jewelry. |
Step 4: Bonding the Hardware
Attaching the earring post is where many DIY projects fail. Gluing a metal post to a smooth resin back will inevitably result in the earring snapping off in your jewelry box. According to metalworking guidelines from Rio Grande, mechanical adhesion is just as important as chemical adhesion.
Take your 20-gauge flat pad earring posts and aggressively score the flat metal pad with coarse sandpaper or a metal file. This creates deep scratches for the adhesive to grip. Apply a small bead of two-part jeweler's epoxy to the scored pad, press it firmly into the center back of the resin-sealed pokeball, and secure it with a piece of painter's tape while the epoxy cures for 24 hours. If you prefer a faster method, you can use a thick layer of UV resin to bond the post, curing it in 3-minute intervals, but epoxy remains the gold standard for sheer tensile strength.
Long-Term Care and Wearability
Custom pokeball earrings made with polymer clay and UV resin are incredibly durable, but they require basic maintenance to stay vibrant. While modern 2026 UV resins are highly resistant to yellowing, prolonged, direct exposure to intense summer sunlight over several years can still cause slight degradation. When not wearing them, store your earrings in a dark jewelry box or a velvet pouch.
To clean them, simply wipe the resin dome with a damp microfiber cloth. Avoid using alcohol-based cleaners, hand sanitizers, or harsh chemicals, as these can dull the high-gloss resin finish and degrade the acrylic paints underneath if they seep into any micro-crevices. By following this meticulous crafting process, you will have a pair of lightweight, hypoallergenic, and professionally finished pokeball earrings ready to catch 'em all in style.


