Crafting Hypoallergenic Polymer Clay Earrings: A Step-by-Step Guide
Learn how to craft lightweight, hypoallergenic polymer clay earrings with our step-by-step guide covering conditioning, baking, and assembly.

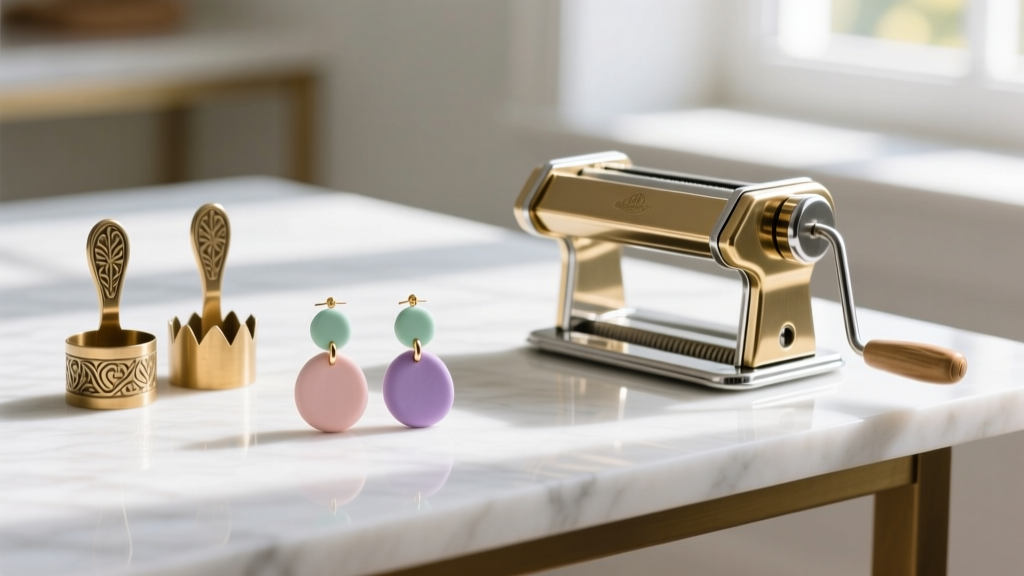
The 2026 Renaissance of Handcrafted Polymer Clay Earrings
In the ever-evolving landscape of independent jewelry design, polymer clay earrings have cemented their status as a staple for both creators and collectors. As we navigate through 2026, the demand for lightweight, hyper-customizable, and skin-safe accessories has pushed polymer clay to the forefront of the handmade market. Unlike heavy metals or fragile ceramics, polymer clay—a PVC-based modeling material—allows artisans to engineer massive, architectural statement pieces that weigh mere grams. However, crafting professional-grade, hypoallergenic earrings requires much more than simply shaping clay and popping it into a kitchen oven. It demands a rigorous understanding of material science, precise temperature control, and biocompatible hardware selection. This comprehensive guide will walk you through the exact methodology used by top-tier jewelry designers to create durable, skin-safe polymer clay earrings from scratch.
Essential Materials & Tool Kit
Before beginning, you must curate a workspace equipped with professional-grade materials. Using subpar clay or unverified hardware is the primary reason handmade earrings fail durability tests or cause contact dermatitis. Below is the definitive 2026 toolkit for serious clay jewelers.
| Item | Specification / Brand Recommendation | Estimated Cost | Purpose |
|---|---|---|---|
| Polymer Clay | Sculpey Soufflé (matte/lightweight) or Fimo Professional (firm/crisp) | $3.50 - $5.00 per 2oz block | Base material for earring components |
| Pasta Machine | Atlas 150 or dedicated Amaco Clay Machine | $40 - $80 | Conditioning clay and achieving uniform thickness |
| Baking Surface | Unglazed ceramic tile or tempered glass | $10 - $25 | Even heat distribution during the curing process |
| Oven Thermometer | Stainless steel standalone oven thermometer | $12 - $18 | Verifying true oven temperature to prevent scorching |
| Earring Posts | 20-gauge or 22-gauge Implant-Grade Titanium (ASTM F-136) | $0.40 - $0.80 per pair | Hypoallergenic hardware for sensitive ear lobes |
| Adhesive | UV Resin (hard) or E6000 Jewelry Adhesive | $15 - $25 | Securing metal posts to the baked clay backs |
Step 1: Conditioning and Coloring the Clay
Polymer clay straight from the package is often crumbly and brittle. Conditioning is the mechanical process of warming the clay and evenly distributing its plasticizers. According to polymer clay expert Cindy Lietz of The Blue Bottle Tree, improper conditioning is the leading cause of post-bake breakage.
The Pasta Machine Technique
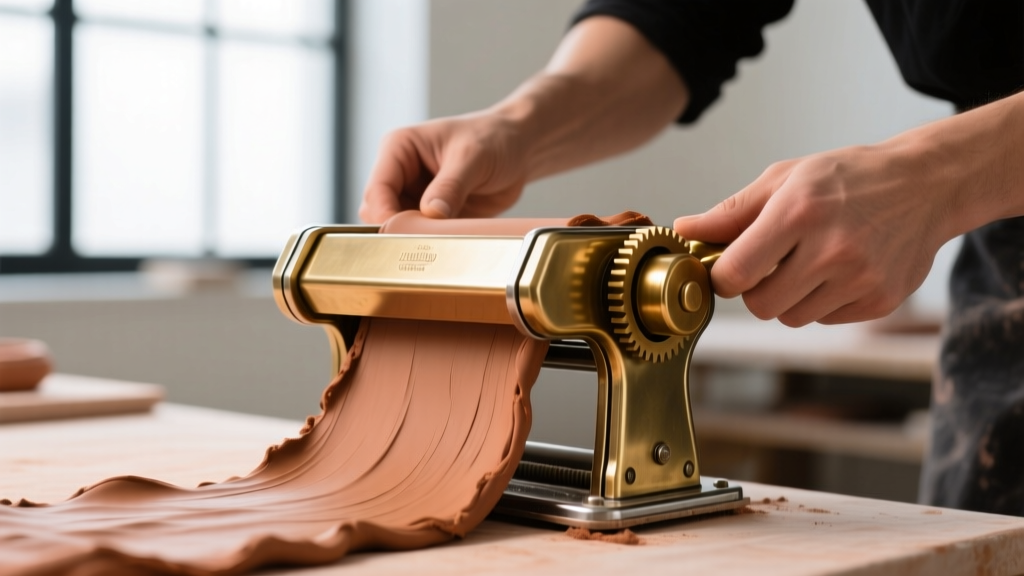
Begin by kneading the clay block in your hands until it is pliable. Pass it through the pasta machine on the thickest setting (usually #7 or #9). Fold the sheet in half and run it through again, leading with the fold. Repeat this process 20 to 30 times. When the clay folds smoothly without cracking or tearing, it is fully conditioned. If you are mixing custom colors, run your base and accent colors through the machine together until the marbling disappears and a uniform hue is achieved. For a standard earring thickness, dial the machine down to setting #3 or #4 (approximately 1.5mm to 2.0mm), which provides the perfect balance of structural integrity and featherlight wearability.
Step 2: Cutting, Shaping, and Texturing
Once your clay is conditioned and rolled to a uniform thickness, it is time to cut your shapes. While freehand cutting with a tissue blade is excellent for organic, geometric terrazzo designs, brass cookie cutters are essential for consistent, repeatable shapes like arches, teardrops, and stars.
Expert Tip: To prevent the clay from sticking to your cutters, keep a baby wipe or a light dusting of cornstarch nearby. If you are incorporating surface textures—such as silk screens, lace impressions, or stamping—apply the texture before cutting the shapes. This prevents the edges from warping or stretching, which commonly happens when you press a stamp into an already-cut, delicate piece of clay.
Step 3: The Baking Science (Temperature & Time)
Baking polymer clay is not merely about drying it out; it is a chemical process where heat causes the PVC resin particles to fuse and interlock. Underbaking results in weak, brittle earrings that will snap under the pressure of a heavy earring back. Overbaking causes scorching, bubbling, and the release of toxic hydrochloric acid gas.
Always consult the manufacturer's guidelines. Sculpey's official baking instructions dictate that their Soufflé and Premo lines require 275°F (135°C) for 15 minutes per 1/4 inch of thickness. However, kitchen ovens are notorious for wild temperature spikes.
Critical Rule: Never trust your oven's digital display. Place a standalone oven thermometer on the baking tile next to your earrings. If your oven spikes to 325°F during its heating cycle, it will scorch your clay before the thermostat corrects itself. To protect your pieces from these radiant heat spikes, create a 'tent' out of aluminum foil or use a dedicated metal baking pan with a lid to buffer the heating elements.
Allow the clay to cool completely on the tile before moving it. Polymer clay remains slightly pliable while hot and only achieves its maximum structural rigidity once it reaches room temperature.
Step 4: Sanding, Sealing, and Assembly
Raw baked polymer clay has a slightly porous finish that can absorb skin oils and makeup over time. Sanding and sealing are non-negotiable steps for fine jewelry crafting.
Sanding and Finishing
Wet-sand your baked pieces using automotive-grade sandpaper, starting at 400 grit and moving up to 800, 1000, and finally 1500 grit. Wet sanding prevents hazardous clay dust from becoming airborne and yields a buttery-smooth, glass-like surface. If you desire a high-gloss finish without sealant, you can buff the sanded clay on a muslin wheel.
Choosing the Right Hardware
For hypoallergenic earrings, the metal that touches the piercing is paramount. The Association of Professional Piercers (APP) strictly recommends implant-grade titanium (ASTM F-136) or niobium for fresh and sensitive piercings. Avoid 'surgical steel' or 'hypoallergenic' mystery alloys from bulk marketplaces, as they frequently contain nickel that triggers contact dermatitis. Use 20-gauge or 22-gauge titanium posts with flat pads for maximum surface area adhesion.
Adhesion Techniques
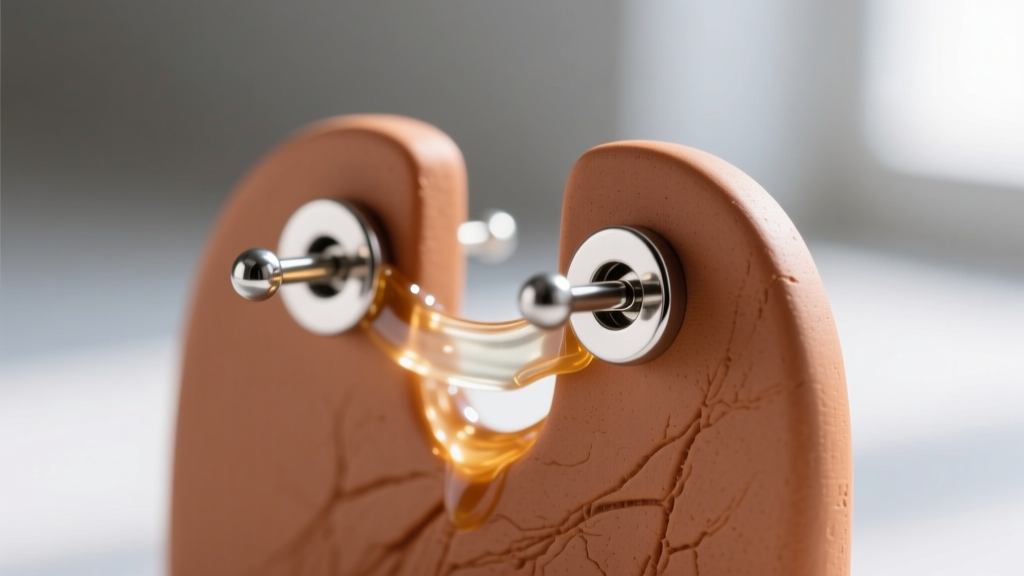
To attach the posts, lightly score the back of the clay and the metal pad with sandpaper to create a mechanical bond. While E6000 is a traditional jewelry adhesive, many 2026 artisans have pivoted to UV Resin. Applying a tiny drop of hard UV resin over the post pad and curing it with a 36W UV lamp for 60 seconds creates an indestructible, waterproof bond that will not degrade when exposed to humidity or perfume.
Troubleshooting Common Polymer Clay Failures
- Bubbling or Blistering: This is almost always caused by trapped air during the conditioning phase or an oven temperature spike. Ensure you are folding the clay correctly through the pasta machine and using an oven tent.
- Sticky Sealant: Never use clear nail polish to seal polymer clay. The solvents in nail polish react with the plasticizers in the PVC, creating a permanent, tacky mess. Always use water-based polyurethanes (like Varathane) or UV resin.
- Brittle Earrings: If your earrings snap when dropped, your oven is likely running cooler than the dial indicates, resulting in under-cured clay. Increase your baking time by 10-15 minutes and verify the heat with an independent thermometer.
Conclusion
Mastering the art of polymer clay earrings is a journey of precision and material respect. By investing in implant-grade titanium hardware, strictly monitoring your baking temperatures, and employing professional finishing techniques, you elevate your creations from simple craft projects to high-end, wearable art. Whether you are designing minimalist everyday studs or elaborate, multi-layered dangles, these foundational techniques will ensure your jewelry remains beautiful, durable, and entirely skin-safe for years to come.


