Crochet Earrings Pattern Fixes: Troubleshooting Shape, Wire and Drape
Struggling with floppy or heavy makes? Learn how to troubleshoot your crochet earrings pattern with expert fixes for wire gauges, stiffeners, and tension.

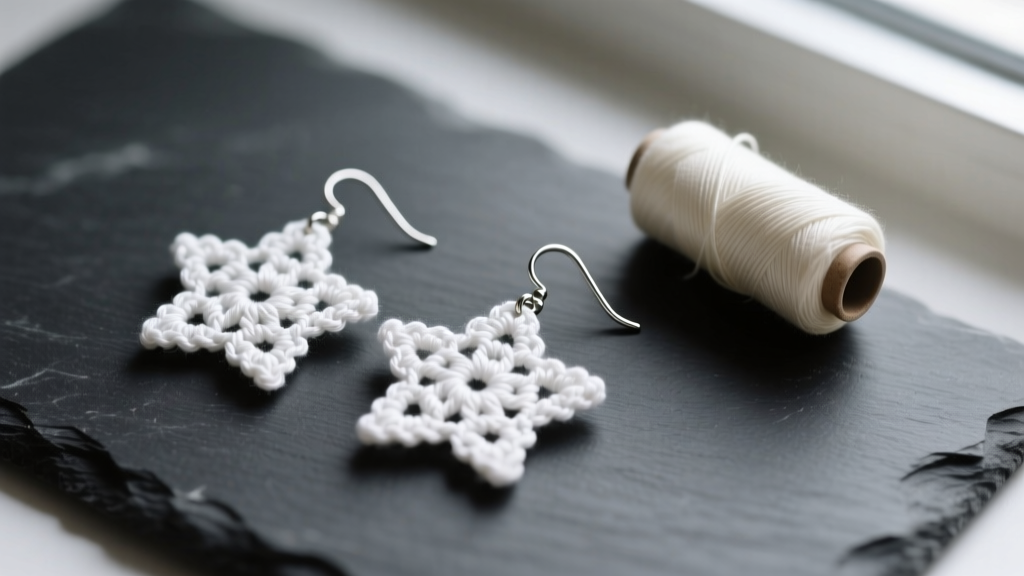
As fiber jewelry continues its massive resurgence in 2026, the line between craft and fine jewelry has beautifully blurred. However, the physics of making wearable micro-textiles remain unforgiving. You have likely experienced the frustration of finishing a stunning, intricate crochet earrings pattern, only to watch it collapse into a limp, unwearable mess the moment you pick it up. Translating a delicate fiber art into a structured, durable accessory requires a deep understanding of material science, wire mechanics, and tension control. This guide bypasses basic stitch tutorials and dives straight into advanced troubleshooting for the most common structural and aesthetic failures in crochet jewelry making.
The Flop Factor: Solving Structural Collapse
The most frequent failure mode in any crochet earrings pattern is structural collapse. Yarn is inherently pliable, designed to drape across the body, not hold a rigid geometric shape against gravity. When your doily-style or 3D motif earrings droop, the issue usually stems from using the wrong fiber content or skipping the armature and stiffening phases.
For jewelry, always select mercerized cotton thread (such as DMC Cebelia or Aunt Lydia’s Classic Crochet Thread in Size 10 or 20). Mercerization treats the cotton with sodium hydroxide, swelling the fibers to create a smooth, lint-free surface with a high sheen that absorbs stiffening agents far better than acrylics or wools. According to the Craft Yarn Council's Standard Yarn Weight System, lace and super fine weights are ideal, but the fiber content matters more than the weight category for structural integrity.
| Stiffening Agent | Best Application | Dry Time | Final Finish |
|---|---|---|---|
| PVA Glue (1:1 Water Ratio) | 3D structural shapes, heavy motifs | 12-24 Hours | Matte, highly rigid |
| Cornstarch Slurry | Delicate lace, vintage doilies | 6-8 Hours | Crisp, slightly cloudy |
| Commercial Fabric Stiffener | Flat geometric motifs, hoops | 4-6 Hours | Flexible, clear |
| Beeswax Thread Conditioner | Fringe, tassels, dangle elements | Instant (Iron) | Water-resistant, soft drape |
Troubleshooting Tip: If your white cotton earrings yellow after applying PVA glue, you are likely using a glue brand with acidic additives. Switch to an archival-quality, acid-free PVA or a dedicated commercial fabric stiffener to prevent UV-induced yellowing over time.
Wire Gauge & Finding Failures
Integrating metal findings into fiber is where many crochet jewelry makers fail. Using standard craft wire from a hardware store will result in bent ear wires, allergic reactions, and tarnished metal that stains your pristine yarn. You must upgrade to jewelry-grade metals and precise gauges.
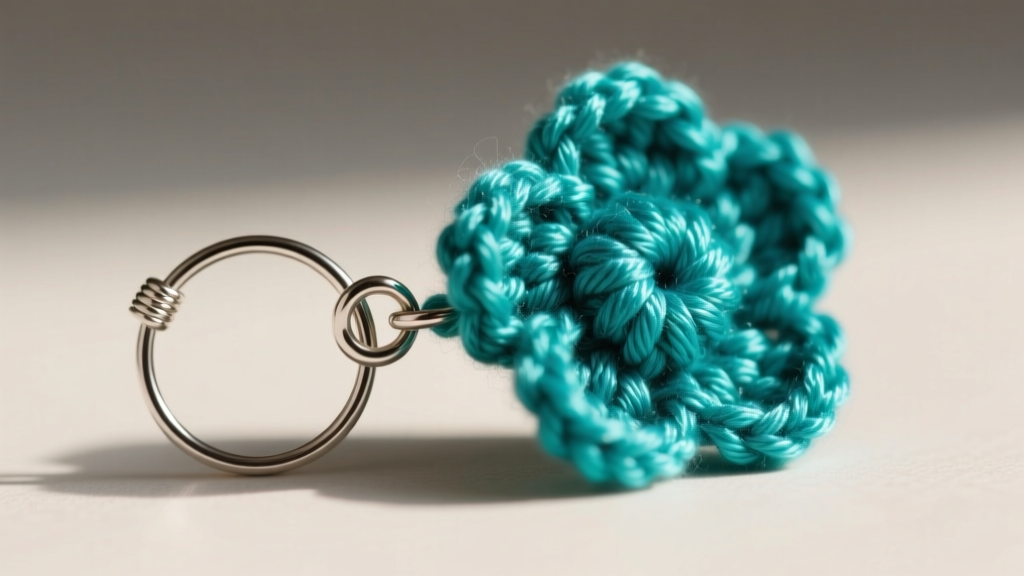
For the ear wire itself, you need a wire that possesses enough "memory" to retain its hook shape while supporting the weight of the crochet piece. 20-gauge half-hard wire is the industry standard for ear wires. "Dead soft" wire will bend under the weight of a 5-gram crochet motif, while wire thicker than 18-gauge will not comfortably fit through a standard ear piercing. For the metal connecting the crochet piece to the ear wire, use 22-gauge jump rings. For a comprehensive breakdown of metal temper and thickness, refer to Rio Grande's Wire Gauge Guide.
The Jump Ring Gap Problem
Yarn is notorious for slipping through the microscopic gap in a standard cut jump ring, leading to lost earrings and frayed threads. The Fix: Never use standard split-cut jump rings for fiber jewelry. Instead, use soldered jump rings for the connection point, or use two 22-gauge jump rings twisted in opposite directions to create a redundant locking mechanism. If you must use a single open ring, ensure the cut is perfectly flush and close it by twisting it laterally with two pairs of flat-nose pliers, never by pulling the ends apart, which distorts the circle and creates a permanent gap.
Tension, Hook Sizing, and Yarn Splitting
Garment crocheters often carry over their relaxed tension habits into jewelry making, resulting in sloppy, undefined stitches that look messy at a micro-scale. Furthermore, using the wrong hook material and size leads to yarn splitting, which weakens the structural integrity of the earring.
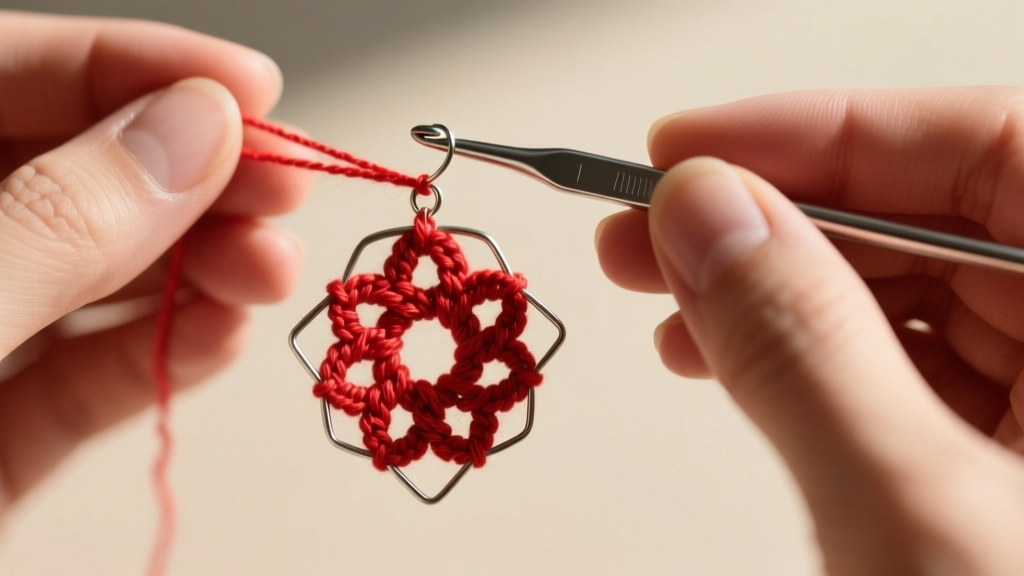
When executing a crochet earrings pattern, you must intentionally downsize your hook compared to the yarn label's recommendation. If a Size 10 thread calls for a 2.0mm hook, use a 1.5mm or 1.25mm steel crochet hook. This forces a tighter gauge, closing the gaps between stitches and creating a fabric dense enough to support its own weight.
- Hook Material: Always use polished steel hooks for thread. Aluminum hooks have microscopic surface imperfections that catch and fray fine mercerized cotton.
- Yarn Twist: Pay attention to the yarn's ply. Z-twist yarns tend to split less when crocheted by right-handed crafters, while S-twist yarns can untwist and fray under the friction of a steel hook. If your yarn is splitting, apply a microscopic drop of clear nail polish or Fray Check to the working end before beginning.
- Tension Control: Practice the "yarn over tension" technique. Wrap the thread around your pinky finger twice before feeding it to your index finger to create a high-tension drag line, ensuring every single crochet (sc) and double crochet (dc) is pulled taut.
Blocking and Pinning for Micro-Jewelry
Even with perfect tension and the right stiffener, a crochet earrings pattern will dry warped if not properly blocked. Blocking micro-textiles requires different tools than blocking a sweater.
- Surface: Use a high-density EVA foam blocking board with a printed grid. Standard cardboard and rust-prone pins will ruin your jewelry.
- Pins: Use exclusively stainless steel T-pins or glass-head silk pins. Standard sewing pins will rust when exposed to water-based stiffeners, leaving permanent orange stains on white or pastel cotton.
- Technique: Pin the motif from the outside in, stretching it slightly to define the lace windows. For 3D shapes like crochet beads or spheres, stuff the interior with tightly rolled plastic wrap before applying the stiffener and pinning it to a curved foam surface.
Weight Distribution & Lobe Tear
A beautiful crochet earrings pattern is useless if it stretches the wearer's earlobes. Fiber itself is light, but the addition of glass beads, metal armatures, and heavy stiffeners can quickly push an earring past the comfortable 7-gram threshold. To solve weight distribution issues, incorporate French ear wires with a pronounced forward curve, which shifts the center of gravity closer to the piercing. Additionally, always include silicone earring backs (stopper clutches) with your finished pieces; they prevent the heavy fiber motif from sliding down the wire and pulling on the lobe. For excessively heavy statement crochet earrings, bypass the lobe entirely and adapt the pattern to attach to a cartilage ear cuff or a flat-back labret post, distributing the weight across the thicker upper ear tissue.
Mastering the intersection of fiber and metal takes patience, but by diagnosing these specific failure modes, you can elevate your crochet earrings from crafty novelties to professional-grade, wearable art.


