How to Style Different Types of Earrings for Your Ear Anatomy
Learn how to choose and style different types of earrings for your unique ear anatomy. Step-by-step guide to building the perfect lobe and cartilage stack.

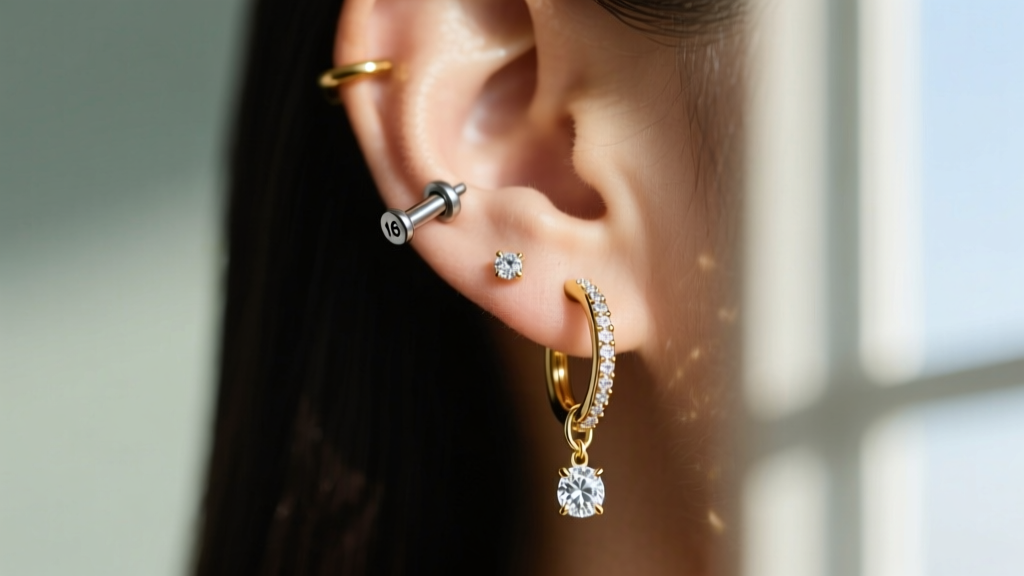
The Evolution of the Curated Ear Project
Gone are the days when a single pair of diamond studs sufficed for everyday wear. The modern approach to ear styling treats the auricle as a canvas, blending structural anatomy with high jewelry aesthetics. Understanding how to mix and match different types of earrings requires more than just an eye for color; it demands a technical understanding of gauge sizes, tissue healing mechanics, and metallurgical safety. Whether you are building a subtle lobe constellation or a maximalist cartilage curation, this step-by-step guide will help you select, place, and style jewelry that complements your unique anatomy while prioritizing long-term tissue health.
Step 1: Map Your Ear Anatomy and Gauge Sizes
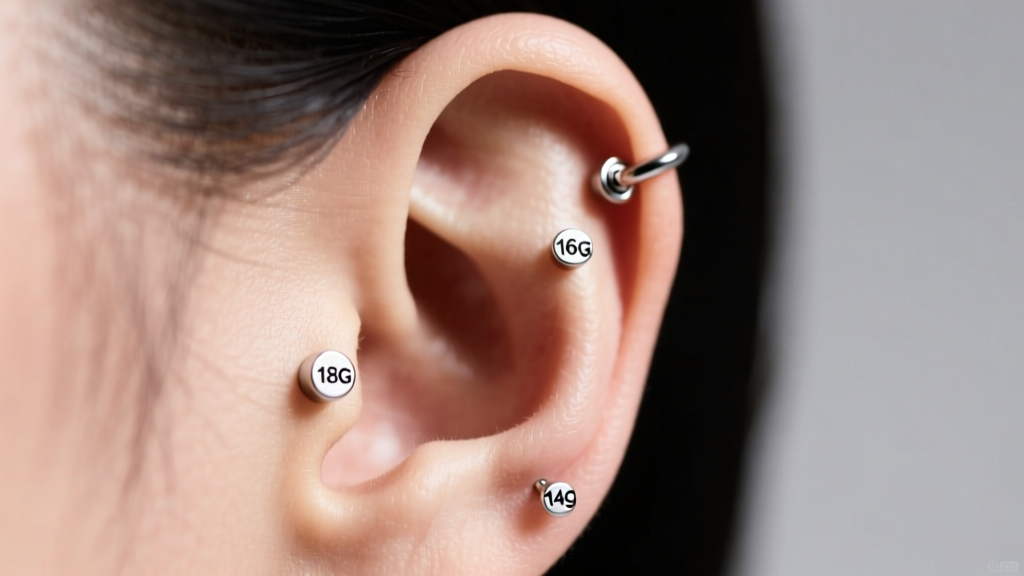
Before purchasing any jewelry, you must understand the structural limitations of your piercings. The ear is divided into the soft, vascularized lobe and the dense, avascular cartilage of the upper ear. Each area requires specific jewelry dimensions to prevent migration, rejection, and irritation bumps. Standardizing your gauge sizes ensures that you can interchange different types of earrings without stretching or damaging the fistula (the piercing channel).
Standard Sizing and Healing Timelines
According to the Association of Professional Piercers (APP), adhering to standard gauge sizes is critical for maintaining tissue integrity. Below is a breakdown of standard placements, their corresponding gauges, and the jewelry types best suited for each.
| Placement | Standard Gauge | Common Jewelry Types | Avg. Healing Time |
|---|---|---|---|
| Standard Lobe | 20G - 18G | Butterfly Studs, Huggies, Drops | 6 - 8 weeks |
| Upper Lobe | 18G - 16G | Flat-back Studs, Small Hoops | 8 - 12 weeks |
| Helix / Forward Helix | 16G | Flat-back Studs, Seamless Rings | 4 - 8 months |
| Tragus | 16G - 14G | Flat-back Studs, Small Barbells | 4 - 8 months |
| Conch | 14G - 12G | Large Studs, Conch Cuffs, Hoops | 6 - 12 months |
Step 2: Selecting Different Types of Earrings by Placement
Once your anatomy is mapped, the next step is selecting the right mechanics for each zone. The market offers vastly different types of earrings, but not all backing mechanisms or closures are suitable for every part of the ear.
The Foundation: Studs and Huggies
For the standard lobe, traditional butterfly-back studs are common, but they often harbor bacteria and dig into the neck during sleep. For a modern, comfortable upgrade, transition to flat-back labret studs. These feature a flat disc that sits flush against the back of the earlobe, eliminating pressure points. For upper lobes and helixes, huggies (small, hinged hoops that 'hug' the ear) provide a seamless look. Opt for clicker closures over continuous rings, as clickers offer a secure snap mechanism that won't accidentally pull open when brushing your hair.
The Statement: Hoops, Dangles, and Drops
Dangles and drop earrings rely on gravity and movement, making them ideal for the lower lobe where tissue is most pliable. However, heavy drops can cause lobe elongation over time. To mitigate this, look for drops with leverback closures which distribute weight more evenly than standard fishhooks. For cartilage, avoid large, heavy hoops until the piercing is fully mature (at least 12 months post-piercing), as the swinging motion can cause angular trauma to the healing fistula.
The Edges: Ear Cuffs and Climbers
Ear cuffs and climbers offer the illusion of multiple piercings without the commitment. Cuffs rely on tension to grip the outer helix or conch ridge. When styling cuffs, ensure they are adjustable; a cuff that is too tight will restrict blood flow and cause cartilage aching, while one that is too loose will slip off.
Step 3: Balancing Face Shapes with Earring Silhouettes
The visual weight of different types of earrings can dramatically alter facial proportions. Use these structural guidelines to balance your face shape:
- Round Faces: Elongate the face with angular dangles, long drop earrings, or linear ear climbers. Avoid large, chunky hoops that mirror the face's circular geometry.
- Square Faces: Soften strong jawlines with curved silhouettes, such as medium-sized hoops, teardrop dangles, and rounded huggies.
- Heart-Shaped Faces: Balance a wider forehead and narrow chin with chandelier earrings or bottom-heavy drops that draw the eye downward.
- Oval Faces: This balanced proportion can support almost any style, from massive conch hoops to delicate, minimalist flat-back studs.
Step 4: Material Selection for Healing and Longevity
The metal touching your skin is just as important as the design. Cheap alloys cause contact dermatitis and delay healing. The Association of Professional Piercers (APP) strictly recommends specific materials for both fresh and healed piercings.
Implant-Grade Titanium vs. Surgical Steel
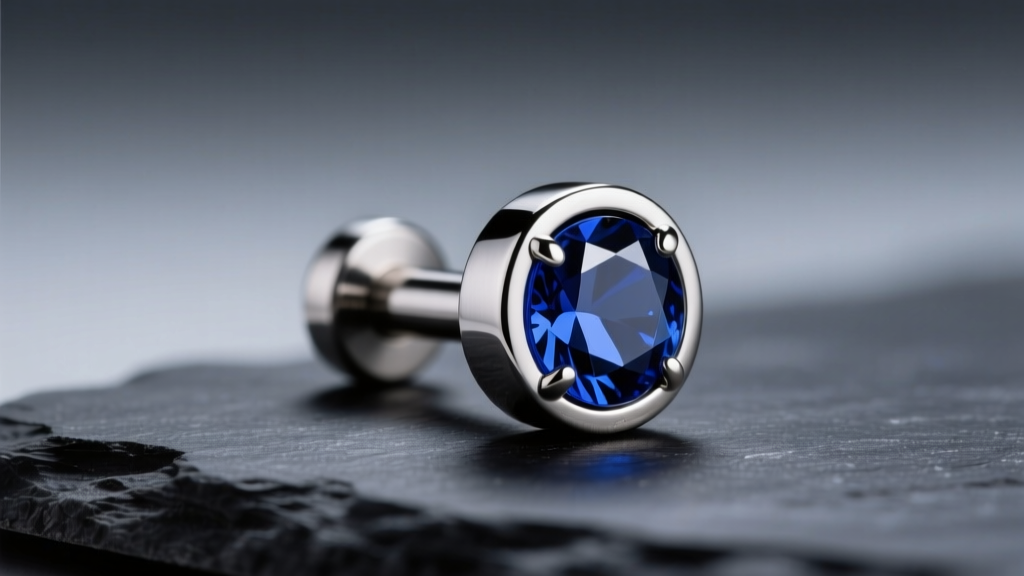
Discard the term 'surgical steel.' Most commercial stainless steel contains nickel, a primary allergen. For any cartilage piercing, or if you have sensitive lobes, you must use ASTM F136 implant-grade titanium. This specific alloy is entirely nickel-free, highly polished, and biocompatible, meaning the body will not treat it as a foreign invader.
Karat Gold Standards
When investing in luxury pieces, the Gemological Institute of America (GIA) notes that pure 24k gold is too soft for jewelry mechanics. Instead, opt for 14k or 18k solid gold. Ensure the gold is alloyed with palladium or silver rather than nickel (which is common in white gold). For cartilage, 14k gold is often preferred over 18k because its slightly higher alloy content makes it more resistant to scratching and deformation in high-friction areas like the tragus.
Step 5: The Step-by-Step Stacking Sequence
Building a cohesive ear stack requires a deliberate sequence to ensure visual balance. Follow this three-tier framework:
- The Anchor (Lobe 1): Start with a statement piece. A medium-sized diamond stud, a textured gold hoop, or a bold drop earring grounds the entire arrangement.
- The Bridge (Lobe 2 & 3): Use complementary, smaller pieces to bridge the gap between the lobe and the cartilage. Flat-back stars, tiny opal studs, or miniature huggies work perfectly here.
- The Crown (Helix & Flat): Finish the upper ear with structural contrast. If your lobe features a round hoop, use an angular or geometric stud in the helix. If your lobe has a sharp geometric stud, use a delicate seamless ring in the forward helix.
Expert Troubleshooting: Heavy Lobes and Migration
Even the most meticulously planned ear projects can encounter physical hurdles. Here is how to troubleshoot common issues associated with different types of earrings:
Combating Earlobe Droop
Wearing heavy dangle earrings over time stretches the lobe tissue, causing the piercing hole to migrate downward. To prevent this, use invisible earring support patches (small, adhesive silicone discs that slide over the earring post). These patches distribute the weight of the jewelry across a wider surface area of the skin, preventing tearing and keeping the earring sitting upright.
Resolving Cartilage Irritation Bumps
If you develop a localized bump near a helix or conch piercing, the culprit is usually a post that is too long. Excess space between the jewelry backing and the skin allows the jewelry to move, causing micro-trauma. Visit a professional piercer to 'downsize' the post. A properly fitted flat-back labret should have no more than 1mm to 2mm of clearance behind the ear tissue.
Conclusion
Mastering the art of ear curation is a blend of anatomical respect and stylistic vision. By understanding gauge requirements, prioritizing biocompatible materials like ASTM F136 titanium, and strategically placing different types of earrings to balance your facial structure, you can build an ear stack that is as healthy as it is visually striking. Take your time, invest in high-quality mechanics, and let your unique ear anatomy dictate the design.


