How to Build and Style Your Ideal Earring Stand Display
Learn how to choose, build, and style the perfect earring stand display. Expert tips on weight distribution, anti-tarnish materials, and merchandising.

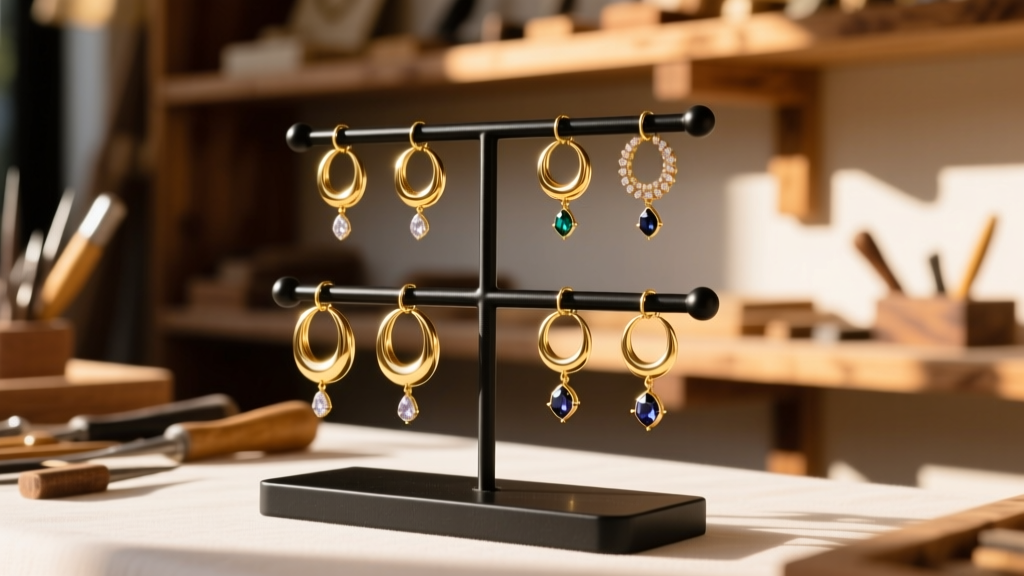
Designing a functional and visually striking jewelry presentation requires more than just placing items on a table. As we navigate the retail and artisan markets in 2026, the modern earring stand display must balance aesthetic minimalism with rigorous material science and structural engineering. Whether you are a boutique owner, a craft fair vendor, or a collector organizing a high-value personal archive, the way you present earrings directly influences perceived value and purchase conversion.
This comprehensive, step-by-step guide will walk you through the exact specifications, material grades, and visual merchandising techniques required to build or select the ultimate earring presentation setup. We will move beyond basic advice and delve into the physics of weight distribution, the chemistry of tarnish prevention, and the optics of gemstone refraction.
The Anatomy of a High-Converting Display Setup
A successful presentation unit is a silent salesperson. According to visual merchandising frameworks, customers interact with jewelry displays in three distinct phases: the sweep (scanning the overall silhouette), the anchor (focusing on a specific tier or color story), and the inspection (handling the piece). Your setup must facilitate this flow without visual clutter. The most effective units utilize a staggered tier system, allowing the eye to travel upward while ensuring that longer dangle earrings do not obscure the studs positioned behind them.
Step 1: Selecting Base Materials for Tarnish Prevention
The foundation of your setup dictates the chemical environment your jewelry will live in. Silver and copper alloys are highly susceptible to hydrogen sulfide in the air, which causes rapid tarnishing. The materials you choose for your display base and lining can either accelerate or halt this process.
Materials to Avoid
- Unfinished Cedar and Oak: These woods emit natural acids and volatile organic compounds (VOCs) that will pit and tarnish sterling silver within weeks.
- Standard Cardboard and Craft Paper: Often contain sulfur-based bleaching agents and acidic glues.
- Raw Rubber or Foam Padding: Contains sulfur compounds used in the vulcanization process.
Recommended Archival Materials
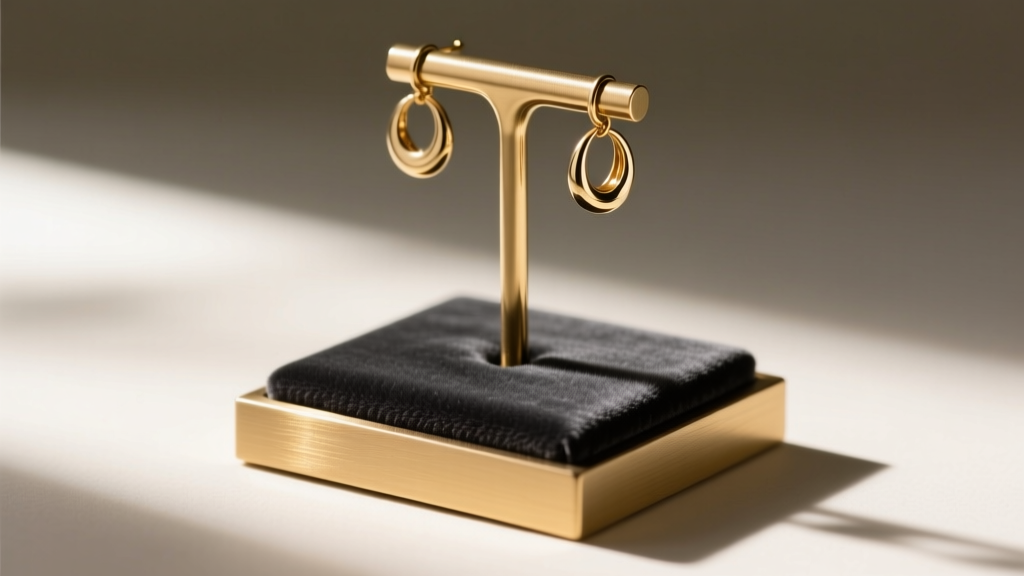
For the base structure, powder-coated aluminum or sealed acrylic are chemically inert and highly stable. If you are using wood, it must be sealed with a water-based polyurethane and allowed to off-gas for a minimum of 14 days before use. For the lining, the Smithsonian Museum Conservation Institute recommends using specially treated anti-tarnish flannel or Pacific cloth, which contains microscopic silver particles that intercept and neutralize corrosive gases before they reach your jewelry.
Step 2: Engineering Weight Distribution for Heavy Dangles
The most common failure mode in jewelry presentation is the 'pendulum effect,' where a top-heavy unit sways when bumped, causing delicate chains to tangle and heavy gemstone drops to swing into one another, risking stone chipping. To prevent this, you must adhere to the 1:3 base-to-height ratio rule.
If your vertical display pole is 12 inches tall, the base footprint must be at least 4 inches in diameter for lightweight pieces, and 6 inches for heavy brass or gemstone-laden dangles. For freestanding T-bar displays, adding a concealed lead or steel ballast weight inside the hollow base tube lowers the center of gravity and eliminates swaying.
Load-Bearing Specifications by Material
| Base Material | Max Safe Load (Ounces) | Minimum Base Diameter (12in Height) | Best For |
|---|---|---|---|
| Cast Acrylic (0.25in thick) | 16 oz | 5.0 inches | Lightweight studs, small hoops |
| Powder-Coated Aluminum | 48 oz | 4.5 inches | Medium dangles, mixed collections |
| Solid Brass (Weighted) | 96+ oz | 6.0 inches | Heavy statement pieces, thick hoops |
Step 3: Configuring Hole Spacing and Gauge Tolerances
The physical interface between the earring and the display is critical. Standard earring posts range from 20-gauge (0.81mm) to 18-gauge (1.02mm), but heavy statement pieces and handmade artisan wires often utilize 16-gauge (1.29mm) or even 14-gauge (1.63mm) thicknesses.
Drilling uniform 1.5mm holes will accommodate 95% of standard commercial earrings. However, if you display heavy wire-wrapped drops, you must provide a secondary row of 2.5mm holes to prevent the wire from bending when forced through a tight space. Furthermore, horizontal spacing is just as crucial as hole size. To prevent 2-inch hoop earrings from overlapping and scratching, maintain a strict minimum horizontal distance of 2.5 inches between each insertion point. For chandelier or tassel earrings, vertical clearance between tiers must be no less than 5 inches to allow the fringe to hang completely straight without resting on the tier below.
Step 4: Lighting and Angling for Maximum Refraction
A beautifully engineered unit is useless if the lighting fails to activate the gemstones. The Illuminating Engineering Society (IES) emphasizes that retail jewelry lighting requires specific Color Rendering Index (CRI) and Kelvin temperature pairings to accurately represent metals and stones.
- Yellow Gold & Warm Gemstones (Citrine, Amber): Illuminate with 3000K to 3500K LEDs to enhance the rich, buttery tones of the metal.
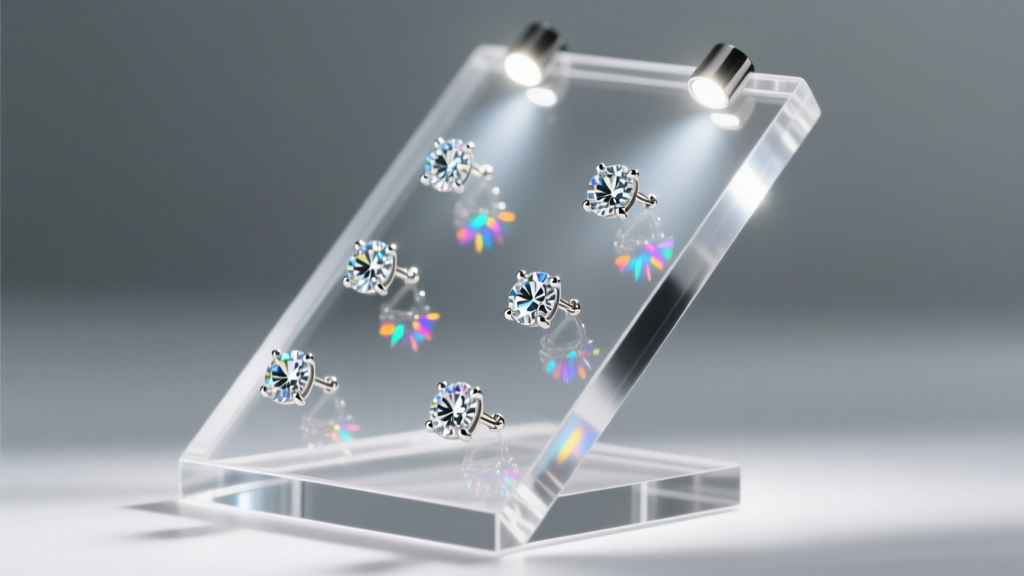
- White Gold, Platinum & Diamonds: Require 4000K to 4500K (neutral to cool white) to maximize the icy brilliance and scintillation of the stones.
- Mixed Metal Displays: Utilize a 3500K baseline with a CRI of 92 or higher to ensure no color banding occurs across different alloys.
Never position a display unit perfectly vertically. A 10 to 15-degree backward tilt not only improves the customer's sightline from a standing position but also catches overhead directional lighting, bouncing it directly into the facets of the displayed stones.
Pricing and Sourcing Tiers for 2026
When sourcing or commissioning your setup, understanding the current market pricing will protect your profit margins. Here is what you should expect to invest based on your business scale:
- Entry-Level (Acrylic & MDF): $25 - $60 per unit. Mass-produced, laser-cut acrylic. Excellent for pop-up shops and temporary events, but prone to micro-scratches over time.
- Mid-Tier (Powder-Coated Steel & Velvet): $85 - $180 per unit. Features weighted bases and replaceable anti-tarnish fabric inserts. The workhorse choice for established boutique owners.
- Custom Fabricated (CNC Brass & Hardwoods): $300 - $800+ per unit. Bespoke designs utilizing sealed walnut bases and solid brass rods. Ideal for high-end trade shows and permanent luxury retail fixtures.
Investing in a modular system where the vertical rods can be unscrewed and swapped for different heights allows a single weighted base to transition from a stud display in the morning to a chandelier earring display by the afternoon.
Troubleshooting Common Display Failures
Even well-planned setups can encounter operational issues. Use this diagnostic checklist to resolve common merchandising headaches:
- Problem: Earrings constantly fall out of the display holes.
Solution: The backing friction is insufficient. Apply a tiny dot of clear, removable museum wax to the back of the earring post, or switch to displays that feature a silicone-grommeted insertion hole to grip the metal wire. - Problem: Tarnish appears despite using anti-tarnish cloth.
Solution: Check your cleaning products. If you are cleaning the surrounding glass or wood with ammonia-based or sulfur-based polishes, the vapors will overwhelm the anti-tarnish cloth's absorption capacity. Switch to distilled water and microfiber for all nearby surface cleaning. - Problem: The display casts harsh shadows on the jewelry.
Solution: You are using a single, direct point-source light. Introduce a secondary fill light at a 45-degree angle from the opposite side, diffused through a softbox or frosted acrylic panel, to eliminate stark shadows while maintaining sparkle.
Final Merchandising Checklist
Before opening your doors or unzipping your tent at the artisan market, run through this final verification. Ensure your heaviest pieces are anchored at the bottom corners of the unit to maximize stability. Verify that no metal is touching raw, unsealed wood. Finally, step back exactly six feet—the average distance a customer will view your table from—and confirm that the color story reads clearly and the earring stand display looks like a curated gallery rather than a cluttered storage rack. By respecting the physics, chemistry, and optics of jewelry presentation, you elevate your brand and protect your valuable inventory.


