How to Decode Pictures of Earrings for Gauge and Fit
Learn how to analyze pictures of earrings to determine true gauge size, metal quality, and structural integrity before buying online.

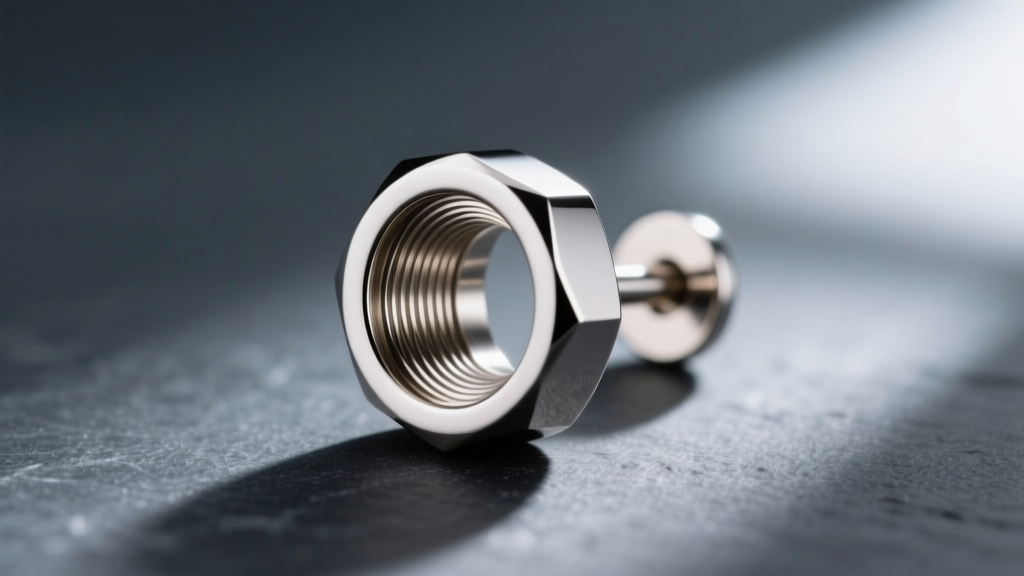
When browsing online in 2026, consumers rely entirely on pictures of earrings to make purchasing decisions. However, commercial jewelry photography is engineered to sell, often utilizing specific focal lengths and lighting setups that obscure critical technical details. As a discerning buyer or a professional stylist, you must look past the aesthetic gloss. A beautiful lifestyle shot can easily hide a poorly soldered clasp, an incompatible gauge thickness, or a low-grade plating destined to flake within weeks. This guide provides a technical framework for decoding product imagery to assess gauge, metallurgical integrity, and structural soundness before you click add to cart.
The Illusion of Scale: Focal Lengths and Macro Distortion
The most common deception in online jewelry listings is the distortion of scale. Professional product photographers typically use 85mm to 100mm macro lenses. While these lenses are incredible for capturing the faceting of a gemstone, they compress the Z-axis (depth of field). This optical compression can make an 8mm huggie hoop appear as large as a 12mm standard hoop, leading to severe sizing disappointments upon delivery.
To calibrate your eye when viewing pictures of earrings, you must look for biological reference points rather than trusting the isolated product shot. If a model is wearing the earring, observe the lobule (the earlobe). The average human earlobe thickness at the standard piercing site ranges from 1.5mm to 2.5mm. If a supposedly dainty stud post in the photo appears as thick as the model's earlobe, it is highly likely a 14-gauge (1.63mm) or 12-gauge (2.0mm) piece, not a standard 20-gauge (0.81mm) lobe stud. Always cross-reference the lifestyle images with the millimeter dimensions listed in the product specifications.
Decoding Gauge Thickness and Threading Standards
This is where pictures of earrings often hide the most painful truths, especially for those with sensitive or healing cartilage piercings. The thickness of the post (gauge) and the style of threading dictate whether an earring will slide in smoothly or tear your fistula. According to the Association of Professional Piercers (APP), internally threaded or threadless jewelry is the gold standard for body compatibility.
| Gauge Size | Millimeter (mm) | Visual Identifier in Macro Photos |
|---|---|---|
| 20G | 0.81mm | Standard lobe. Post looks like a thin needle; casts minimal shadow. |
| 18G | 1.02mm | Common lobe/cartilage. Slightly thicker, distinct wire-like appearance. |
| 16G | 1.29mm | Standard cartilage/helix. Noticeable width, casts a sharp, defined shadow. |
| 14G | 1.63mm | Thick cartilage/industrial. Post width approaches the diameter of small gems. |
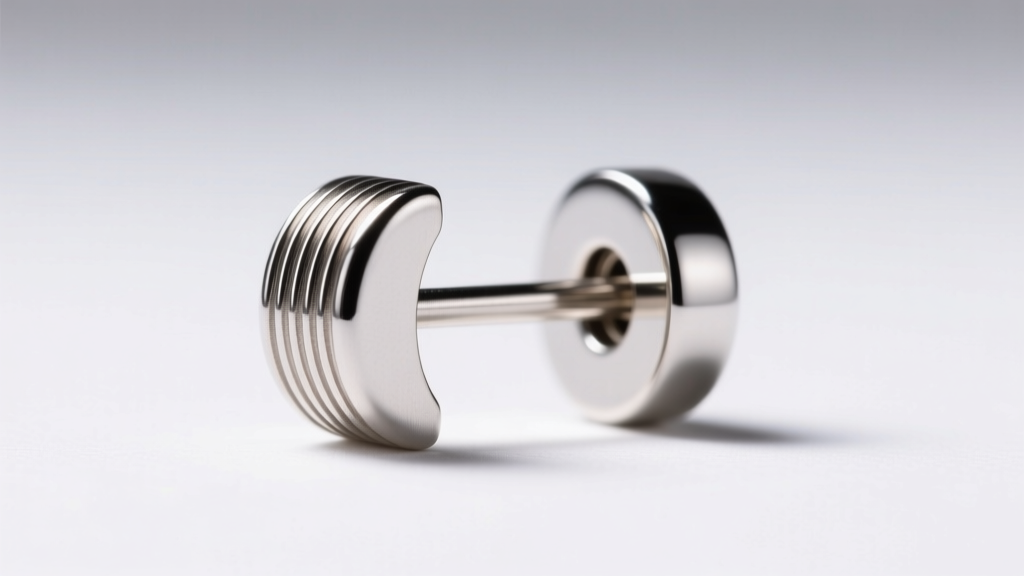
When examining high-resolution images, zoom in on the post. Externally threaded posts have ridges cut directly into the metal. In macro pictures, these look like tiny, sharp screw threads at the end of the post. These threads act like a file, scraping and micro-tearing the delicate tissue of the piercing channel upon insertion. Conversely, internally threaded posts feature a smooth, unbroken cylinder of metal, with the screw mechanism hidden inside the decorative gem or the flat back. If the pictures of earrings only show the earring from a distance and refuse to provide a macro shot of the post threading, consider it a red flag for cheap, externally threaded manufacturing.
Spotting Metallurgical Red Flags and Plating Failures
Differentiating solid 14k or 18k gold from gold-plated brass or PVD-coated stainless steel requires a keen eye for color temperature and wear patterns. The Gemological Institute of America (GIA) notes that alloy compositions significantly alter the reflective properties of precious metals. Solid 14k yellow gold reflects light with a warm, buttery hex tone (roughly #D4AF37). Cheap electroplated brass, however, often reflects a harsh, greenish-yellow glare under studio lighting.
To spot plating failures before they happen, conduct a friction point analysis. Zoom in on the exact area of the post where the backing or clasp secures. If pictures of earrings reveal micro-abrasions, a silver undertone bleeding through, or uneven color saturation at this high-friction zone, the piece is plated. Solid gold wears uniformly and can be polished back to a high shine; plating flakes, chips, and exposes the base metal underneath, which can cause severe contact dermatitis.
Titanium grading is another area ripe for visual misrepresentation. ASTM F136 implant-grade titanium has a specific dull-grey, matte-to-satin luster. If the titanium earring in the photo possesses a mirror-like, chrome reflectivity, it is almost certainly polished 316L surgical steel masquerading as premium titanium. True implant-grade titanium is notoriously difficult to polish to a mirror finish without specialized equipment, so a highly reflective grey post is a visual giveaway of a lower-grade alloy.
Evaluating Structural Integrity and Clasp Mechanics
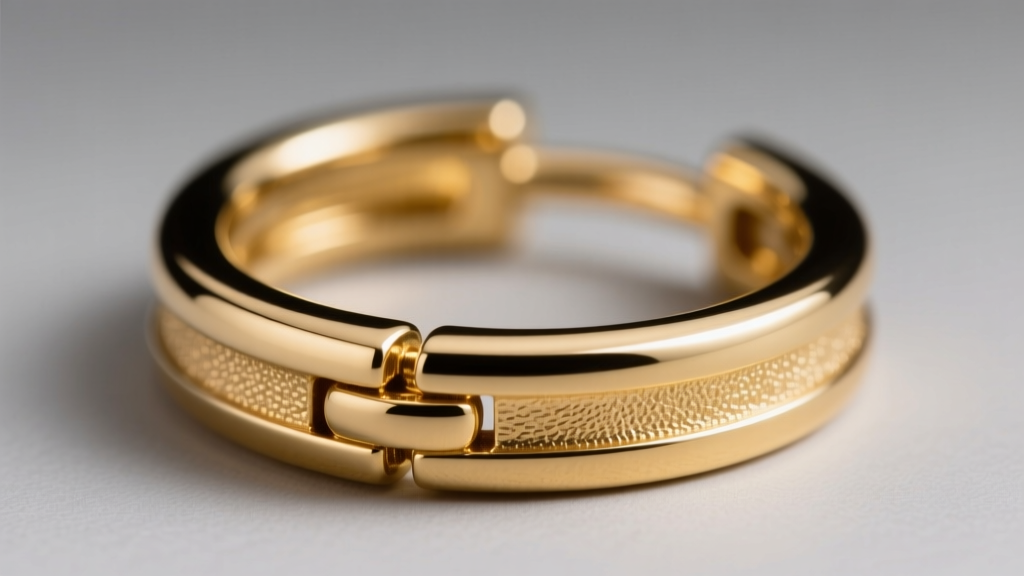
Hoops, huggies, and ear cuffs rely entirely on tension, hinges, and solder joints to stay secured in the ear. A poorly engineered clasp will either pop open during sleep or snap under minor tension. When analyzing pictures of earrings featuring hinged huggies, look closely at the seam where the clasp meets the hoop body. A high-quality manufacturing process will show a perfectly flush seam with no visible gap, light leakage, or misalignment.
For continuous hoop earrings or clickers, examine the solder joint. In macro shots, look for a slight discoloration or a thicker bead of metal where the hoop closes. If the solder joint appears porous, pitted, or cloudy in the photos, the structural integrity is severely compromised. Porous solder joints are the result of improper flux application or rushed cooling, and they are the primary failure point for hoop earrings snapping in half. Additionally, check the tension pin on segment rings; it should sit perfectly flush with the outer diameter of the hoop, not protruding or recessed.
The Ultimate Visual Audit Checklist
Before adding any fine jewelry to your cart, run the product images through this technical checklist to ensure you are getting exactly what you are paying for:
- Post Threading: Is the post smooth (internally threaded/threadless) or ridged (externally threaded)?
- Scale Calibration: Have you compared the earring diameter to the model's earlobe thickness or a provided millimeter measurement?
- Friction Point Wear: Is there any silver undertone or micro-chipping visible where the backing meets the post?
- Color Temperature: Does the yellow gold look warm and buttery, or harsh and greenish under direct light?
- Clasp Flushness: Does the huggie hinge or hoop segment close with a seamless, gap-free seam?
- Solder Quality: Are the solder joints on continuous hoops smooth and non-porous?
Conclusion
Learning how to critically analyze pictures of earrings transforms you from a passive consumer into an informed buyer. By understanding the optical illusions of macro photography, recognizing the visual cues of gauge thickness, and identifying the subtle hallmarks of metallurgical quality, you can avoid painful piercing complications and disappointing purchases. Always demand high-resolution, unedited macro photography from sellers, and never hesitate to ask for a raw, unfiltered photo of the post and clasp mechanism before committing to high-end body jewelry.


