How to Design Custom Emerald Pearl Earrings: A Step-by-Step Guide
Learn how to design custom emerald pearl earrings with our step-by-step guide covering gemstone grading, pearl matching, metal settings, and care.

The Art of Pairing Organic and Mineral Gems
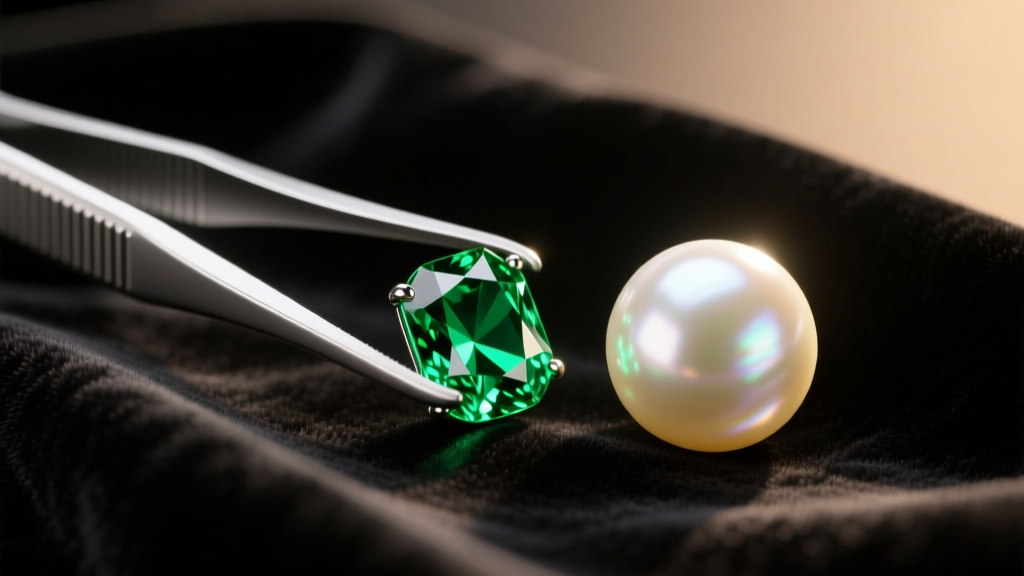
Designing bespoke emerald pearl earrings requires balancing two vastly different materials: the organic, delicate luster of a pearl and the mineral, fractured brilliance of an emerald. As of 2026, high jewelry collectors are moving away from mass-produced cluster studs and instead commissioning architectural, custom-tailored pieces that highlight the unique provenance of each stone. However, because emeralds rank 7.5 to 8 on the Mohs hardness scale and pearls sit at a fragile 2.5 to 4.5, combining them in a single earring design introduces specific structural and maintenance challenges.
This step-by-step guide will walk you through the exact gemological specifications, metallurgical choices, and mechanical engineering required to successfully commission, wear, and maintain heirloom-quality emerald and pearl earrings.
Step 1: Sourcing and Grading the Emeralds
The first step in creating your custom earrings is selecting the emeralds. Unlike diamonds, where clarity is paramount, emeralds are valued for their color and their natural inclusions, known in the trade as jardin (French for garden). When sourcing emeralds for earrings, you must prioritize structural integrity over flawless clarity.
Evaluating Clarity Enhancements
Nearly 99% of emeralds on the market are clarity-enhanced with oils or resins to fill surface-reaching fractures. According to the Gemological Institute of America (GIA), you must request a lab report detailing the level of enhancement. For earrings, which are subject to temperature changes and occasional impacts, you should only accept emeralds graded as having None or Minor (F1) oil treatment. Emeralds with moderate or significant resin treatments (like Opticon) can cloud or leak when exposed to the heat of a jeweler's torch during the setting process or even from prolonged wear against warm skin.
Origin and Color Matching
For a pair of drop earrings, the two emeralds must match in tone and saturation. Colombian emeralds (Muzo or Chivor mines) offer a warm, slightly bluish-green undertone, while Zambian emeralds present a cooler, crisper green. Always view the stones under both 5000K daylight-equivalent LEDs and natural window light to ensure their secondary hues align perfectly before committing to the cut.
Step 2: Selecting the Perfect Pearls
Once your emeralds are secured, the pearls must be chosen to complement the green hue without overpowering it. The GIA's Pearl Description System evaluates pearls based on size, shape, color, luster, surface quality, and nacre thickness. For fine jewelry, nacre thickness is the ultimate indicator of longevity.
Nacre Thickness Requirements
Never purchase pearls for custom commissions without verifying nacre depth. Thin-nacre pearls will eventually peel or crack, especially when drilled for earring posts or half-drilled for peg settings. Below is a comparison of the best pearl types to pair with emeralds, along with their minimum acceptable nacre standards.
| Pearl Type | Typical Size | Minimum Nacre | Best Emerald Pairing |
|---|---|---|---|
| Akoya (Hanadama) | 7.0 - 9.5mm | 0.4mm | Light-toned Zambian Emeralds |
| White South Sea | 10.0 - 15.0mm | 2.0mm | Vivid Colombian Emeralds |
| Tahitian (Dark) | 9.0 - 14.0mm | 0.8mm | Deep Green/Teal Emeralds |
For a classic, high-contrast look, pair vivid green Colombian emeralds with bright white South Sea pearls featuring a rosé or silver overtone. The thick nacre of the South Sea pearl ensures the gem will survive decades of wear, while its satiny luster provides a soft backdrop that makes the emerald's sharp faceting pop.
Step 3: Metal Selection and Earring Mechanics
The structural design of emerald pearl earrings is where many commercial pieces fail. Because of the vast difference in hardness between the two gems, a poorly designed drop earring will allow the emerald to swing and scratch the pearl's delicate nacre over time.
Preventing Gem-on-Gem Abrasion
If you are designing a drop earring where both stones hang in the same vertical line, you must incorporate a physical barrier. A master jeweler will use an 18k gold bezel cup, a decorative filigree link, or a simple gold spacer bead between the emerald and the pearl. This prevents the 7.5-hardness emerald from acting as a file against the 2.5-hardness pearl during movement.
Post Gauge and Security Backs
Emeralds and South Sea pearls are heavy. Standard 20-gauge (0.81mm) earring posts will bend under the weight of a 12mm pearl and a 2-carat emerald, causing the earring to droop uncomfortably on the earlobe. You must specify an 18-gauge (1.02mm) or even 16-gauge (1.29mm) post for the primary structural anchor.
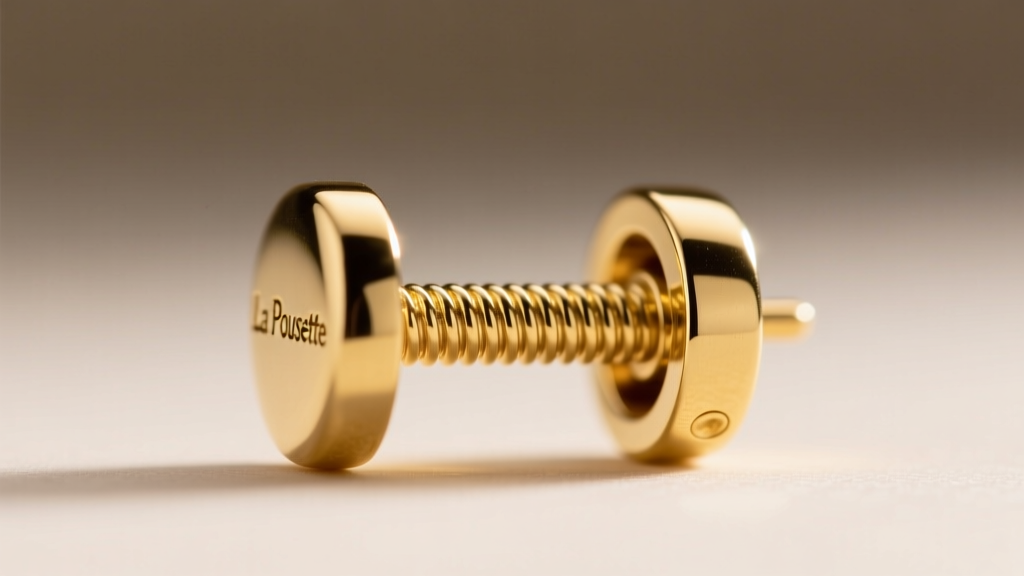
Furthermore, abandon standard friction (butterfly) backs. For heavy bespoke drops, commission your jeweler to use La Pousette locking backs or Omega clips. La Pousette backs utilize a spring-loaded mechanism that clicks securely into a grooved post, ensuring that a $20,000 pair of earrings will not slip off the earlobe if snagged on a sweater.
Step 4: Step-by-Step Cleaning and Maintenance
The maintenance protocol for emerald pearl earrings is highly restrictive due to the vulnerabilities of both stones. Emeralds can lose their oil treatments, and pearls can be dissolved by harsh chemicals. Follow this exact cleaning regimen to maintain your bespoke pieces.
The Safe Cleaning Protocol
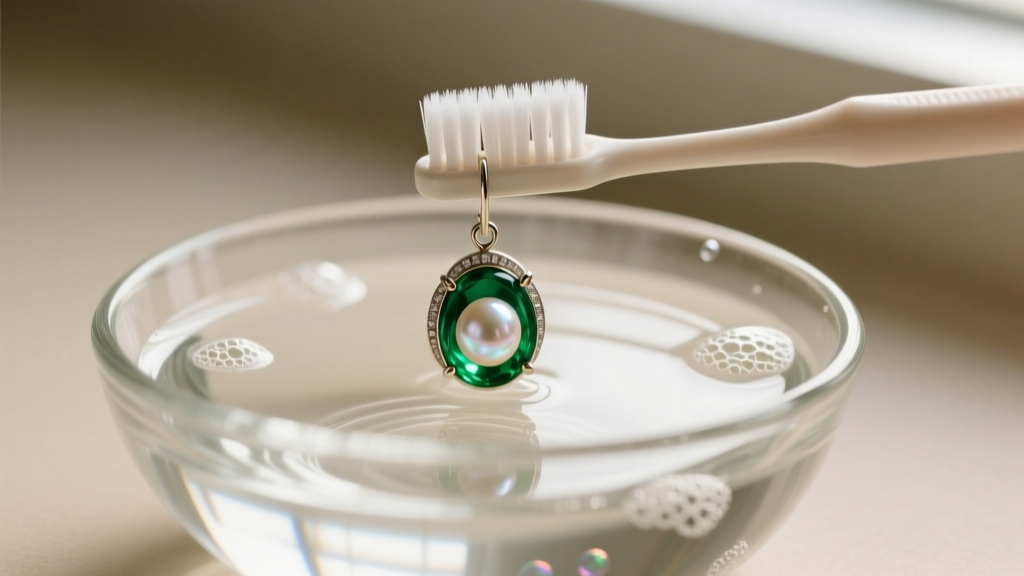
- Prepare the Solution: Mix a few drops of phosphate-free, mild dish soap (like Dawn) into a bowl of lukewarm distilled water. Never use hot water, as thermal shock can expand the natural fractures in the emerald.
- Soak Briefly: Submerge the earrings for no more than 3 to 5 minutes. This loosens body oils and cosmetic residue without compromising the cedar oil inside the emerald.
- Gentle Agitation: Using an ultra-soft baby toothbrush, gently brush the back of the emerald setting and the earring post. Do not scrub the pearl directly; simply wipe it with a damp, lint-free microfiber cloth.
- Rinse and Dry: Rinse under a gentle stream of lukewarm distilled water. Pat dry immediately with a soft cloth. Allow the earrings to air dry completely on a towel before storing them in a soft pouch to prevent the metal from tarnishing.
Critical Warnings: What to Avoid
- Never use Ultrasonic Cleaners: The high-frequency vibrations will shatter fracture-filled emeralds and strip the nacre off your pearls.
- Never use Steam Cleaners: The sudden heat will boil the oil out of the emerald, turning it cloudy and white, and can cause the pearl's drill hole to expand and crack.
- Avoid Hairspray and Perfume: Always put your emerald pearl earrings on after applying cosmetics. The alcohol and acids in perfumes will permanently etch the surface of the pearl, destroying its luster.
Final Thoughts on Commissioning
Designing custom emerald pearl earrings is an exercise in balancing breathtaking aesthetics with rigorous material science. By insisting on minor-oil emeralds, thick-nacre pearls, 18-gauge structural posts, and protective metal spacers, you ensure that your bespoke creation is not just a beautiful accessory for a single evening, but a durable heirloom capable of surviving generations. When you sit down with your jeweler, use this guide as your blueprint to guarantee that every technical detail is executed to the highest standard of fine jewelry craftsmanship.


