DIY Boho Crochet Earrings Patterns: Step-by-Step Guide
Master DIY boho crochet earrings patterns with our step-by-step guide. Learn thread weights, stiffening techniques, and hardware assembly.

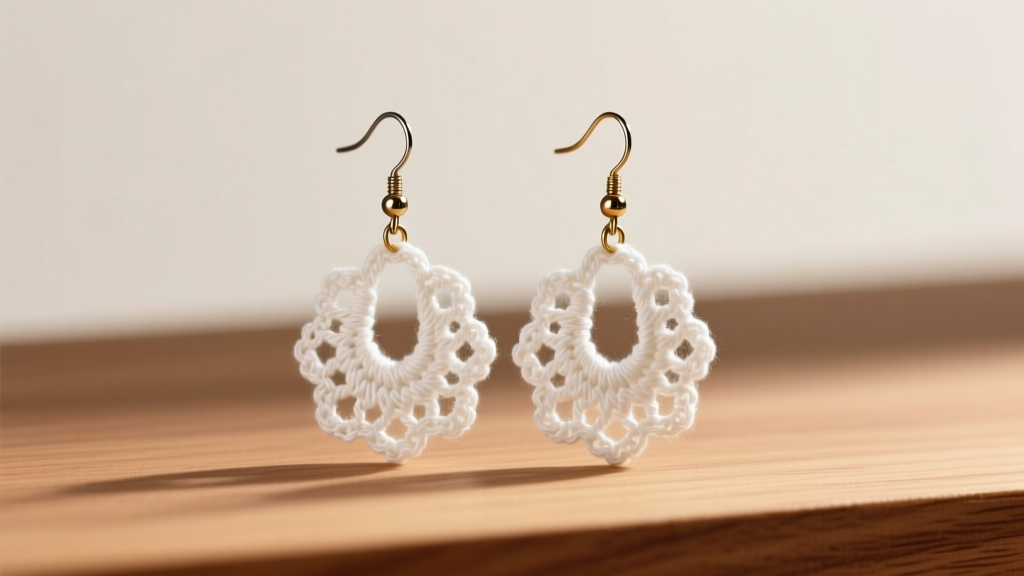
The Resurgence of Thread Crochet Jewelry
As we navigate the jewelry trends of 2026, the demand for lightweight, hyper-personalized, and artisan-crafted accessories has never been higher. While polymer clay and resin have dominated the handmade market for years, delicate thread work is experiencing a massive renaissance. For crafters and boutique jewelry makers, mastering crochet earrings patterns offers a unique advantage: the ability to create intricate, lace-like dangles that weigh practically nothing, making them exceptionally comfortable for sensitive earlobes and stretched piercings.
Unlike bulky yarn-based jewelry, thread crochet relies on mercerized cotton and micro-hooks to produce structured, elegant pieces. However, transitioning from standard crochet garments to micro-jewelry requires a fundamental shift in materials, tension control, and finishing techniques. This comprehensive guide will walk you through the exact material grades, structural stiffening methods, and metallurgical considerations needed to create professional-grade crochet earrings.
Essential Tools and Material Grades
The most common mistake beginners make when attempting crochet earrings patterns is using standard craft yarn. Yarn is far too bulky and prone to pilling, which ruins the delicate aesthetic of lace jewelry. Instead, you must use mercerized cotton thread. Mercerization is a chemical treatment that increases the thread's luster, strength, and affinity for dye, giving your finished earrings a subtle, professional sheen.
| Thread Weight | Recommended Hook Size | Best Application | Tension Requirement |
|---|---|---|---|
| Size 10 (Bedspread) | 1.50mm - 1.75mm Steel | Statement Dangles, Large Mandalas | Medium-Tight |
| Size 20 (Fine) | 1.00mm - 1.25mm Steel | Intricate Drops, Huggie Covers | Tight |
| Size 30 (Ultra-Fine) | 0.75mm - 0.85mm Steel | Micro-crochet Studs, Ear Cuffs | Very Tight |
According to the Craft Yarn Council, steel hooks are mandatory for these weights. Aluminum or ergonomic plastic hooks are simply too thick and lack the precision tip required to catch fine cotton threads. Invest in a high-quality set of Japanese or German steel hooks, which feature smoother throats that prevent the thread from snagging and fraying during complex picot stitches.
Step-by-Step: The Classic Sunburst Mandala Pattern
This foundational pattern creates a 1.5-inch geometric mandala, perfect for boho-chic dangle earrings. We are using US crochet terminology. For this pattern, use Size 10 mercerized cotton thread and a 1.5mm steel hook.
Round 1: The Center Ring
Start with a magic ring (or ch 4 and slip stitch to join). Chain 3 (counts as first double crochet). Work 11 double crochets (dc) into the ring. Pull the tail to close the ring tightly. Slip stitch into the top of the starting chain-3. (12 dc total). Expert Tip: If your center ring gaps, you did not pull the magic ring tail tightly enough. A loose center will distort the entire earring.
Round 2: The Expansion
Chain 4 (counts as dc + chain 1). *1 dc in the next stitch, chain 1.* Repeat from * to * around. Slip stitch into the 3rd chain of the starting chain-4. (12 dc, 12 ch-1 spaces).
Round 3: The Petal Formation
Slip stitch into the first ch-1 space. Chain 3, 2 dc in the same space. *Chain 2, skip the next dc, 3 dc in the next ch-1 space.* Repeat from * to * around. Chain 2, skip the last dc, and slip stitch into the top of the starting chain-3. (12 clusters of 3 dc).
Round 4: The Picot Edge
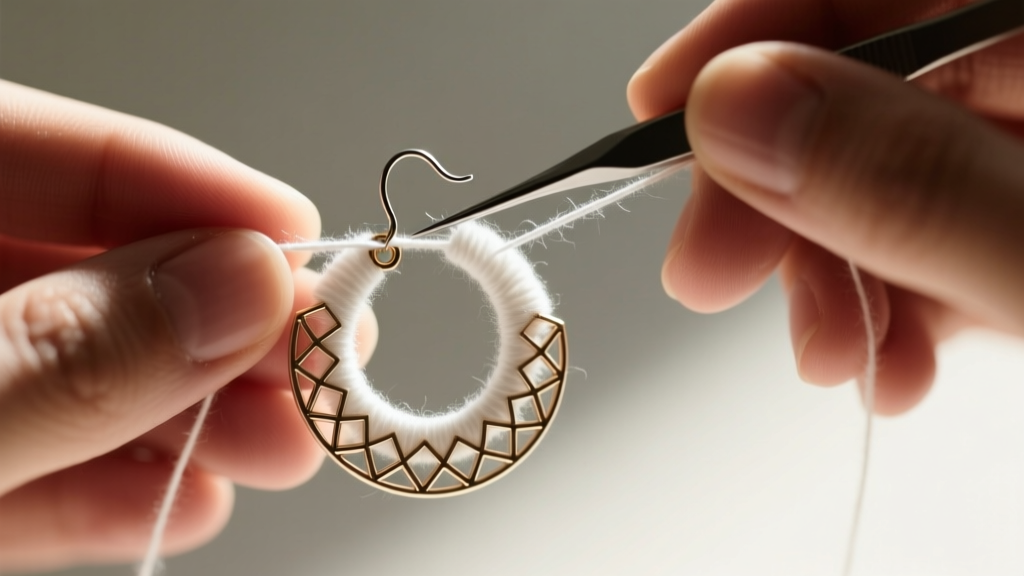
This round adds the delicate, spiky border characteristic of heirloom lace. Slip stitch to the center dc of the first cluster. Chain 1, single crochet (sc) in the same stitch. *Chain 3, slip stitch into the first chain to form a picot. Chain 1, sc in the center dc of the next cluster.* Repeat around. Join with a slip stitch. Fasten off and weave in ends using a fine beading needle, not a standard yarn needle.
The Secret to Structured Earrings: Stiffening and Blocking
Crochet earrings patterns are only half the battle; the finishing process dictates whether your piece looks like a professional jewel or a limp doily. Thread crochet must be stiffened to hold its shape against gravity and wind. You have three primary options for stiffening agents, each with distinct pros and cons.
- DIY Cornstarch Slurry: Mix 1 tablespoon of cornstarch with 1 cup of cold water. Bring to a gentle boil until the mixture turns completely clear and thickens. Let it cool slightly. This method is archival-safe, non-toxic, and leaves a matte finish. However, it is susceptible to high humidity and may require re-blocking if worn in tropical climates.
- Commercial PVA Stiffeners (e.g., Aleene's Stiffen-Quik): These provide a permanent, water-resistant, and highly rigid finish. They dry completely clear and are ideal for complex 3D shapes like floral bells. The downside is that they can leave a slight synthetic sheen on dark-colored threads.
- Unflavored Gelatin: Dissolve 1 packet of unflavored gelatin in 1 cup of boiling water. This provides a medium-stiff hold with a beautiful, natural luster. It is excellent for metallic threads but should not be used if the earrings will be exposed to extreme heat, which can cause the gelatin to soften.
The Blocking Process: Never skip blocking. After saturating your crocheted piece in your chosen stiffener, gently squeeze out the excess (do not wring). Lay the piece flat on a foam blocking board. Use rust-proof stainless steel T-pins to stretch and secure every picot and point. Allow it to dry completely for 24 hours. Removing the pins before the piece is 100% dry will result in immediate curling.
Assembling the Hardware: Gauges and Metallurgy
The hardware you select must complement the delicate nature of the thread work while supporting its weight. For stiffened Size 10 thread mandalas, the weight is negligible, but the attachment point is fragile.
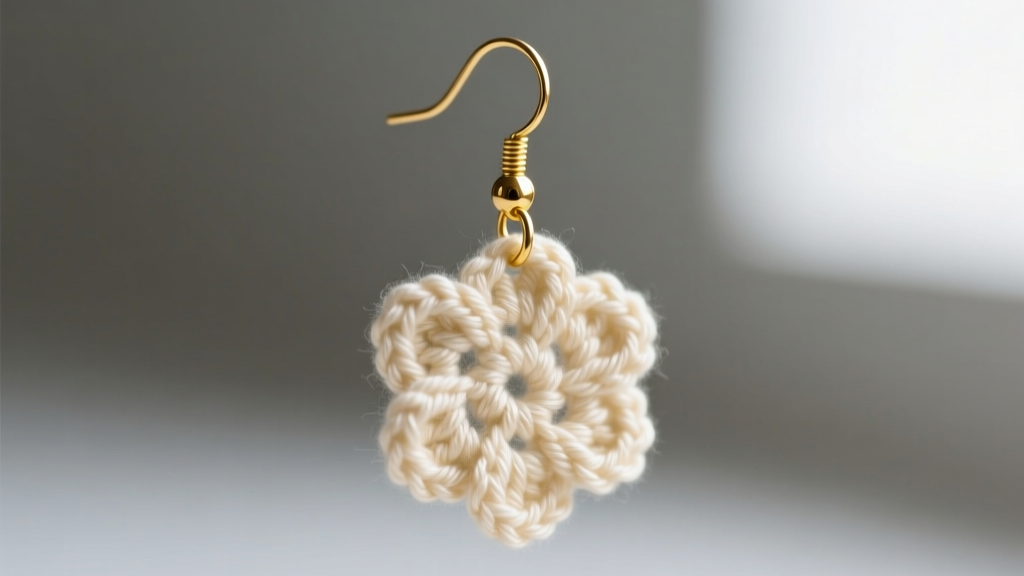
Do not attach the ear wire directly to the crochet thread. The friction of the metal rubbing against the cotton will eventually cause the thread to snap. Instead, use a jump ring. Select a 3mm or 4mm inner diameter (ID) jump ring made from 22-gauge wire. Slide the jump ring through the top chain-space of your earring, close it securely with two pairs of flat-nose pliers, and then attach your ear wire to the jump ring.
For the ear wires themselves, 20-gauge French hooks are the industry standard for handmade jewelry. While 22-gauge wires are available, they bend too easily when inserted into the ear. Conversely, 18-gauge wires are often too thick to pass comfortably through a standard lobe piercing. When sourcing hardware for a 2026 audience, prioritize hypoallergenic materials. Niobium and implant-grade titanium (ASTM F136) are the gold standards for sensitive ears, far outperforming generic "surgical steel" which often contains nickel alloys that trigger contact dermatitis.
Troubleshooting Common Crochet Earring Issues
Even experienced crocheters encounter structural failures when working at a micro-scale. Here is how to diagnose and fix the most common issues found when executing detailed crochet earrings patterns.
Issue: The Edges are Curling or Cupping
Cause: Your tension is too tight in the center rounds, or you did not use enough stitches in Round 2 to allow the piece to lay flat.
Fix: Frog (undo) the work back to Round 1. Try going up a hook size (e.g., from 1.5mm to 1.75mm) for the center ring only, then switch back to the smaller hook for the outer rounds to maintain edge crispness.
Issue: The Thread is Fraying and Fuzzing
Cause: You are using a low-quality, non-mercerized cotton, or your steel hook has a microscopic burr on the throat.
Fix: Inspect your hook under a magnifying glass. If you see a burr, polish it gently with fine-grit sandpaper or a jeweler's file. Always use 100% mercerized cotton (like Aunt Lydia's Fashion 3 or Lizbeth) which is tightly plied and resistant to fraying.
Issue: The Hardware is Tarnishing
Cause: Using brass or copper jump rings without a protective sealant, combined with the natural moisture absorbed by the cotton thread.
Fix: Upgrade to gold-filled or sterling silver components. If you must use raw brass for a vintage aesthetic, coat the finished metal components in a micro-crystalline wax (like Renaissance Wax) to prevent oxidation without altering the color.
Final Thoughts on Scaling Your Craft
Mastering these techniques transforms a simple hobby into a viable boutique jewelry line. As you explore more advanced crochet earrings patterns on Ravelry, you will begin to experiment with integrating seed beads, metallic blending filaments, and asymmetric geometric blocking. The key to success in thread jewelry is patience: the smaller the scale, the less forgiving the mistakes. Take your time with your tension, respect the blocking process, and never compromise on the quality of your ear wires. Your customers' ears—and your reputation—will thank you.


