How to Make a Custom Cardboard Earring Holder for Heavy Dangles
Learn how to build a reinforced cardboard earring holder for heavy dangles. Step-by-step guide to prevent tearing, tarnish, and tangling.

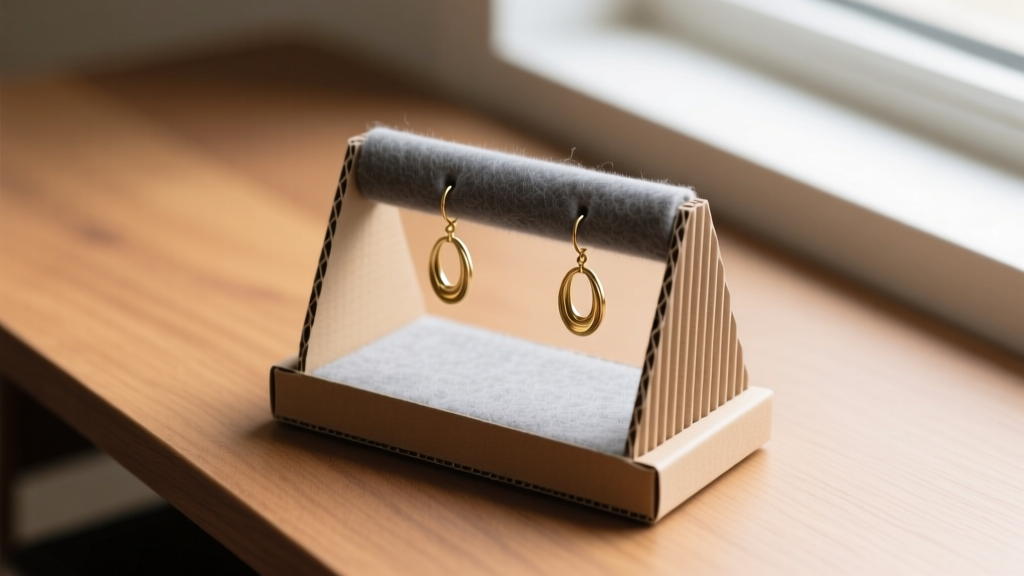
Organizing a growing jewelry collection often leads to tangled chains, scratched gemstones, and bent earring wires. While commercial acrylic or velvet displays are attractive, they rarely accommodate the unique weight and clearance requirements of heavy statement dangles or oversized hoops. Building a custom cardboard earring holder is a highly effective, cost-efficient solution, provided you engineer it correctly. Standard craft cardboard will quickly fail under the shear stress of heavy brass or stone-set earrings. This comprehensive guide details the exact materials, structural engineering principles, and archival-safe finishing techniques required to build a heavy-duty, anti-tarnish cardboard earring holder that protects your investment.
Why Standard Cardboard Fails Heavy Earrings
Most DIY tutorials suggest upcycling cereal boxes or standard poster board. These materials are typically made from Solid Bleached Sulfate (SBS) paperboard, ranging from 14 to 18 points in thickness (roughly 0.014 to 0.018 inches). While adequate for lightweight 22-gauge studs, SBS paperboard lacks the moment of inertia required to resist bending when subjected to the downward pull of a 40-gram stone dangle.
Furthermore, the earring wire itself acts as a microscopic blade. When a heavy earring swings or is pulled through a standard paper hole, the shear force concentrates entirely on the paper fibers surrounding the puncture. Within weeks, the hole elongates, the structural integrity collapses, and the earring falls out. To prevent this mechanical failure, we must utilize corrugated fiberboard, specifically B-flute, which provides a rigid, multi-layered matrix that distributes shear stress across a much wider surface area.
Materials and Tools for a Reinforced DIY Holder
To construct a professional-grade display, you must source materials that offer both structural rigidity and chemical stability. Standard kraft cardboard contains sulfur compounds and lignin from the pulping process, which will accelerate silver sulfide tarnish on sterling silver earrings. Therefore, material selection is critical.
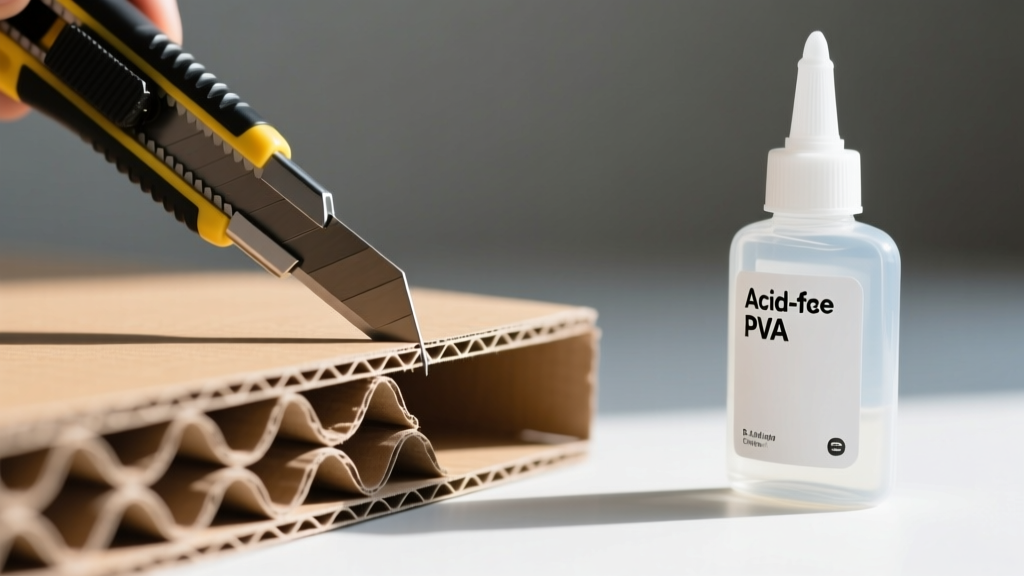
- Corrugated Cardboard (B-Flute): Approximately 1/8 inch thick. The fluted inner layer provides excellent vertical compression strength. Source acid-free or archival-grade corrugated board if possible, or plan to seal standard board completely.
- Adhesive (Acid-Free PVA): Polyvinyl acetate (PVA) glue that is specifically labeled acid-free and pH-neutral. Standard school glues or hot glue can off-gas acids or melt synthetic earring components.
- Barrier Lining: Unbuffered acid-free tissue paper, Pacific Silvercloth, or 100% cotton felt. According to the Archival Methods guidelines, unbuffered materials are essential for storing silver and organic gems like pearls, as buffered (alkaline) tissues can damage organic materials over time.
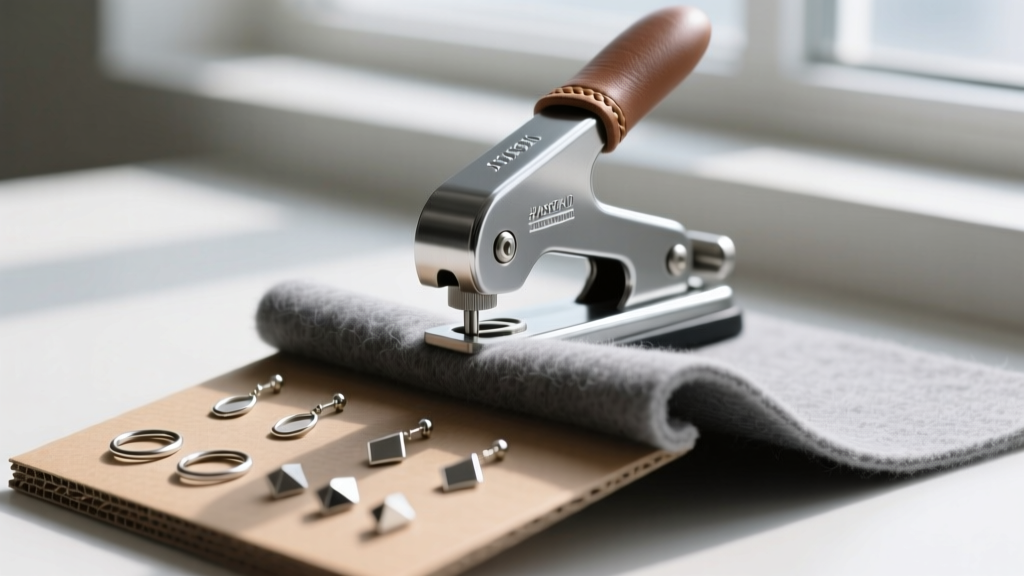
- Tools: Heavy-duty craft knife with snap-off blades, steel ruler, self-healing cutting mat, V-groove scoring tool (or a blunt bone folder), and a rotary leather hole punch.
Step-by-Step: Constructing the Base and Flute Inserts
The most stable design for heavy dangles is a slanted wedge display, typically angled at 15 to 20 degrees. This angle allows gravity to keep the earrings hanging straight down without swinging, while providing optimal visibility.
Step 1: Cutting the Wedge Components
Measure and cut three pieces of B-flute cardboard. The base should be 12 inches long by 6 inches wide. The back riser should be 6 inches wide by 4 inches tall. The slanted display face should be 12.5 inches long by 6 inches wide (the extra half-inch accounts for the thickness of the cardboard when assembled). Always cut corrugated cardboard so that the flutes run vertically on the display face; this maximizes the load-bearing capacity against the downward pull of the earrings.
Step 2: Scoring and Folding
Rather than cutting separate pieces and gluing the edges (which creates weak shear joints), use a V-groove scoring tool to remove the top layer of paper and the fluted core, leaving the bottom paper layer intact. This allows you to fold the cardboard into a perfect, seamless triangular wedge. Apply a thin bead of acid-free PVA glue to the inside seam and clamp it with binder clips until dry.
Step 3: Reinforcing the Display Face
Heavy dangles require a thicker display face to prevent the earring backs from scraping against the back riser. Cut a secondary piece of B-flute cardboard to match the display face dimensions. Laminate these two pieces together using PVA glue, ensuring the flutes of the two layers run perpendicular to each other (cross-graining). This creates a plywood-like effect that is virtually impossible to warp or bend.
Spacing Guide: Gauge Sizes and Hole Punching
Proper hole sizing and spacing are crucial to prevent tangling and wire damage. If a hole is too tight, forcing a thick wire through will strip the interior paper fibers, weakening the hold. If the holes are too close together, large hoops will overlap and scratch adjacent pieces.
| Earring Wire Gauge | Thickness (mm) | Recommended Hole Punch Size | Minimum Vertical Clearance | Minimum Horizontal Spacing |
|---|---|---|---|---|
| 22G - 20G (Standard) | 0.64 - 0.81mm | 1/16 inch (1.5mm) | 2.5 inches | 1.5 inches |
| 18G (Heavy Duty) | 1.02mm | 3/32 inch (2.3mm) | 3.0 inches | 2.0 inches |
| 16G - 14G (Statement) | 1.29 - 1.62mm | 1/8 inch (3.1mm) | 3.5 inches | 2.5 inches |
Use a rotary leather hole punch rather than a standard office hole punch or a push-pin. A rotary punch cleanly removes a cylinder of material, leaving a smooth, compacted edge that resists tearing. Always punch through both the cardboard and the lining material simultaneously to ensure perfect alignment.
Finishing Touches: Anti-Tarnish Lining and Sealing
As noted by the Silver Institute, silver tarnish is primarily caused by a chemical reaction between silver and sulfur compounds in the air or surrounding materials. Standard corrugated cardboard is a significant source of sulfur off-gassing due to the Kraft pulping process used to manufacture it.
To neutralize this threat, you must completely seal the cardboard before applying your decorative lining. Paint the entire exterior and interior of the assembled wedge with two coats of acid-free PVA glue or a water-based polyurethane sealant. Allow it to cure for 48 hours in a well-ventilated area. This creates an impermeable barrier that traps any residual sulfur compounds inside the board.
Once sealed, adhere your barrier lining. For sterling silver collections, Pacific Silvercloth is the gold standard, as it contains microscopic silver particles that absorb tarnish-causing gases before they reach your jewelry. For gold, brass, or gemstone earrings, a high-quality 100% cotton felt or unbuffered acid-free paper is sufficient. Use a spray adhesive specifically formulated for archival mounting to attach the lining to the sealed display face, wrapping the edges neatly around the back.
Troubleshooting Common Cardboard Holder Failures
Even with meticulous construction, environmental factors and user error can compromise your display. Here is how to troubleshoot the most common issues encountered with DIY cardboard organizers.
Expert Insight: Never store your cardboard earring holder in a bathroom or uninsulated attic. Fluctuations in relative humidity will cause the corrugated flutes to absorb moisture and expand, leading to severe warping and delamination of the lining.
- Issue: Holes are elongating and tearing.
Solution: The cardboard was likely cut with the flutes running horizontally. Rebuild the display face ensuring the flutes run vertically (parallel to the downward pull of gravity). You can also reinforce the back of each hole with a small drop of cyanoacrylate (super glue) to harden the paper fibers into a plastic-like grommet. - Issue: Sterling silver earrings are tarnishing rapidly.
Solution: The cardboard was not properly sealed, or a buffered/sulfur-containing adhesive was used. Strip the lining, seal the board with a water-based polyurethane, and re-line with fresh Pacific Silvercloth. Consult the Gemological Institute of America (GIA) guidelines for proper gemstone and metal storage environments. - Issue: The display warps or bows in the center.
Solution: The base lacks structural support. Cut two triangular gussets from leftover B-flute cardboard and glue them to the underside of the wedge, connecting the base to the display face. This transfers the weight of the heavy earrings directly to the table surface rather than relying solely on the cardboard folds.
By treating cardboard not just as a scrap material, but as an engineered composite, you can create a custom earring holder that rivals high-end boutique displays in both functionality and archival safety. Proper gauge matching, cross-grain lamination, and sulfur sealing will ensure your heavy dangles remain organized, untangled, and pristine for years to come.


