How to Make Clay Bead Earrings: Step-by-Step DIY Guide
Learn how to make durable clay bead earrings from scratch. This step-by-step guide covers polymer clay conditioning, baking, and hypoallergenic hardware.

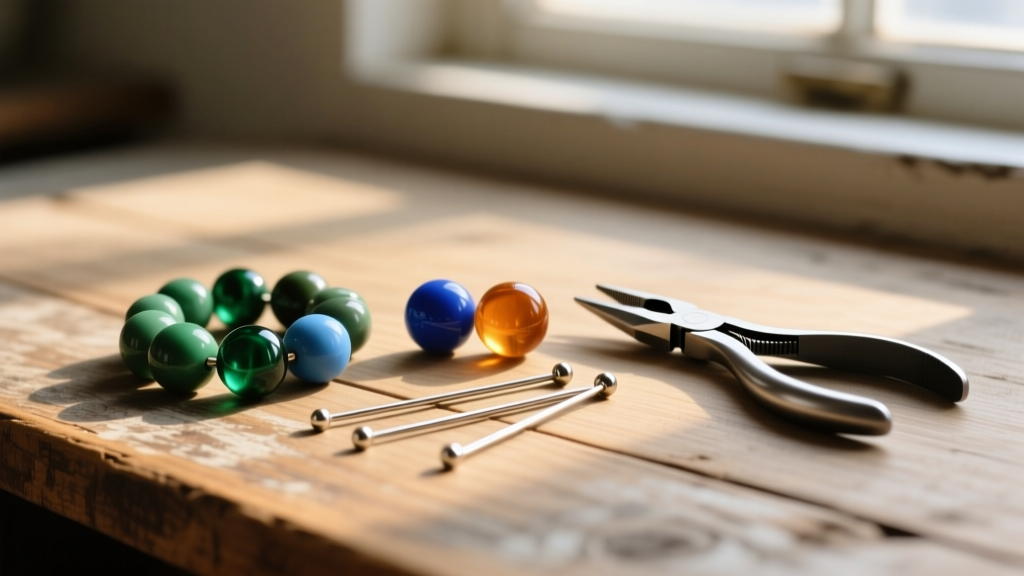
The Evolution of Clay Bead Earrings in 2026
As we navigate the jewelry trends of 2026, there has been a definitive pivot away from the mass-produced, brittle heishi clay beads that flooded the market in previous years. Today's collectors and makers are demanding artisan-crafted, small-batch polymer clay bead earrings that offer hyper-customization, structural integrity, and high-end hardware pairings. Making your own clay bead earrings from scratch is not just a creative outlet; it is a masterclass in material science, precision baking, and metallurgy. This comprehensive guide will walk you through the exact protocols required to craft durable, hypoallergenic clay bead earrings that rival professional studio pieces.
Material Science: Selecting the Right Polymer Clay
The most common point of failure for beginners is selecting the wrong type of clay. Polymer clay is a PVC-based modeling material that requires specific plasticizers to remain flexible after curing. Avoid craft-store brands like Sculpey III or generic air-dry clays; they cure extremely brittle and will shatter if dropped on a hard surface.
For high-quality clay bead earrings, you need a professional-grade polymer clay. Fimo Professional is exceptionally firm, making it ideal for intricate marbling and cane-building, as it holds sharp edges and resists distortion during the rolling process. Sculpey Premo is slightly softer but cures to a highly durable, flexible finish that can withstand daily wear and tear. Both brands require precise temperature control to achieve maximum molecular cross-linking during the baking phase.
Hardware Specifications for Sensitive Ears
A beautiful clay bead is useless if the hardware causes contact dermatitis. The earlobe is highly vascular and sensitive to heavy metals. When sourcing headpins and eyepins for your clay bead earrings, you must look beyond the misleading term 'hypoallergenic' and focus on exact metallurgical compositions. According to the American Academy of Dermatology, nickel is the most common culprit for jewelry allergies, meaning even 'surgical steel' can trigger reactions due to its 8-10% nickel content.
| Material | Gauge | Nickel Content | Best For | Price Range (per oz) |
|---|---|---|---|---|
| Commercially Pure Titanium | 20g / 22g | 0% | Hypersensitive ears | $15 - $25 |
| Niobium | 20g / 22g | 0% | Hypersensitive ears | $12 - $20 |
| 316L Surgical Steel | 20g / 22g | Trace (8-10%) | Standard wear | $3 - $6 |
| Brass (Gold-Plated) | 20g / 22g | Varies | Budget/Costume | $2 - $5 |
For the structural integrity of clay beads, 22-gauge wire is the industry standard. It is thick enough to support the weight of a 15mm polymer bead without bending, yet thin enough to pass through a standard bead piercing hole. For a deep dive into wire temper and gauge conversions, refer to the Rio Grande Wire Gauge Chart.
Step 1: Conditioning, Shaping, and Piercing
Polymer clay must be mechanically conditioned before shaping to evenly distribute the plasticizers and prevent post-baking cracking. Use a dedicated pasta machine (never one used for food) to pass the clay through progressively thinner settings, folding it in half after each pass until the sheet is smooth and passes the 'taco test'—bending it completely in half without the crease cracking.
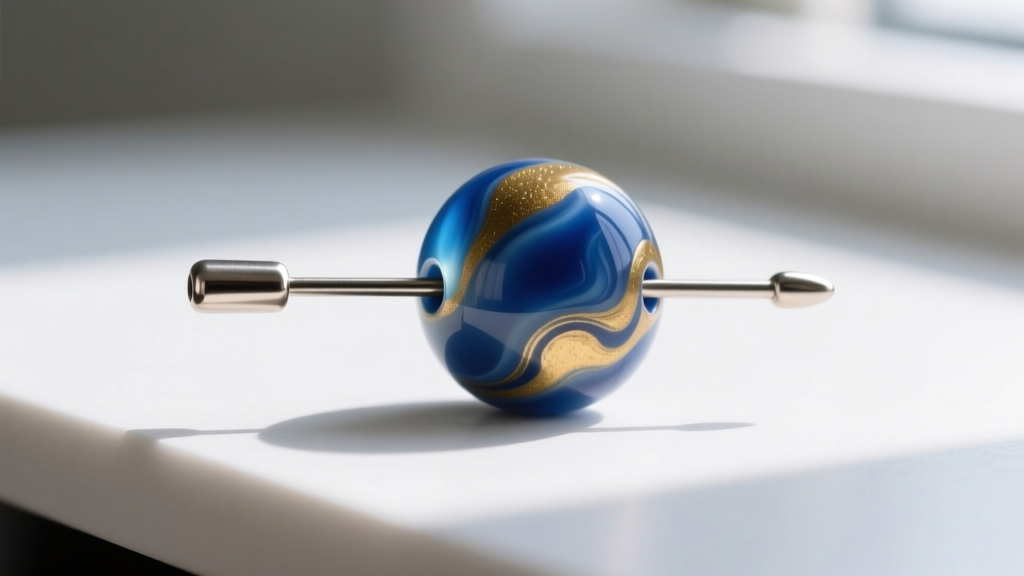
Once conditioned, roll your clay into perfect spheres using your palms or a silicone bead roller. The critical step here is piercing the bead before baking. Attempting to drill a hole into baked polymer clay often results in blowouts and shattered beads. Use a 20-gauge stainless steel bead pin or a lubricated metal skewer to pierce the raw clay. Pro-Tip: Chill your shaped beads in the refrigerator for 10 minutes before piercing. This firms the clay, preventing the bead from flattening or distorting when the metal pin pushes through the center.
Step 2: Precision Baking Protocols
Baking polymer clay is not like baking cookies; it requires sustained, precise heat to trigger the chemical fusion of the PVC particles. The official Sculpey Baking Guide recommends 275°F (135°C) for 30 minutes per 1/4 inch of thickness. However, home ovens are notorious for temperature spikes that can scorch or darken light-colored clay beads.
You must use an independent, freestanding oven thermometer placed on the baking tray next to your beads. To protect your clay bead earrings from the radiant heat of the oven's exposed top elements, construct a 'tent' out of aluminum foil over your baking tray. This creates an indirect heat chamber, ensuring the beads cure evenly from the inside out without developing a hard, darkened crust. Once the baking time is complete, allow the beads to cool completely inside the oven or on the counter; quenching hot polymer clay in water will cause immediate thermal shock and micro-fractures.
Step 3: Assembly and Wire Wrapping
Assembling clay bead earrings requires securing the bead so it does not rattle against the metal hardware, which can cause a hollow clicking sound and eventual wear. Thread your 22-gauge headpin through the baked clay bead. To protect the clay from the metal flush-cut end of the wire, thread a tiny 2mm metal spacer bead or a micro rubber O-ring onto the wire before the clay bead.
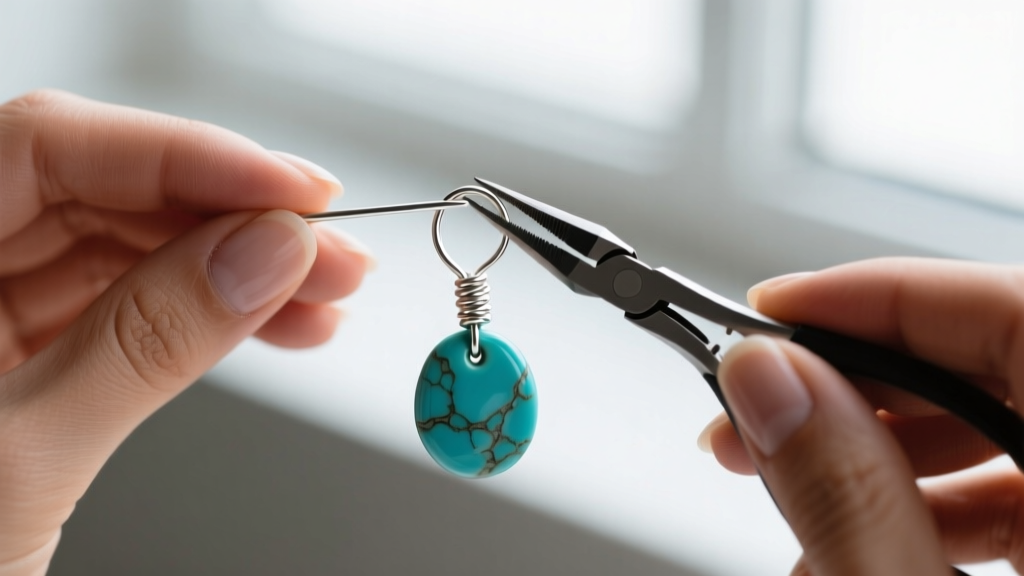
Leave exactly 15mm of wire protruding from the top of the bead. Using chain-nose and round-nose pliers, create a wrapped loop rather than a simple loop. A simple loop can easily be pulled open if the earring is snagged on clothing, resulting in a lost bead. A wrapped loop involves bending the wire at a 90-degree angle, forming a circular loop, and then tightly wrapping the remaining tail wire around the stem two to three times before trimming it flush. This creates a permanent, structural lock that guarantees your clay bead will never detach.
Sealing and Finishing for Longevity
While polymer clay is inherently waterproof after baking, the surface can attract oils and dirt from the skin, especially with lighter colors or metallic leaf applications. Sealing your clay bead earrings is highly recommended, but you must avoid solvent-based sprays and clear nail polishes. The solvents in these products will reactivate the plasticizers in the clay, resulting in a permanently sticky, tacky surface that will never dry.
Instead, use a high-quality, water-based polyurethane varnish (such as Varathane Crystal Clear or DuraGloss). Apply two thin coats using a soft synthetic brush, allowing 30 minutes of drying time between coats. Water-based polyurethane cures to a hard, UV-resistant shell that protects the clay without triggering any adverse chemical reactions.
Troubleshooting Common Clay Bead Failures
- Beads cracking after baking: This is almost always a result of underbaking or insufficient conditioning. Ensure your oven thermometer reads a steady 275°F, and bake for the full duration. If the clay was not conditioned until completely pliable, the internal structure will be weak.
- Sticky or tacky finish: You used an enamel spray, nail polish, or oil-based sealant. Strip the sticky layer using isopropyl alcohol (which is safe for baked polymer clay) and re-seal with a water-based polyurethane.
- Darkened or scorched clay: Your oven elements are too close to the beads, or your oven runs hot. Always use an aluminum foil tent to diffuse direct radiant heat and rely on a standalone thermometer rather than the oven's digital dial.
- Wire pulling through the bead hole: The hole was pierced too wide, or the headpin's flat pad is too small. Always use a headpin with a pad diameter of at least 2mm, and use a spacer bead at the base to distribute the pressure across a wider surface area of the clay.


