Master DIY Hoop Earrings: Step-by-Step Wire Crafting Guide
Learn how to craft custom DIY hoop earrings with our step-by-step wire guide. Master gauge sizes, metal hardness, and hypoallergenic finishing.

The Renaissance of Custom Wire Jewelry in 2026
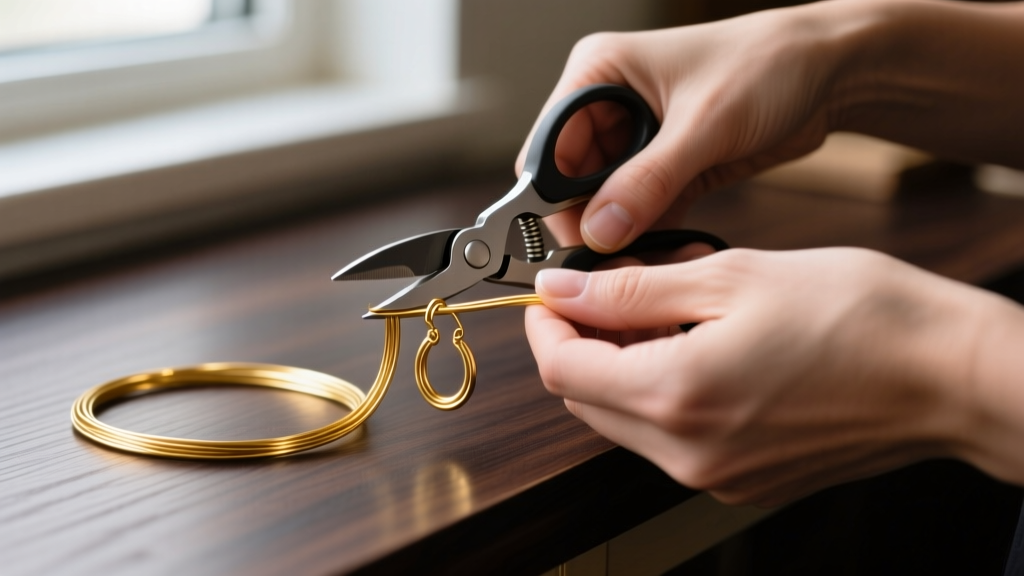
In the contemporary jewelry landscape of 2026, the shift toward hyper-personalized, sustainable, and artisan-crafted accessories has never been stronger. Learning how to make diy hoop earrings from raw wire is no longer just a hobbyist’s pastime; it is a highly sought-after skill that allows you to control every variable of your jewelry, from the exact metallurgical purity to the precise millimeter of the hoop’s inner diameter. Continuous, or endless, wire hoops are particularly revered for their minimalist elegance and seamless tension closures, which eliminate the need for soldered hinges or bulky ear wires.
This comprehensive guide will walk you through the exact metallurgical principles, tool requirements, and step-by-step physical techniques required to craft professional-grade continuous wire hoops. Whether you are working with implant-grade titanium or 14k gold-filled wire, mastering these fundamentals will elevate your jewelry crafting from amateur to artisan.
Essential Tools and Material Grades for DIY Hoops
Before making a single cut, you must understand the materials you are manipulating. The success of a continuous hoop relies entirely on the metal’s hardness and gauge. According to the Rio Grande metalworking standards, wire hardness dictates how the metal will behave under stress.
- Dead Soft: Highly malleable but lacks the structural memory required for a tension closure. Avoid for hoops.
- Half-Hard: The gold standard for DIY hoop earrings. It offers enough malleability to be shaped on a mandrel but possesses the crystalline rigidity to spring back and maintain a secure closure.
- Full-Hard: Extremely brittle. Attempting to bend full-hard wire into a tight hoop will result in metal fatigue and catastrophic snapping.
Choosing the Right Metal
For hypoallergenic earrings, material purity is non-negotiable. The Gemological Institute of America (GIA) notes that nickel alloys are the primary culprits behind contact dermatitis in jewelry. Therefore, opt for these premium alternatives:
- ASTM F136 Titanium: Implant-grade, highly biocompatible, and incredibly lightweight. It requires specialized, heavy-duty cutters due to its tensile strength.
- Niobium: A reactive metal that is naturally hypoallergenic and can be anodized into vibrant colors using a simple voltage setup.
- 14k Gold-Filled (1/20): Features a thick outer layer of 14k gold mechanically bonded to a brass core. It offers the look of solid gold at a fraction of the cost, provided you seal the cut ends to prevent core oxidation.
- Argentium Silver: Contains germanium, making it highly tarnish-resistant and easier to fuse than traditional sterling silver.
| AWG Gauge | Millimeter (mm) | Recommended Hoop Diameter | Best Use Case |
|---|---|---|---|
| 22-Gauge | 0.64mm | 8mm - 12mm | Delicate huggies, secondary cartilage piercings |
| 20-Gauge | 0.81mm | 15mm - 25mm | Standard earlobe hoops, everyday wear |
| 18-Gauge | 1.02mm | 25mm - 40mm | Statement hoops, thicker earlobes, daith piercings |
| 16-Gauge | 1.29mm | 10mm - 16mm | Heavy-duty cartilage, tragus, and rook piercings |
Step 1: Precision Measuring and Flush Cutting
The foundation of a seamless hoop is a perfectly flush cut. To calculate the exact length of wire needed, use the circumference formula: C = π × Diameter. For a 20mm hoop, you will need approximately 62.8mm of wire. Always add 2-3mm of excess to account for the filing process.
When cutting your half-hard wire, the orientation of your flush cutters is critical. Flush cutters have one flat side and one beveled side. You must place the flat side against the piece of wire you intend to keep. This leaves the retained wire with a perfectly flat, 90-degree end, while the bevel (the sharp, angled pinch) is pushed onto the scrap piece. Using high-quality cutters, such as those from Tronex or Lindstrom, ensures the wire is sheared cleanly rather than crushed, which can compromise the metal's structural integrity at the tip.
Step 2: Filing and Engineering the Tension Closure
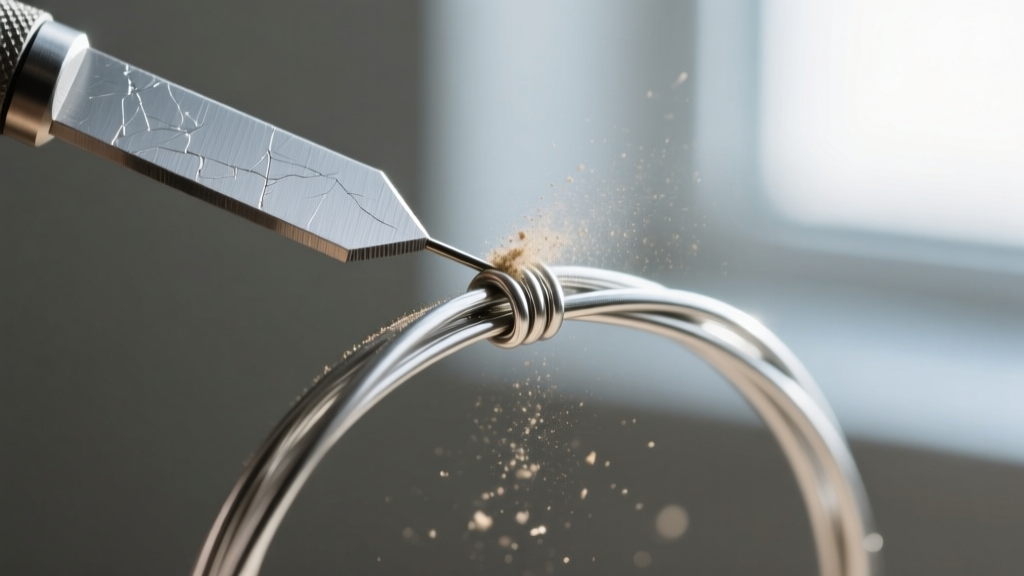
Unlike hinged hoops, continuous wire hoops rely on a mechanical tension fit. To achieve this, the two ends of the wire must be prepared to interlock seamlessly without scratching the delicate tissue of the ear canal.
The Taper and Flat Method
- The Receiving End: Take one end of your cut wire and use a fine-grit needle file or a cup burr attached to a flex shaft to hollow it out slightly. If using solid wire, simply file it completely flat and smooth the outer edges with 600-grit sandpaper so it cannot slice the skin.
- The Insertion End: File the opposite end into a gentle, rounded taper. It should not be needle-sharp, as a sharp point will act like a scalpel when pushed through a healed piercing. Aim for a smooth, bullet-like profile.
- The Fit Test: Before shaping the hoop, test the tension. Bend the wire slightly so the tapered end rests against the flat end. The natural springback of the half-hard wire should press the two ends together firmly. If there is a gap, you have removed too much material or the wire is too soft.
Pro-Tip for Gold-Filled Wire: Because filing exposes the brass core of gold-filled wire, apply a microscopic drop of clear, jewelry-grade epoxy or a specialized metal sealant to the filed ends once the hoop is finished. This prevents the brass from oxidizing and turning the wearer's skin green.
Step 3: Shaping and Work-Hardening the Hoops
With the ends prepared, it is time to form the circle. Never use standard metal-jawed pliers to bend your wire into a hoop; the hardened steel teeth will mar the surface of your precious metal, leaving permanent gouges. Instead, use nylon jaw pliers or wrap the jaws of your round-nose pliers in painter's tape.
Using a Mandrel for Perfect Symmetry
For hoops larger than 15mm, a steel ring mandrel is indispensable. Wrap the wire around the mandrel at the desired millimeter mark. Use a rawhide or nylon mallet to gently tap the wire into a perfect circle. The rawhide transfers force without denting the metal.
Once shaped, the metal will have undergone work-hardening. The physical act of bending the wire displaces its internal crystal lattice structure, increasing its hardness and brittleness. If the hoop feels too stiff or the tension closure is too tight, you can carefully anneal the metal (if using silver or gold) with a butane torch, heating it to a dull red and quenching it in water to reset the crystalline structure. Note: Do not anneal titanium or niobium at home, as they require inert gas environments to prevent catastrophic oxidation.
Troubleshooting Common DIY Hoop Earring Failures
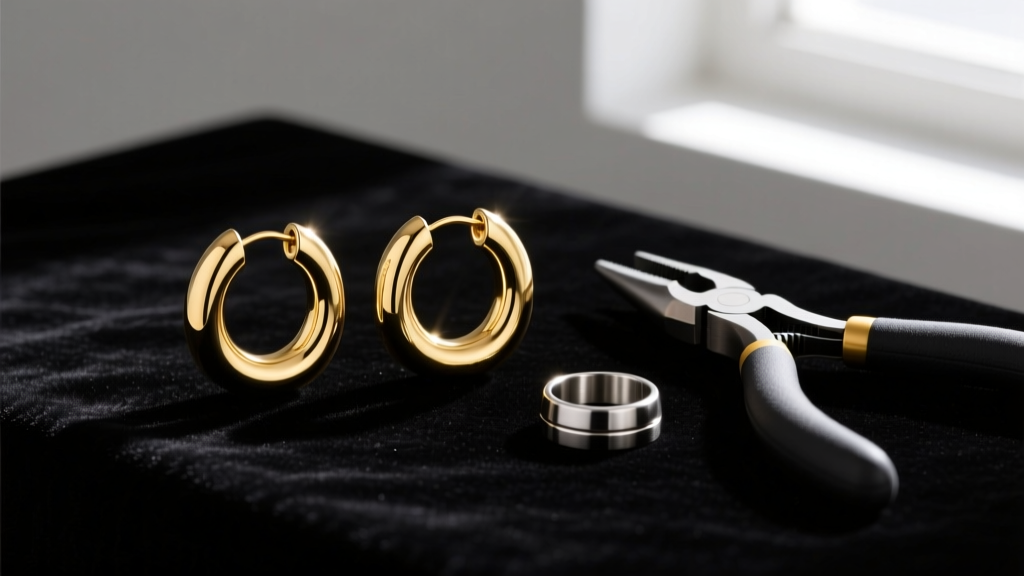
Even experienced jewelers encounter structural issues when crafting DIY hoop earrings. Here is a diagnostic framework for solving the most common problems:
- Failure: The hoop snags on hair or clothing.
Diagnosis: The flush cut was not perfectly 90-degrees, or the filing left a microscopic burr.
Solution: Run a piece of silk thread or a nylon stocking over the closure. If it catches, use a 10x jeweler's loupe to inspect the seam and re-polish with a rubber polishing cup. - Failure: The hoop loses its circular shape and becomes oval.
Diagnosis: The wire was dead soft, or the hoop was not sufficiently work-hardened after shaping.
Solution: Place the finished hoops in a rotary tumbler with stainless steel shot and a drop of burnishing compound for 45 minutes. The kinetic impact will uniformly work-harden the exterior without altering the shape. - Failure: The tension closure pops open during wear.
Diagnosis: The hoop diameter is too large for the gauge of wire used, resulting in insufficient spring tension.
Solution: Refer to the gauge chart above. A 40mm hoop made of 22-gauge wire will lack the structural memory to stay closed. Upgrade to 18-gauge wire for larger diameters.
Final Polish and Hypoallergenic Safety Checks
The final step in crafting professional DIY hoop earrings is the finish. A high polish is not just aesthetic; it is a hygienic necessity. Microscopic scratches in the metal can harbor bacteria, leading to piercing irritation. Use a series of polishing compounds—starting with Tripoli for cutting, followed by Rouge for a mirror finish—applied via a muslin buffing wheel. Finally, clean the earrings in an ultrasonic bath with a mild, ammonia-free jewelry cleaner to remove all polishing residues.
By mastering these metallurgical principles and precision techniques, you transition from simply assembling jewelry to truly engineering it. The result is a pair of custom, hypoallergenic continuous hoops that rival high-end boutique quality, tailored perfectly to your anatomical and aesthetic preferences.


