Mastering 3 Hole Earring Sets: Gauge, Metal & Style
Discover the technical art of curating 3 hole earring sets. Learn gauge matching, implant-grade metals, and visual weight distribution for perfect stacks.

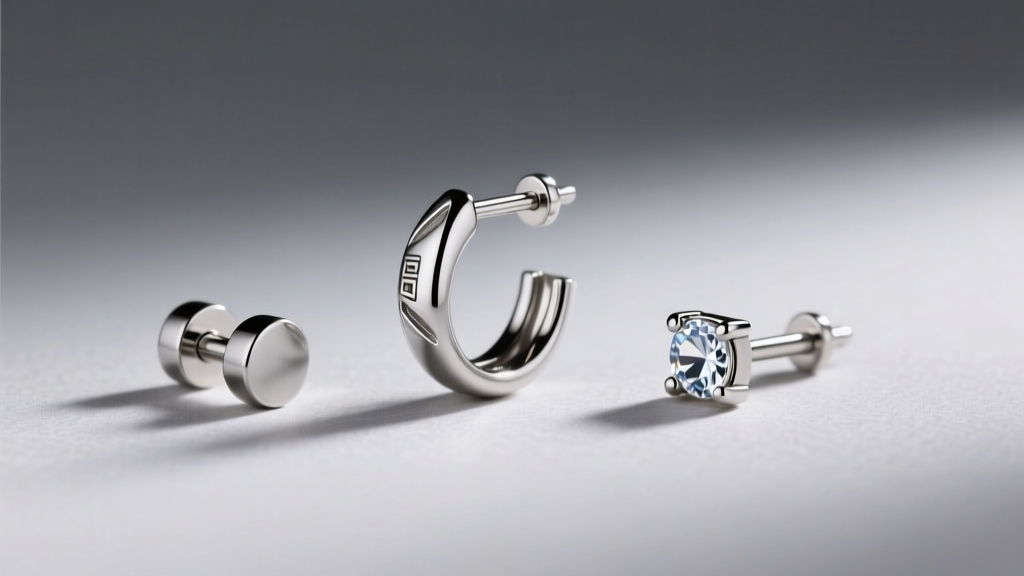
The evolution of ear curation has transformed random piercings into intentional, architectural masterpieces. At the forefront of this movement is the highly sought-after 3 hole earring set. Unlike traditional single piercings, a three-piece stack requires a deep understanding of anatomical mapping, biomechanical stress, and metallurgical compatibility. Whether you are working with a standard vertical stack (lobe, upper lobe, helix) or a diagonal scatter (lobe, tragus, forward helix), success relies on precise technical execution rather than mere aesthetic guesswork.
In this expert deep dive, we deconstruct the exact specifications required to build a flawless 3 hole earring set. We will examine gauge tolerances, threading mechanics, implant-grade material standards, and the mathematical frameworks used by high-end piercers to balance visual weight across the auricle.
The Anatomical Blueprint: Mapping Your Stack
Before selecting jewelry, you must understand the tissue density variations across the ear. The earlobe consists of soft, vascularized adipose and connective tissue, making it highly forgiving and quick to heal (typically 6 to 8 weeks). In contrast, cartilage piercings like the helix, tragus, or conch penetrate dense, avascular tissue that requires 6 to 12 months to fully fistulize.
The Vertical vs. Diagonal Configuration
- Vertical Stack: Aligns three piercings along the posterior ridge of the ear (e.g., standard lobe, upper lobe, flat helix). This requires precise angular alignment to ensure the jewelry sits parallel when viewed from behind.
- Diagonal Scatter: Distributes the 3 hole earring set across different anatomical zones (e.g., lobe, tragus, forward helix). This creates a dynamic, asymmetrical balance but demands careful consideration of how hair and headphones interact with the placements.
Technical Specifications: Gauge, Threading, and Biomechanics
The most common point of failure in multi-piercing setups is gauge mismatching and improper threading. According to the Association of Professional Piercers (APP), maintaining consistent gauge sizes and utilizing safe threading mechanisms is non-negotiable for long-term fistula health.
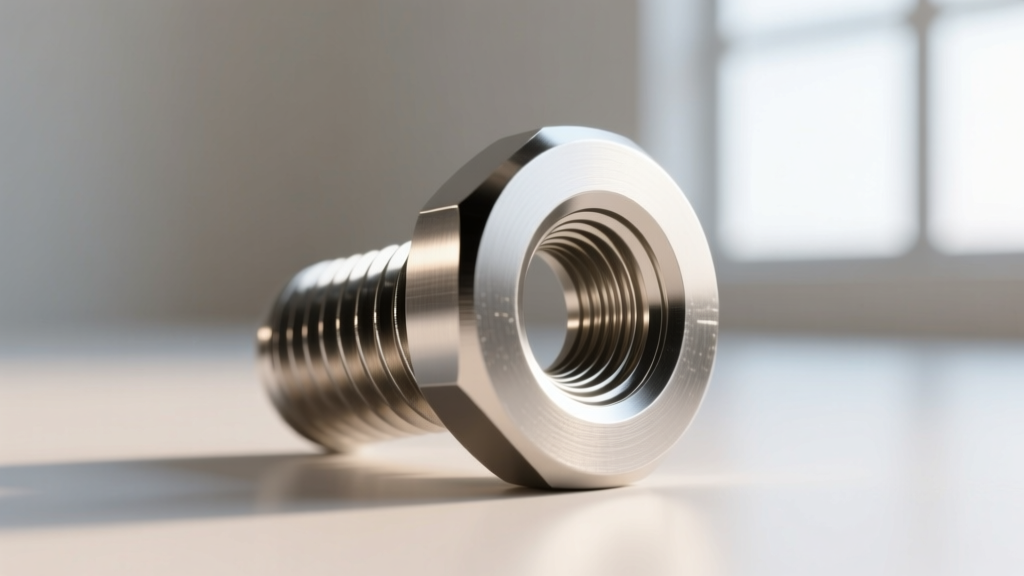
The Gauge Tolerance Matrix
While standard lobe piercings are often performed at 18-gauge (1.0mm) or 20-gauge (0.8mm), cartilage piercings are overwhelmingly performed at 16-gauge (1.2mm) or 14-gauge (1.6mm). When curating 3 hole earring sets, experts recommend standardizing the entire ear to 16-gauge. Using an 18-gauge post in a 16-gauge fistula can lead to the "cheese cutter effect," where the thinner wire slowly migrates through the tissue due to uneven tension and gravity.
Internal vs. External Threading
Never use externally threaded jewelry (where the screw is on the post) for any part of a curated stack. The sharp threads act like a file, tearing the delicate epithelial lining of the fistula every time the jewelry is inserted. Instead, opt for:
- Internally Threaded: The screw mechanism is located on the decorative gem or end, while the post remains perfectly smooth. Brands like BVLA and Anatometal specialize in precision-machined internal threads.
- Threadless (Push-Pin): Pioneered by NeoMetal, this system uses a slightly bent pin that creates tension against the inside of the hollow post. It is the gold standard for 3 hole earring sets because it eliminates the risk of losing gemstone ends and allows for seamless insertion without twisting.
Material Science: Implant-Grade Metallurgy
When wearing multiple pieces of jewelry simultaneously, the cumulative surface area of metal against the skin increases significantly. This makes material selection critical to avoid contact dermatitis and nickel sensitization. The National Institutes of Health (NIH) notes that nickel allergy is the most common contact allergy worldwide, often triggered by prolonged exposure to substandard jewelry alloys.
| Material | ASTM Standard | Nickel Content | Best Application |
|---|---|---|---|
| Ti6Al4V ELI Titanium | ASTM F136 | 0% (Nickel-Free) | Healing piercings, highly sensitive ears, primary lobe studs |
| Niobium | N/A (Elemental) | 0% (Nickel-Free) | Cartilage hoops, anodized color variations, tragus rings |
| 316L Stainless Steel | ASTM F138 | 10-14% (Bound) | Fully healed ears only; avoid if known nickel sensitivity exists |
| 14k/18k Solid Gold | N/A (Alloy) | Varies (Palladium-based is safest) | Decorative ends, luxury curation, healed stacks |
For a premium 3 hole earring set, the baseline should always be ASTM F136 implant-grade titanium for the posts, paired with solid 14k or 18k gold for the decorative ends. Avoid "surgical steel" or "hypoallergenic" labels, as these are unregulated marketing terms that do not guarantee a specific nickel release rate. Under the EU Nickel Directive, safe jewelry must release less than 0.5 µg/cm²/week of nickel; implant-grade titanium releases zero.
Visual Weight and the 60/30/10 Proportion Framework
A common mistake in ear curation is using identically sized jewelry across all three piercings, which results in a cluttered, overwhelming aesthetic. Master piercers utilize the 60/30/10 rule to distribute visual weight harmoniously across the auricle.
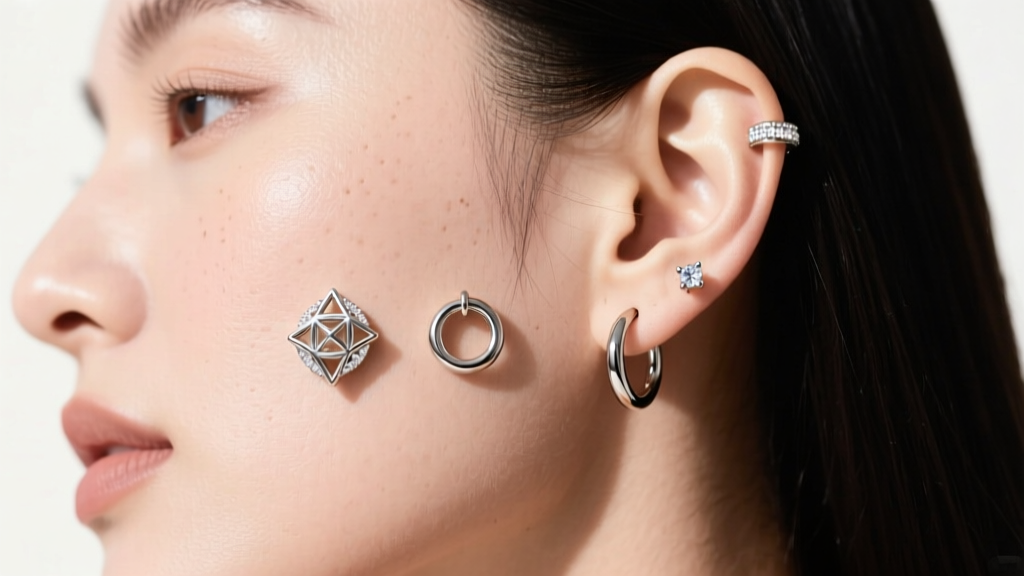
Applying the Framework
- 60% Primary Anchor (Standard Lobe): This is your focal point. Use a larger gemstone (5mm to 7mm) or a substantial geometric shape. The lobe has the tissue density to support heavier, larger ends without sagging or migrating.
- 30% Secondary Accent (Helix or Upper Lobe): This piece should complement, not compete with, the anchor. Opt for a medium-sized element, such as a 3mm gemstone, a small cluster, or a delicate 8mm diameter continuous hoop.
- 10% Tertiary Detail (Tragus or Forward Helix): This is the subtle finishing touch. Use a minimalist 2mm gem, a tiny bezel-set diamond, or a sleek 1.2mm thickness clicker ring. These micro-elements draw the eye inward and create depth.
By adhering to these millimeter guidelines, your 3 hole earring set will look intentionally designed rather than randomly accumulated. The contrast in scale creates negative space, allowing each individual piece to be appreciated.
Long-Term Maintenance and Fistula Health
The longevity of your ear stack depends heavily on the backing mechanisms and maintenance protocols you employ. Traditional butterfly backs (friction backs) are entirely obsolete in professional curation. They trap dead skin cells, sebum, and bacteria against the ear, and their narrow surface area can cause pressure necrosis, where the backing slowly sinks into the tissue.
The Flat Back Labret Standard
Every post in your 3 hole earring set should be a flat back labret. The flat disk distributes pressure evenly across the back of the ear. However, disk sizing is crucial:
- 2.5mm to 3.0mm Disks: Ideal for the tragus and forward helix, where space is limited and larger disks might press into the concha or interfere with earbuds.
- 4.0mm to 5.0mm Disks: Required for standard lobes and thick helix ridges to prevent the jewelry from embedding into the softer tissue.
The Downsizing Protocol
If any of the piercings in your set are relatively new (under 6 months), they were likely pierced with a longer post to accommodate initial swelling. Once the swelling subsides (usually between 4 to 8 weeks), you must visit your piercer to "downsize" to a shorter post. Failing to downsize leaves excess space behind the ear, which can lead to the jewelry catching on hair, sleeping at improper angles, and developing hypertrophic scarring or irritation bumps.
Conclusion
Curating the perfect 3 hole earring set is a masterclass in anatomical respect and material science. By standardizing your gauge to 16g, insisting on ASTM F136 titanium and threadless mechanics, and applying the 60/30/10 visual weight framework, you elevate your ear stack from a simple accessory to a bespoke, structurally sound work of art. Treat your fistulas with the same rigor you apply to selecting your gemstones, and your curated ear will remain healthy, comfortable, and stunning for a lifetime.


