Earring Holder DIY: Solve Tangles, Tarnish & Lost Backs
Learn how to build an earring holder DIY to prevent tangles, stop silver tarnish, and protect delicate 20G posts with expert material guides.

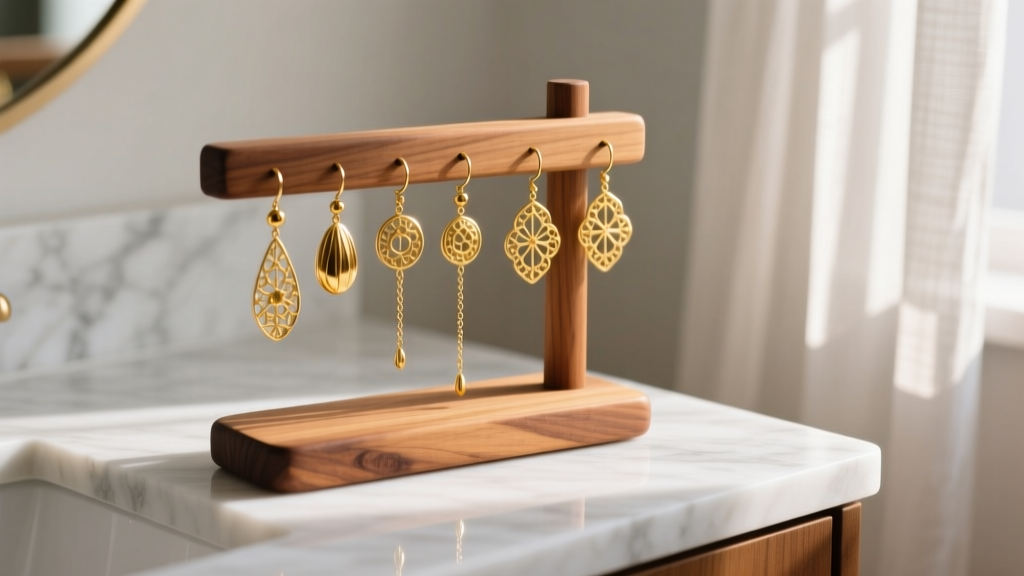
If you have ever spent ten minutes untangling a delicate 14k gold vermeil chain, lost a butterfly back on a dark carpet, or watched your favorite 925 sterling silver studs turn black in a drawer, you already know the hidden costs of bad jewelry storage. In 2026, with the massive resurgence of heavy, sculptural drop earrings and intricate ear curation, tossing your pieces into a generic velvet-lined box is a recipe for structural damage and accelerated tarnish. Building a custom earring holder diy project is not just a weekend craft; it is an essential preservation strategy for your jewelry investment.
As a jewelry preservation specialist, I see countless ruined pieces caused by improper storage. This guide will walk you through the exact science of earring degradation and provide targeted, problem-solving DIY storage blueprints tailored to specific earring types, gauge sizes, and metal grades.
The Anatomy of Earring Damage: Why Generic Storage Fails
Before cutting wood or buying foam, you must understand the three primary enemies of earring longevity: friction, gravity, and chemical off-gassing.
- Friction and the Mohs Scale: When different earrings touch, harder materials scratch softer ones. A diamond stud (Mohs 10) will easily gouge a 14k gold huggie (Mohs 2.5-3). Generic boxes allow pieces to shift and collide during drawer openings.
- Gravity and Post Bending: Standard butterfly backs and friction posts are typically 20-gauge (0.8mm) or 18-gauge (1.0mm). When heavy dangles are stored horizontally, the weight of the drop pulls against the post, causing microscopic bends that eventually lead to metal fatigue and snapping.
- Chemical Off-Gassing: Many commercial jewelry boxes use MDF (medium-density fiberboard) and synthetic glues that emit sulfur compounds and formaldehyde. According to the Rio Grande metallurgical guidelines, sulfur in the air reacts with the copper alloy in sterling silver to create silver sulfide—the black tarnish layer that ruins finishes.
Earring Holder DIY Solutions by Jewelry Type
A successful earring holder diy build requires matching the storage medium to the specific physical properties of the earring. Here are three specialized blueprints.
1. For Heavy Dangles and Drops: The Tension Wire Method
Heavy drop earrings and chandelier styles need vertical storage to protect their 20G or 18G posts from bending under their own weight.
Materials Needed: A hardwood base (walnut or oak), a 1/8-inch brass or copper tension wire, and clear heat-shrink tubing.
- Cut the brass wire to 18 inches and bend it into a tall, narrow 'U' shape, anchoring both ends into pre-drilled holes in the hardwood base.
- Wrap the horizontal top bar of the wire in clear heat-shrink tubing. This provides a soft, non-abrasive barrier so the earring hooks (often made of softer 14k gold) do not scratch against the raw metal wire.
- Hang the dangles by their ear wires. The vertical drop ensures zero lateral pressure on the posts, and the spacing prevents chain tangling.
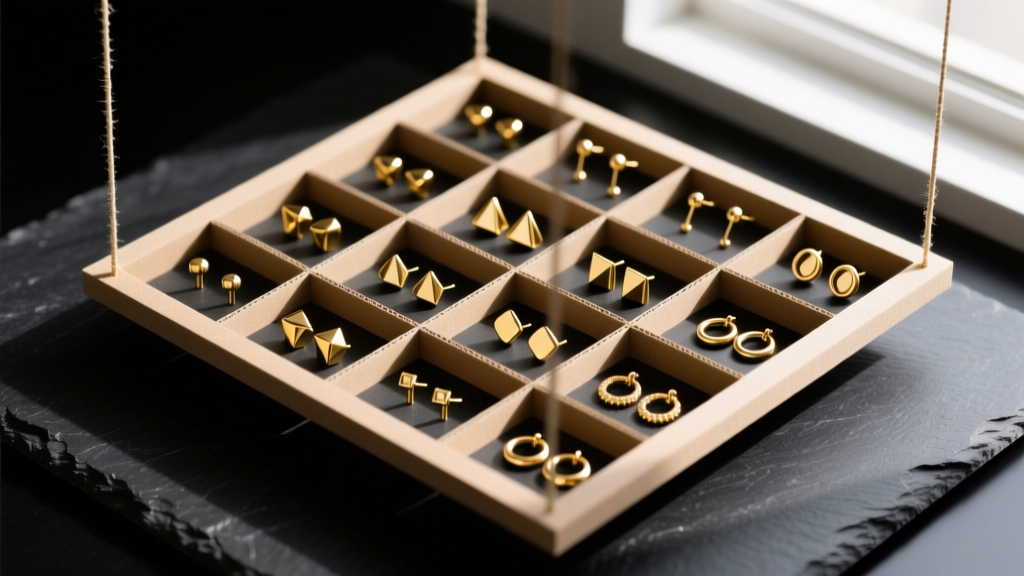
2. For Studs, Huggies, and Ear Cuffs: The Linen-Wrapped EVA Foam Grid
Studs and small hoops are the most frequently lost items. They require a high-friction, horizontal grid that holds them firmly in place without trapping moisture.
Materials Needed: High-density EVA craft foam (not polyurethane, which degrades), 100% linen fabric, and a wooden frame.
- Cut the EVA foam to fit your wooden frame. Using a 3mm leather punch, create a grid of holes spaced exactly 1.5 inches apart.
- Wrap the foam in 100% linen and staple it to the back of the wooden frame. Linen is highly breathable and naturally low in sulfur, unlike synthetic felts which can trap humidity and accelerate tarnish on 925 silver.
- Push the posts of your studs directly through the linen and foam. The high-density EVA grips the 20G posts tightly, keeping butterfly backs secured and preventing the earrings from falling out if the box is tilted.
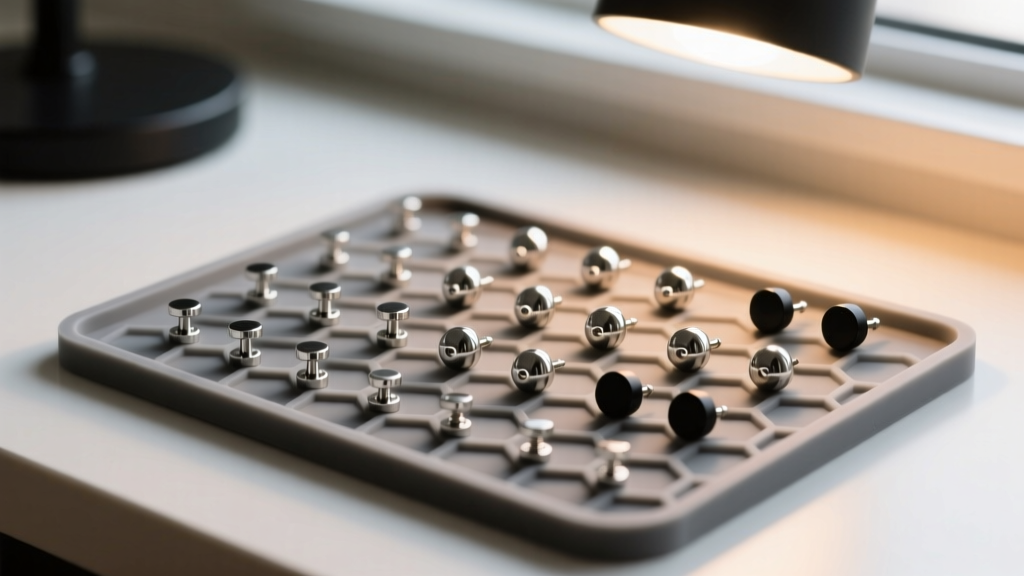
3. For Cartilage and Threadless Ends: The Silicone Craft Mat Approach
Cartilage jewelry, typically 16G (1.2mm) or 14G (1.6mm), and threadless push-pin ends require a non-porous, chemically inert environment. The Association of Professional Piercers emphasizes that implant-grade titanium (ASTM F136) must be kept away from reactive materials to maintain its biocompatible passivation layer.
Materials Needed: A silicone craft mat (100% food-grade silicone), a shallow acrylic tray, and a craft knife.
- Cut the silicone mat into 1-inch wide strips, then make 2mm slits every half-inch along the strips.
- Mount these strips inside the acrylic tray using double-sided silicone tape (avoid cyanoacrylate super glues, which emit fumes that cloud acrylic and can react with certain gemstones).
- Slide the flat-back posts of your cartilage studs into the slits. The silicone grips the titanium or glass posts securely without scratching, and its non-porous nature ensures zero moisture retention or chemical off-gassing.
Material Compatibility Chart: What to Avoid
When executing your earring holder diy project, material selection is critical. Use this chart to ensure your building materials will not chemically damage your jewelry.
| DIY Material | Best Used For | Materials to Avoid Storing | Risk Factor |
|---|---|---|---|
| Raw Oak / Pine Wood | Structural bases, stands | Sterling Silver, Copper | Wood contains natural tannins and acids that can cause localized tarnishing on silver if they make direct contact. |
| 100% Linen / Cotton | Wrapping foam, lining drawers | None (Highly Safe) | Low risk. Ensure the fabric is unbleached and free from synthetic wrinkle-resistant chemical treatments. |
| Synthetic Velvet / Felt | None | All Metals, especially Silver | High risk. Synthetic fibers trap ambient humidity and often contain sulfur-based dyes that rapidly accelerate silver sulfide formation. |
| Food-Grade Silicone | Cartilage studs, threadless ends | None | Zero risk. Chemically inert, non-porous, and will not scratch high-polish titanium or gold. |
Troubleshooting Common DIY Storage Mistakes
Even with the best intentions, DIY jewelry storage can go wrong. Here is how to troubleshoot the most common issues encountered by home crafters.
Problem: My Sterling Silver Tarnished Faster in the DIY Box
Diagnosis: You likely used MDF, plywood, or a wood glue containing sulfur compounds. As the Gemological Institute of America (GIA) notes, silver is highly reactive to sulfur in enclosed spaces. Furthermore, if your DIY box lacks ventilation, ambient humidity gets trapped, acting as a catalyst for the tarnishing process.
Solution: Line the interior of your DIY wooden box with Pacific Silvercloth or add 3M Anti-Tarnish strips to the corners. Replace any synthetic felt lining with unbleached cotton or linen.
Problem: My Earring Posts Keep Bending When I Insert Them
Diagnosis: The foam you selected is too dense, or the holes are too narrow. Standard 20G (0.8mm) gold posts are incredibly soft. Forcing them through tight, unpunched foam will warp the metal.
Solution: Always pre-punch holes in EVA foam using a leather awl or hole punch. Never rely on the earring post itself to pierce the foam. For 22G or ultra-fine vintage posts, switch to a linen-only barrier without foam backing.
Problem: Threadless Cartilage Ends Keep Slipping Out
Diagnosis: The material holding them is too slick or the slits are cut too wide. Threadless ends rely on the tension of a slightly bent pin inside a hollow post. If the storage grip is on the decorative gem rather than the post, they can separate.
Solution: Ensure your silicone mat slits are narrow enough (1.5mm to 2mm) so they grip the 16G or 14G metal post itself, not the gemstone top.
Upgrading Your DIY Holder for Long-Term Preservation
To elevate your earring holder diy project from a simple organizer to a professional-grade preservation vault, integrate climate-control elements into your build.
"The ideal storage environment for fine jewelry maintains a relative humidity (RH) below 50% and limits exposure to airborne pollutants like hydrogen sulfide."
- Silica Gel Integration: Route a shallow channel beneath your earring display platform and fill it with indicating silica gel beads. Cover the channel with a fine brass mesh. This passively dehumidifies the micro-environment, protecting gold vermeil from flaking and silver from tarnishing.
- Anti-Tarnish Vapors: Incorporate a hidden compartment for charcoal briquettes or specialized anti-tarnish tabs. These absorb volatile sulfur compounds before they can react with the copper alloys in your 925 silver or 14k rose gold pieces.
- UV Protection: If your DIY holder sits on a vanity near a window, ensure you are not exposing gemstones like amethyst, kunzite, or treated topaz to direct sunlight, which can cause irreversible color fading. Use a UV-filtering acrylic dust cover over your tension-wire dangle display.
By treating your earring storage as a scientific preservation challenge rather than a mere organizational one, you ensure that every piece—from your daily 14k gold huggies to your delicate vintage drops—remains in pristine, wearable condition for decades.


