Build a Custom DIY Earring Organizer for Heavy Hoops & Studs
Learn how to build a custom DIY earring organizer for heavy hoops and studs. Step-by-step guide with material grades, sizing, and anti-tarnish tips.

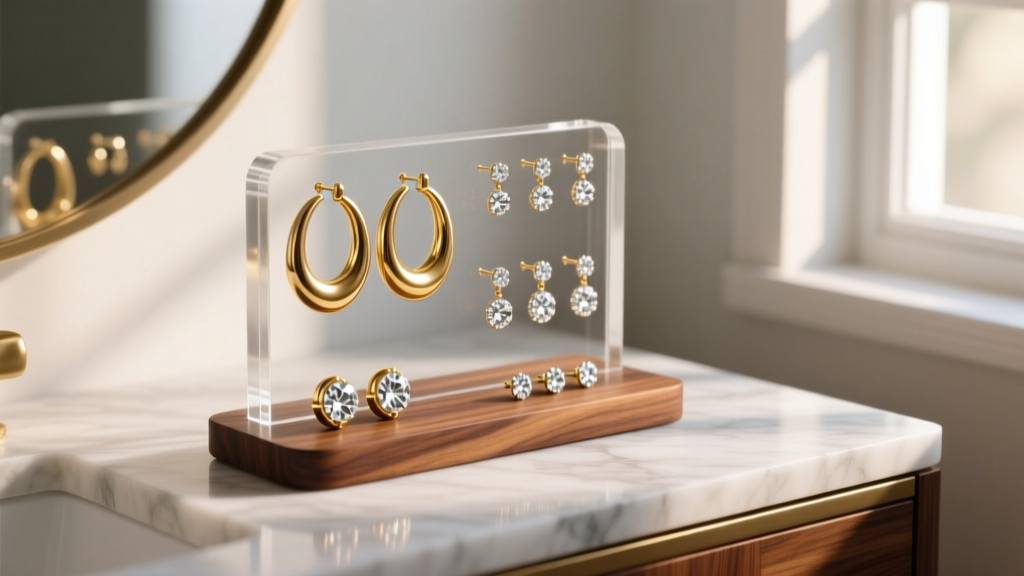
The Hidden Flaws in Commercial Jewelry Storage
If you collect fine jewelry, you have likely experienced the frustration of commercial jewelry boxes. Standard organizers are designed for lightweight, mass-produced fashion jewelry, not solid 14k gold huggies, heavy gemstone drops, or thick cartilage studs. When heavy hoops are laid flat, their posts bend under the weight. When they are hung on flimsy fabric loops, the stress warps the delicate clicker hinges. Furthermore, standard craft felt liners trap ambient humidity, accelerating the oxidation of sterling silver and porous gemstones.
Building a custom diy earring organizer allows you to engineer a storage solution tailored to the exact gauge sizes, weight distributions, and material sensitivities of your collection. By selecting the right base materials and utilizing precision drilling techniques, you can create a display that protects your investments while showcasing them beautifully.
Material Selection: Beyond Basic Craft Wood
The foundation of a high-quality organizer requires materials that offer structural rigidity and chemical neutrality. Avoid medium-density fiberboard (MDF) and particleboard, as the off-gassing from the adhesives used in their manufacturing can cause discoloration in porous stones like pearls and opals.
| Material | Grade / Type | Best Application | Tarnish & Damage Risk |
|---|---|---|---|
| Solid Walnut | Kiln-dried, FAS grade | Base tiers and stud blocks | Low (requires sealant to prevent acid transfer) |
| Acrylic | Cast (not extruded) | Transparent risers and hoop slots | None (chemically inert) |
| Anti-Tarnish Cloth | Pacific Silvercloth (flannel) | Drawer liners and shelf pads | Negative (actively prevents oxidation) |
| Standard Craft Felt | Polyester blend | Avoid entirely | High (traps moisture and sulfur) |
According to jewelry supply experts at Rio Grande, treating your storage environment is just as critical as cleaning the jewelry itself. Pacific Silvercloth is embedded with fine silver particles that act as a sacrificial anode, absorbing hydrogen sulfide from the air before it can react with the copper in your sterling silver pieces.
Step-by-Step Construction Guide
Step 1: Sizing and Drilling Precision Stud Holes
The most common failure in DIY stud organizers is hole sizing. If the hole is too wide, the earring post will lean, causing the decorative head to scratch adjacent pieces. If it is too narrow, you will bend the post when inserting it.
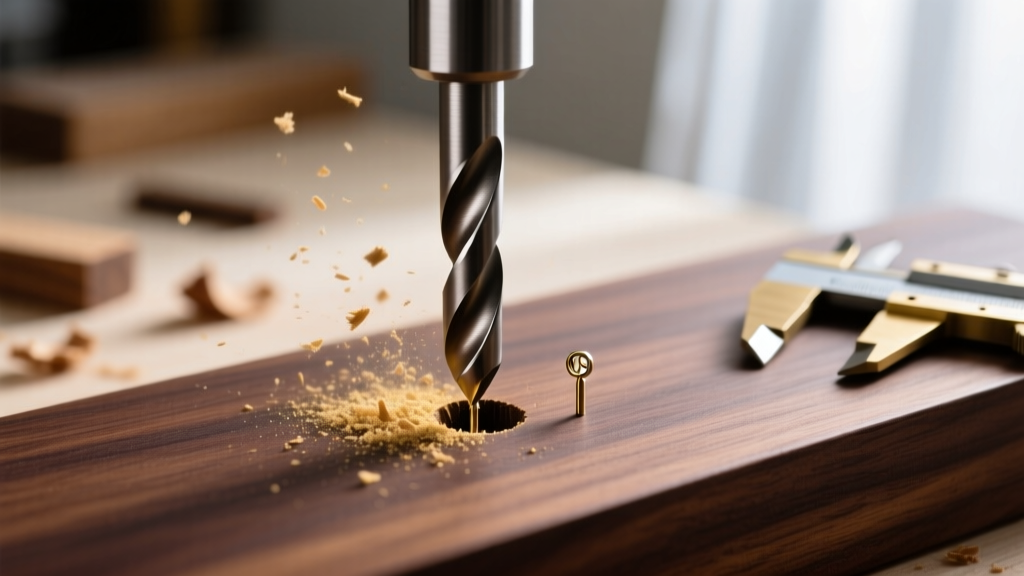
- Standard Lobe Studs (20-Gauge / 0.81mm): Use a 0.9mm or 3/64-inch (1.19mm) micro drill bit. This provides a snug fit with just enough clearance for the post.
- Cartilage & Helix Studs (16-Gauge / 1.29mm): Use a 1.5mm or 1/16-inch drill bit. Titanium and surgical steel cartilage posts are thicker and require wider clearance.
- Friction-Back Accommodation: Drill the holes to a depth of exactly 3/8 inch. This allows the post to sit flush while leaving room for the butterfly back or silicone stopper underneath the wood surface.
When drilling into solid walnut, use a brad-point bit to prevent tear-out on the surface. Always place a sacrificial piece of scrap wood underneath your workpiece to ensure the exit hole remains clean.
Step 2: Engineering Support for Heavy Hoops and Huggies
Heavy gold hoops (often weighing 8 to 15 grams per pair) should never be stored by hanging them from their hinged posts. The sustained gravitational pull will eventually misalign the clicker mechanism or weaken the solder joint at the hinge.
Instead, construct slotted acrylic risers or use custom-bent brass wire hooks. To make a hoop rest, cut 1/8-inch cast acrylic into 2-inch by 4-inch rectangles. Use a jeweler's saw to cut a 1.5mm wide slit into the top edge of the acrylic. The hoop simply rests in the slit, supported by its bottom curve, keeping the hinge completely stress-free. As noted by Wood Magazine, always use a step bit or a specialized plastics drill bit when working with cast acrylic to prevent micro-fractures and clouding along the edges.
Step 3: Applying Anti-Tarnish Liners
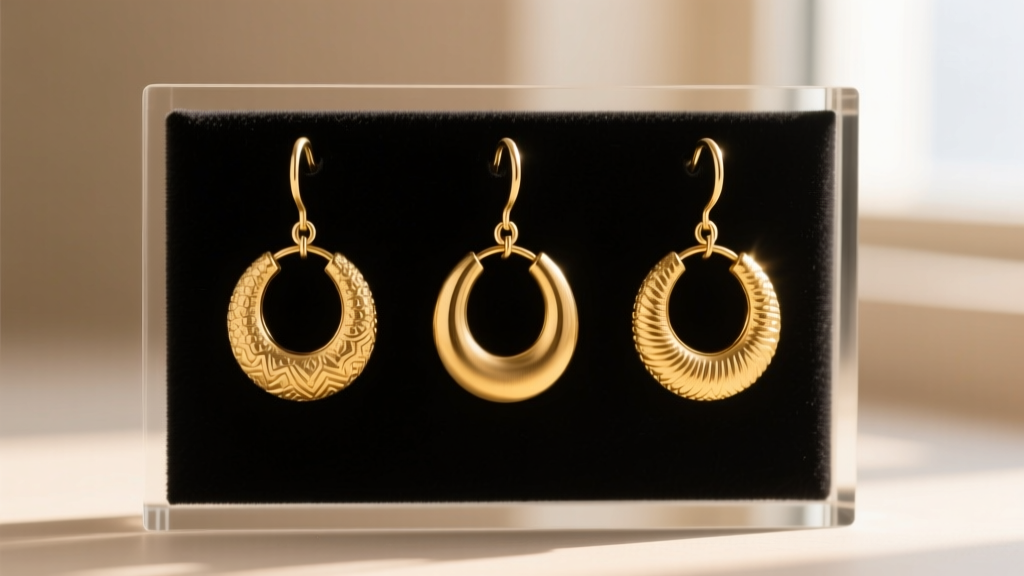
For the flat surfaces of your organizer where drop earrings and ear cuffs will rest, apply a high-grade anti-tarnish flannel. Do not use standard spray adhesives, as the volatile organic compounds (VOCs) can degrade the tarnish-inhibiting properties of the cloth. Instead, use a pH-neutral, acid-free double-sided tape (such as 3M 415 tape) to secure the fabric to the wood or acrylic base. Stretch the fabric taut to prevent wrinkles that could catch delicate prong settings.
Troubleshooting Common DIY Failures
Even with careful planning, DIY jewelry storage projects can encounter specific technical hurdles. Here is how to troubleshoot the most frequent issues:
- Acrylic Clouding and Cracking: If your cast acrylic risers develop white, cloudy cracks around the drill holes, you likely used a standard wood twist bit or applied too much downward pressure. Switch to a zero-rake angle drill bit designed specifically for plastics, and back the bit out frequently to clear the swarf.
- Wood Acid Transfer: Unfinished woods like oak and walnut contain natural tannins and acids that can cause white gold and silver to dull over time. Always seal your wood components with a water-based polyurethane or a specialized jewelry-safe wax (like Renaissance Wax) before applying the fabric liners.
- Earring Post Wobbling: If your 20-gauge studs are leaning in their drilled holes, the wood grain may have compressed unevenly. Apply a tiny drop of thin cyanoacrylate (super glue) into the hole, let it cure completely to harden the wood fibers, and then re-drill the hole with your 3/64-inch bit.
Long-Term Maintenance for Your Collection
A custom organizer requires minimal upkeep, but the environment it sits in dictates the longevity of your jewelry. The Gemological Institute of America (GIA) recommends keeping jewelry away from direct sunlight and extreme temperature fluctuations, which can dry out organic gems and weaken adhesive settings.
Dust your wooden and acrylic tiers weekly with a microfiber cloth. Avoid commercial glass cleaners on the acrylic components, as ammonia-based solutions will cause severe crazing and permanent clouding. Instead, use a dedicated acrylic polish or a simple solution of distilled water and a drop of mild dish soap. Finally, replace your anti-tarnish cloth liners every 18 to 24 months; once the embedded silver particles in the fabric have fully oxidized (turning a dark brownish-black), the cloth loses its protective efficacy and must be swapped out to keep your heavy hoops and diamond studs pristine.


