How to Heal Earring Infection: Beginner Guide to Safe Piercings
Learn how to heal earring infection with our beginner-friendly guide. Spot the difference between irritation and infection, and find safe jewelry tips.

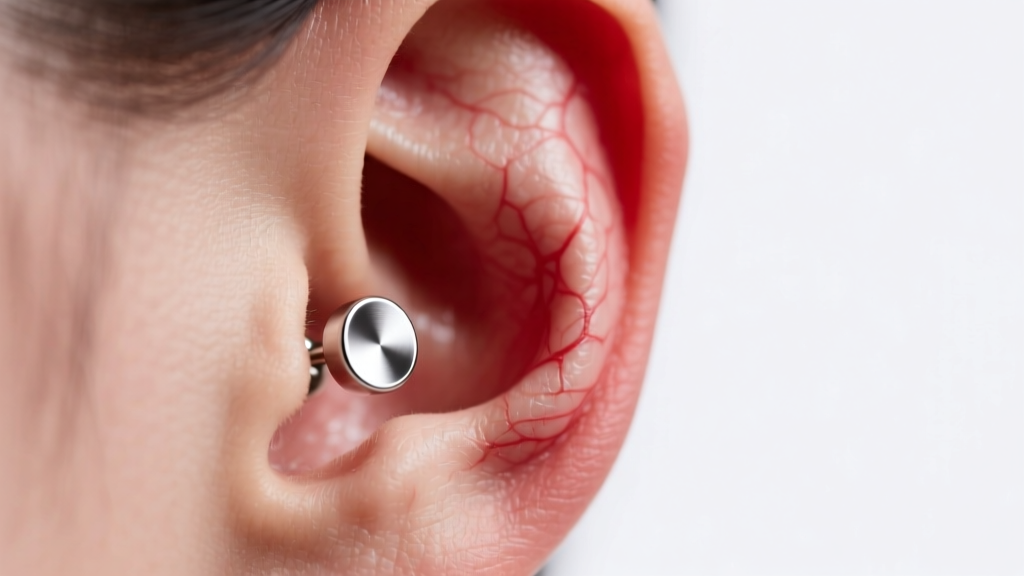
The Panic Zone: Is Your Piercing Actually Infected?
You just swapped out your jewelry or got a fresh piercing, and now your ear is throbbing, red, and angry. Before you rush to the bathroom mirror to rip the earring out, take a deep breath. Learning how to heal earring infection starts with understanding what is actually happening beneath the surface of your skin. In the professional piercing and dermatology communities, true bacterial infections are surprisingly rare. What most beginners mistake for an infection is usually severe contact dermatitis, an irritation bump, or a localized allergic reaction.
However, when a true infection does occur, knowing the exact protocols for treatment, jewelry materials, and aftercare can save your piercing—and your ear cartilage. This beginner-friendly explainer will walk you through the exact steps to triage, treat, and prevent ear complications.
The Golden Rule: Don't Take the Earring Out (Yet)
The most common beginner mistake when dealing with a swollen, painful ear is immediately removing the jewelry. According to the Association of Professional Piercers (APP), removing the jewelry from an actively infected piercing can cause the surface of the fistula (the piercing channel) to close rapidly. This traps the infection inside the tissue, potentially leading to a painful abscess that requires surgical drainage.
Unless instructed by a medical professional, leave a high-quality, implant-grade piece of jewelry in the ear. This keeps the channel open, allowing any pus or exudate to drain freely while you treat the area topically.
Infection vs. Irritation: Know the Difference
To properly treat your ear, you must accurately diagnose the issue. Treating an irritation bump with harsh antibiotics won't work, just as treating a staph infection with just saline won't cut it. Use this diagnostic framework to identify your symptoms.
| Symptom | Irritation / Allergy | True Bacterial Infection |
|---|---|---|
| Discharge | Clear, white, or pale yellow (lymph fluid) | Thick, opaque yellow, green, or brown (pus) |
| Odor | Mild, metallic, or 'ear cheese' smell | Foul, rotting, or distinctly putrid odor |
| Temperature | Warm to the touch immediately after cleaning | Radiating, intense heat persisting all day |
| Pain Level | Tender when bumped or slept on | Constant, throbbing pain that disrupts sleep |
| Redness | Localized strictly around the entry/exit holes | Spreading redness, red streaks radiating outward |
Step-by-Step: How to Heal Earring Infection at Home
If you have determined that you are dealing with a mild, localized infection or severe irritation, follow this clinical-grade aftercare routine. The Cleveland Clinic recommends gentle, non-irritating cleansing methods to support the body's natural immune response.
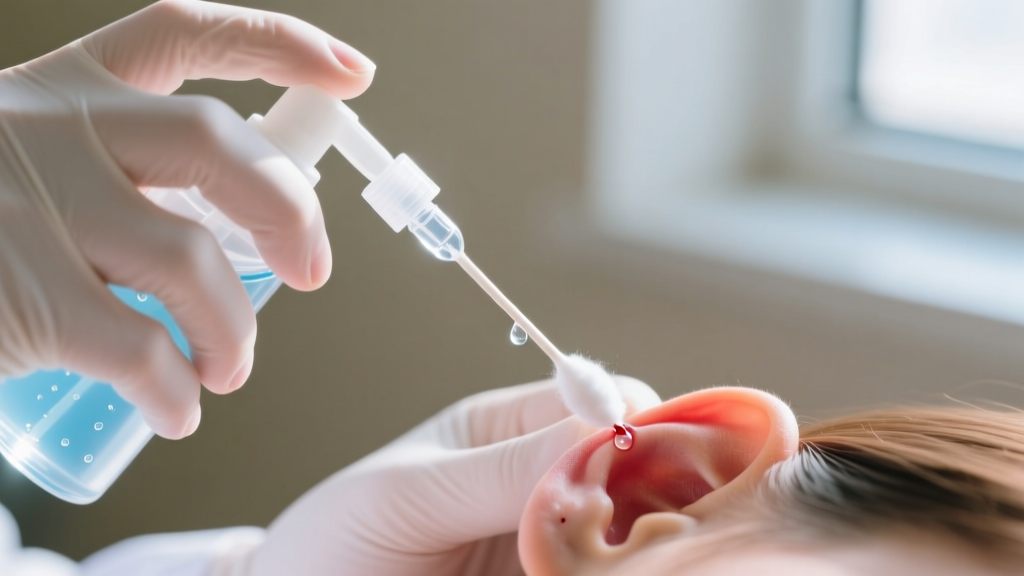
Step 1: Switch to Sterile Saline Only
Ditch the DIY sea salt soaks, which often have incorrect ratios that can dehydrate and burn the tissue. Purchase a sterile saline wound wash containing exactly 0.9% sodium chloride and purified water (brands like NeilMed or H2Ocean). Spray it directly onto the piercing twice a day. Let it sit for 30 seconds, then gently pat dry with a non-woven gauze pad. Avoid cotton balls, as the fibers can wrap around the earring post and harbor bacteria.
Step 2: Apply a Warm Compress
If the area is swollen and tender, soak a clean piece of gauze in warm (not hot) sterile saline and hold it against the ear for 3 to 5 minutes. The gentle heat increases local blood flow, bringing white blood cells to the area to fight off bacteria and encourage drainage.
Step 3: The L.I.T.H.A. Method
L.I.T.H.A. stands for Leave It The Hell Alone. Do not twist the earring. Twisting tears the fragile, healing fistula tissue and forces surface bacteria deep into the wound. Keep your hands off your ears, and keep your hair tied back to prevent snagging.
Material Matters: Upgrading Your Jewelry for Healing
You cannot heal an infection or severe allergic reaction if the metal in your ear is the root cause. Many commercial earrings are made of 'surgical steel,' which contains up to 10% nickel. When exposed to bodily fluids, nickel leaches into the tissue, causing severe contact dermatitis that mimics an infection.
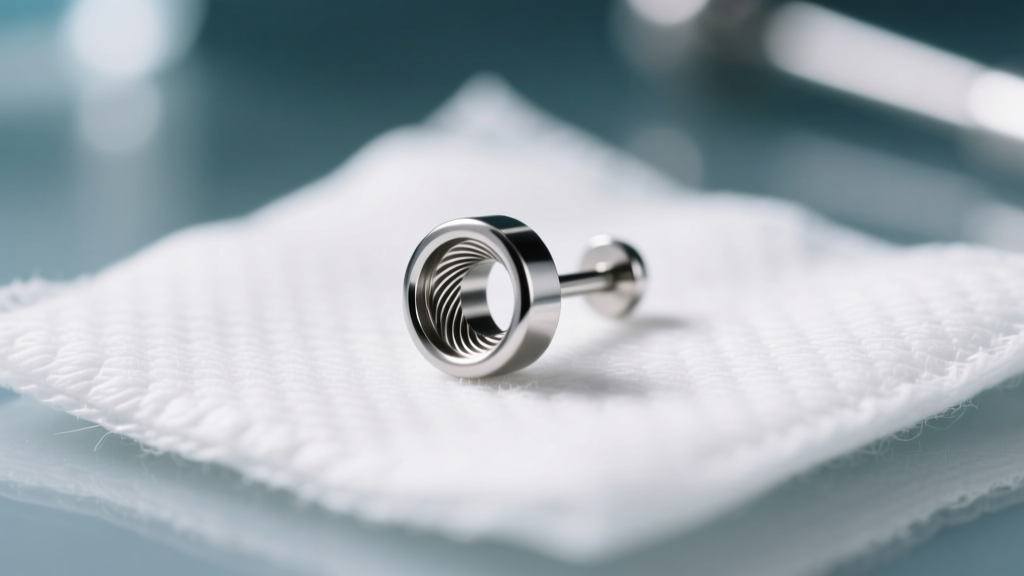
The Only Safe Metals for Compromised Ears
- ASTM F-136 Implant-Grade Titanium: This is the gold standard for healing. It contains zero nickel and is biocompatible, meaning the body will not reject it. Brands like Intrinsic Body or NeoMetal offer excellent options.
- Solid 14k or 18k Gold: Must be alloyed for body jewelry (nickel-free). Avoid gold-plated or gold-filled jewelry, as the plating can wear off and expose reactive base metals.
- Niobium: A highly reactive metal that is generally well-tolerated by those with severe metal sensitivities.
Gauge and Threading Considerations
Ensure your jewelry is the correct gauge to prevent migration and tearing. Standard earlobes are usually 20g or 18g, while cartilage piercings (helix, tragus, conch) are typically 16g or 14g. Furthermore, opt for internally threaded or threadless (push-pin) jewelry. Externally threaded earrings have sharp threads that scrape and micro-tear the inside of the piercing channel every time they are inserted, creating open pathways for bacteria.
What NOT to Do: Common Beginner Mistakes
When panic sets in, beginners often reach for harsh household chemicals. These will destroy your healing cells and make the problem worse.
'Never use rubbing alcohol, hydrogen peroxide, or antibiotic ointments like Neosporin on a piercing. Alcohol and peroxide kill healthy, regenerating tissue, while thick ointments trap moisture and bacteria inside the fistula, creating an anaerobic environment where bad bacteria thrive.' — Professional Piercing Standard Guidelines
Avoid tea tree oil, aspirin pastes, and iodine. Stick strictly to sterile 0.9% saline and let your immune system do the heavy lifting.
When to See a Doctor: Red Flags for Systemic Infection
While most ear issues can be managed at home with a jewelry upgrade and proper saline hygiene, cartilage piercings carry a unique risk. Because cartilage lacks its own direct blood supply, an infection here can quickly develop into perichondritis or chondritis, which can permanently deform the ear (cauliflower ear) if left untreated.
Seek immediate medical attention from a doctor or dermatologist if you experience:
- Red streaks radiating from the piercing site down your neck or face.
- A fever, chills, or nausea.
- The earring is completely swallowed by the swelling (embedded jewelry).
- Severe, unrelenting throbbing pain in a cartilage piercing that does not improve after 48 hours of proper saline care.
A doctor may prescribe a course of oral antibiotics, such as Cephalexin or Clindamycin. Continue to leave the titanium jewelry in place while on antibiotics unless your physician explicitly instructs you to remove it.


