How to Make Resin Earrings: Fix Sticky, Bubbly & Cloudy Cures
Learn how to make resin earrings by mastering troubleshooting. Fix sticky cures, micro-bubbles, and cloudy finishes with expert jewelry tips.

Learning how to make resin earrings is a rewarding jewelry-making pursuit, but the journey from liquid epoxy to wearable art is fraught with chemical pitfalls. Unlike metal stamping or wire wrapping, resin crafting relies on an exothermic chemical reaction. When the ratio, temperature, or humidity is off by even a fraction, your elegant teardrop dangles can emerge from the mold as sticky, cloudy, or bubble-riddled disappointments. In 2026, the jewelry market demands professional-grade clarity and durability. Whether you are casting 316L surgical steel posts into geometric studs or creating layered botanical dangles, mastering the troubleshooting phase is what separates hobbyists from premium jewelry designers.
The Science of Epoxy: Why Cures Fail in Jewelry Molds
To troubleshoot effectively, you must understand the chemistry. Two-part epoxy resin consists of a resin (Part A) and a hardener (Part B). When mixed, they undergo cross-linking. Most jewelry-grade epoxies, like ArtResin or TotalBoat, require a strict 1:1 ratio by volume. However, a common beginner mistake is assuming volume equals weight. If a manufacturer specifies a 1:1 volume ratio but you measure on a digital scale, your mixture will be severely off-balance, leading to a permanently soft cure. Furthermore, ambient temperature dictates the reaction speed. The ideal curing environment is between 75°F and 80°F (24°C - 27°C). If your studio drops below 70°F, the cross-linking process can stall entirely, leaving the center of thick earring molds uncured while the edges harden.
Troubleshooting Sticky or Tacky Resin Earrings
There is nothing more frustrating than demolding a pair of resin hoops only to find the surface feels like sticky tape. Tacky resin is almost always a symptom of improper mixing or incorrect ratios.
The Scrape-and-Pour Method
If your earrings are flexible and tacky, they will never harden. You cannot save a poorly mixed batch by simply adding more hardener to the surface. Instead, use a craft knife to scrape out the uncured, gummy resin from your silicone mold. Wipe the mold cavity with isopropyl alcohol (99% purity) to remove chemical residue. Once dry, mix a fresh, meticulously measured batch. Use a silicone spatula to scrape the sides and bottom of your mixing cup for at least three minutes before pouring into the mold.
Temperature Interventions
If your mixture was perfectly measured but remained tacky, your studio is likely too cold. To force a stalled cure, place the mold on a silicone mat and use a space heater to raise the ambient room temperature to 80°F. Alternatively, you can place the mold in a dedicated resin curing box or a food dehydrator set to 115°F for two hours. According to the ArtResin FAQ, gentle, consistent heat accelerates the cross-linking process without yellowing the epoxy, provided you do not exceed 130°F.
Eliminating Micro-Bubbles in Deep Mold Earrings
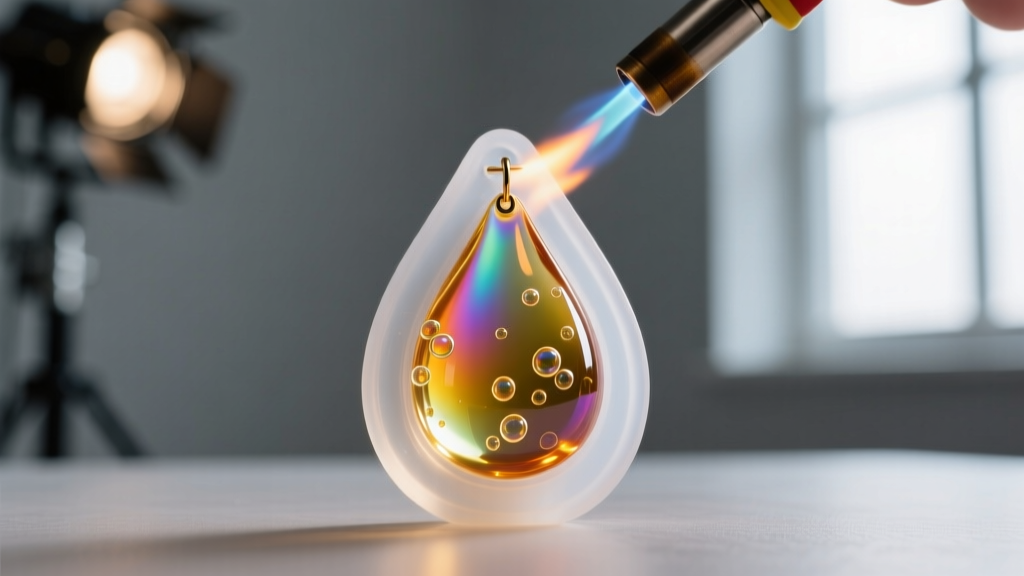
Bubbles are the enemy of crystal-clear resin earrings. They occur when air is whipped into the mixture during stirring, or when air trapped in intricate silicone mold crevices escapes into the liquid. For shallow stud earrings, a quick pass with a butane torch or a 350°F heat gun will pop surface tension bubbles. However, for deep dangles or thick statement hoops, surface heat will not reach bubbles suspended in the middle of the pour.
The Pressure Pot Solution
Professional jewelry makers rely on a pressure pot to achieve glass-like clarity. By placing your filled molds into a pressure pot and pumping it to 40-50 PSI (pounds per square inch), you compress any trapped air bubbles to a microscopic size, rendering them invisible to the naked eye. You must leave the earrings in the pressurized environment until the resin reaches its initial gel phase (usually 4 to 6 hours). Releasing the pressure too early will cause the compressed bubbles to expand back to their original size.
Viscosity and Resting Techniques
If you lack a pressure pot, opt for a low-viscosity, slow-cure resin designed for deep pours. These formulas are thinner, allowing bubbles to rise to the surface naturally. After mixing, let the resin rest in the cup for 5 to 10 minutes before pouring. This 'resting period' allows the bulk of the mechanical bubbles to escape before the liquid enters the intricate details of your earring molds.
Fixing Cloudy, Yellowing, or Dull Finishes
Cloudiness in resin earrings usually stems from moisture contamination or improper demolding. If water or high humidity enters the mixture, the epoxy will undergo 'amine blush,' resulting in a milky, opaque finish. Always ensure your silicone molds are bone-dry and avoid crafting on days where indoor humidity exceeds 50%. For yellowing, ensure you are using a resin formulated with HALS (Hindered Amine Light Stabilizers) and UV inhibitors, which protect the polymer chains from degrading under sunlight.
The Wet-Sanding and Polishing Protocol
If your earrings emerge from the mold with a dull, frosted finish—a common issue with matte silicone molds—you must mechanically restore the gloss. Do not dry-sand resin, as the friction heat will melt the plastic and create toxic airborne dust. Instead, use wet sandpaper and follow this exact progression:
- 400 Grit: Removes deep mold lines and major imperfections.
- 800 Grit: Smooths the scratches left by the 400 grit.
- 1200 to 2000 Grit: Begins to refine the surface to a semi-gloss.
- 3000 Grit: Prepares the surface for final buffing.
After sanding, apply a specialized plastic polish, such as Novus #2 Fine Scratch Remover, using a microfiber cloth or a rotary tool with a felt buffing wheel on a low-speed setting. This restores the optical clarity required for high-end jewelry.
Hardware Integration: Preventing Post & Bail Failures
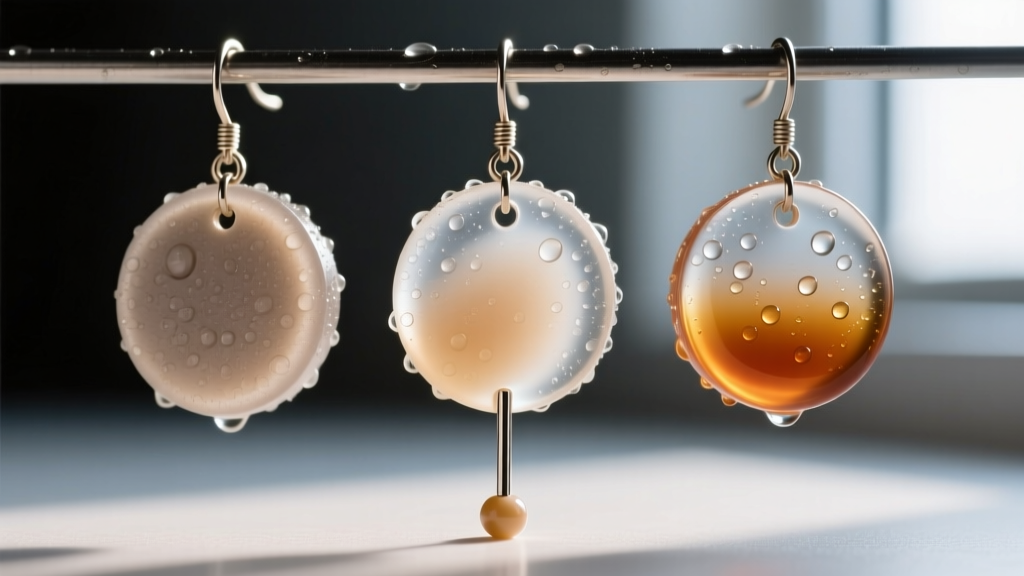
A beautiful resin earring is useless if the hardware snaps off. When learning how to make resin earrings, integrating the findings securely is a critical troubleshooting step. Simply gluing an earring post to the back of a cured resin piece with superglue (cyanoacrylate) is a guaranteed failure point; the glue will become brittle and snap under the torque of daily wear.
Embedding vs. Drilling
The most secure method is embedding the post directly into the wet resin. Use 18-gauge or 20-gauge titanium or 316L surgical steel posts with a flat pad or a 'butterfly' base. Push the post into the liquid resin at the top of the mold, ensuring at least 3mm of the metal is submerged. The resin will cure around the textured metal, creating a mechanical lock. If you must add hardware post-cure, use a Dremel with a diamond burr bit to carve a shallow 2mm trench into the resin. Fill the trench with a high-strength, two-part jeweler's epoxy (like G-S Hypo Cement or a 5-minute steel epoxy) and seat the post. Allow it to cure for 24 hours before handling.
Quick-Reference Resin Troubleshooting Matrix
Keep this diagnostic table on your workbench to quickly identify and resolve common casting issues.
| Issue | Primary Cause | Expert Solution |
|---|---|---|
| Sticky / Tacky Surface | Inaccurate mixing ratio or insufficient scraping of the cup. | Scrape out, clean mold with 99% IPA, and pour a fresh, carefully measured batch. |
| Deep Micro-Bubbles | Whipped air during mixing or complex mold crevices. | Cure in a pressure pot at 45 PSI until the gel phase is reached. |
| Milky / Cloudy Cast | Moisture contamination or high ambient humidity (Amine Blush). | Work in a climate-controlled room (<50% humidity); use a dehydrator to gently warm molds before pouring. |
| Brittle / Cracking Resin | Exothermic runaway (pouring too thick, too fast). | Use a slow-cure, deep-pour formula; pour in layers no thicker than 1/4 inch. |
| Hardware Pulling Out | Superficial gluing or smooth post bases. | Embed posts 3mm deep in wet resin or carve a trench for mechanical epoxy bonding. |
Final Curing and Storage Best Practices
Even after your resin earrings have hardened to the touch, they are not fully cured. Most jewelry-grade epoxies require 7 to 14 days to reach their maximum tensile strength and chemical resistance. During this period, store the earrings flat in a dust-free environment, ideally inside a closed plastic bin with silica gel packets to control moisture. Avoid wearing or shipping newly demolded earrings within the first 72 hours, as the polymer chains are still settling. By applying these rigorous troubleshooting techniques and respecting the chemical demands of epoxy, you elevate your craft, ensuring every pair of resin earrings you produce is durable, crystal-clear, and ready for the luxury market.


