How Long Can You Leave Earrings Out After 1 Year Without Closing
Discover how long you can leave earrings out after 1 year. Expert troubleshooting for lobe vs. cartilage shrinkage, tapers, and safe reinsertion.

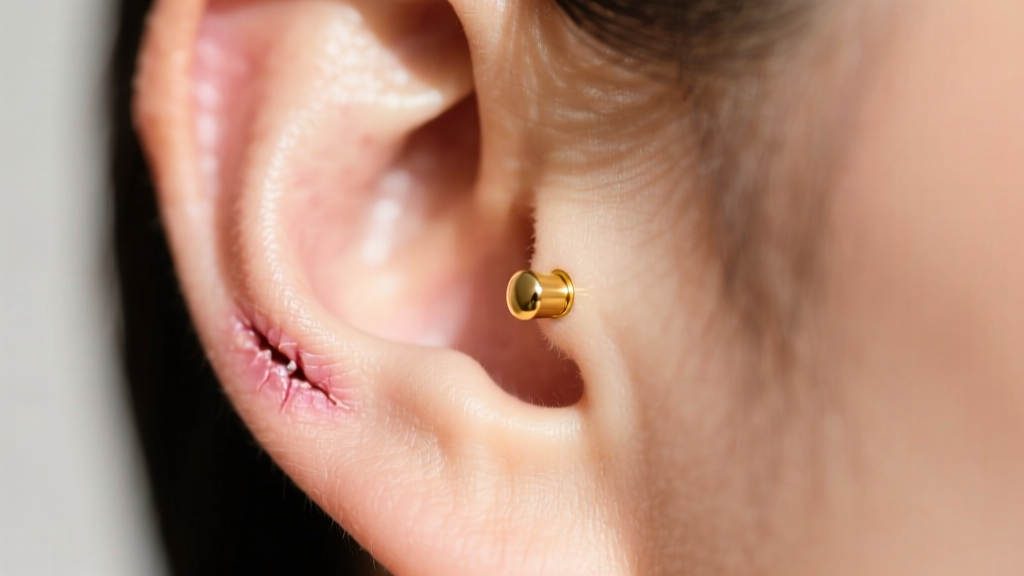
Reaching the one-year mark with a piercing feels like a major milestone. You have survived the initial swelling, the meticulous aftercare routines, and the inevitable snagging incidents. Naturally, you might assume your piercing is now permanent and indestructible. But when an MRI appointment, a surgical procedure, or a simple desire for a jewelry-free weekend arises, a critical question emerges: how long can you leave earrings out after 1 year before the hole closes or shrinks?
The answer is not a simple universal timeframe. It depends entirely on the anatomical location of the piercing, the vascularity of the tissue, and the biological maturity of your fistula (the tube of skin lining the piercing channel). In this comprehensive troubleshooting guide, we break down the exact timelines for lobe versus cartilage piercings, explain the mechanics of tissue shrinkage, and provide a professional-grade protocol for safely reinserting jewelry into a stubborn, shrunken hole.
The Biology of a 1-Year-Old Fistula
To understand closure timelines, you must understand fistula maturation. When a needle punctures the skin, the body forms a fistula—a protective tube of epithelial tissue. According to the Association of Professional Piercers (APP), while a standard earlobe might feel "healed" to the touch after 8 weeks, true cellular maturation takes significantly longer.
At the one-year mark, a standard lobe piercing has typically developed a robust, stable fistula. The tissue is highly vascular, meaning it has excellent blood flow, which aids in both healing and maintaining the channel's elasticity. Cartilage, however, is a completely different story. Cartilage is avascular (lacking direct blood supply) and relies on surrounding tissue for nutrients. A helix, conch, or tragus piercing at one year old is often still in the final stages of maturation. Because cartilage lacks the elastin fibers found in soft tissue, it is notoriously unforgiving when jewelry is removed prematurely.
How Long Can You Leave Earrings Out After 1 Year? (By Location)
There is a massive difference between a hole "closing" entirely and a hole "shrinking." After one year, complete closure (where the skin fuses back together seamlessly) is rare unless the piercing was repeatedly infected or torn. However, shrinkage is almost guaranteed. Below is a data-driven breakdown of what to expect based on piercing location.
| Piercing Location | Tissue Type | Max Time Out (At 1 Year) | Shrinkage Risk | Reinsertion Difficulty |
|---|---|---|---|---|
| Standard Lobe | Vascular / Soft | 24 - 72 Hours | Low | Easy (Usually slides right in) |
| Upper Lobe / High Lobe | Transitional | 12 - 24 Hours | Medium | Moderate (May require gentle wiggling) |
| Helix / Forward Helix | Cartilage | 2 - 6 Hours | High | Difficult (Requires taper & lubrication) |
| Conch / Tragus | Thick Cartilage | 4 - 8 Hours | High | Difficult (High risk of false channels) |
| Rook / Daith | Dense Cartilage Folds | 1 - 3 Hours | Severe | Extreme (Professional help recommended) |
Troubleshooting Shrunken Holes: Why It Happens
If you leave your earrings out longer than the recommended windows above, the elastin fibers in the dermis will naturally contract, attempting to close the wound. This is an involuntary biological response. When you attempt to reinsert a standard 20-gauge (0.81mm) or 18-gauge (1.02mm) earring into a shrunken hole, you risk micro-tearing the delicate epithelial lining.
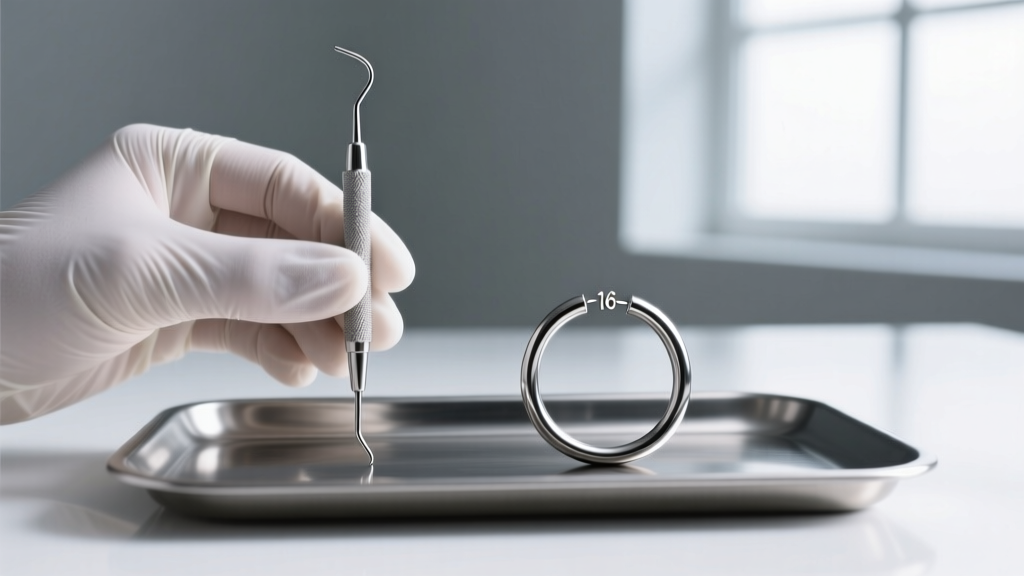
Micro-tears trigger an immune response, leading to localized swelling, irritation bumps (hypertrophic scarring), and a tight, painful fistula. To troubleshoot this, you must abandon the "push and pray" method and adopt a professional reinsertion protocol.
The Taper Method: Step-by-Step Reinsertion
Never force blunt jewelry through a resistant hole. Instead, use an insertion taper—a smooth, graduated rod of steel or titanium designed to gently stretch the tissue back to its original gauge.
- Step 1: Soften the Tissue. Apply a warm, sterile saline compress (0.9% sodium chloride) to the ear for 3-5 minutes. The heat increases localized blood flow and softens the collagen matrix.
- Step 2: Lubricate. Apply a drop of pure, cold-pressed jojoba oil or emu oil to the taper. Jojoba oil closely mimics human sebum and is safe for internal fistula tissue. Never use petroleum jelly (Vaseline) or antibiotic ointments, as these trap anaerobic bacteria and block oxygen flow to the healing cells.
- Step 3: Align and Glide. Gently insert the narrow end of the taper into the piercing hole. Ensure the angle perfectly matches the original piercing trajectory. If you feel sharp pain or resistance, stop immediately. You are likely pressing against the fistula wall, risking a "false channel" (piercing through raw tissue instead of the existing tube).
- Step 4: Follow Through. Once the taper is fully seated, align your jewelry with the base of the taper and push the jewelry through, using the taper as a guide bridge.
Material Matters: What to Insert After a Break
When a fistula has been empty and is subsequently stretched back open via a taper, it is essentially a fresh wound. The material you insert is critical to preventing contact dermatitis and rejection. According to APP guidelines on body jewelry materials, the term "surgical steel" is largely a marketing myth; most commercial stainless steel (like 316L) contains 8-10.5% nickel, which can cause severe allergic reactions in compromised tissue.
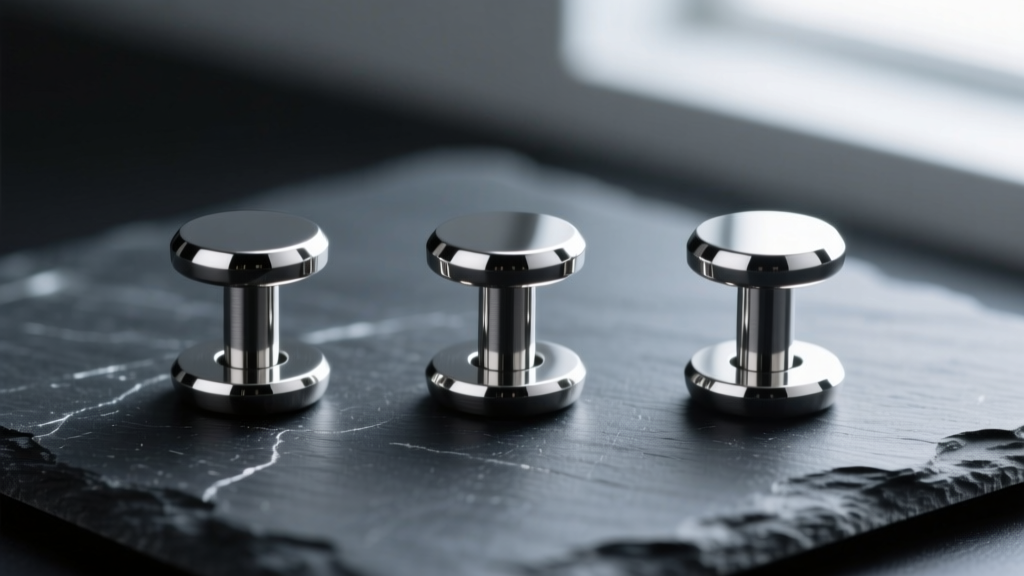
For reinsertion into a shrunken or irritated hole, you must use ASTM F-136 Implant-Grade Titanium or solid 14k/18k nickel-free gold. Titanium is completely biocompatible, non-magnetic (safe for future MRIs), and features a mirror-polished surface that prevents bacteria from adhering to microscopic scratches. Avoid plated jewelry, sterling silver (which tarnishes and contains copper alloys), and acrylics, as these are highly porous and will harbor bacteria inside a vulnerable fistula.
Common Failure Modes & How to Avoid Them
Even with the best intentions, troubleshooting a shrunken piercing can go wrong. Here are the most common failure modes and how to pivot:
1. The Cheese-Cutter Effect: If you manage to force a thin, heavy hoop (like a 20-gauge gold clicker) through a shrunken hole, the weight and thin profile of the wire will act like a cheese wire, slowly migrating through the tissue and tearing the fistula. Solution: Always reinsert a lightweight, flat-back labret stud to distribute pressure evenly while the hole regains its elasticity.
2. Blowouts: Aggressively forcing a taper that is too large can cause the inner tissue of the fistula to push outward, creating a painful, fleshy ring known as a blowout. Solution: Never jump more than 1mm (approximately 2 to 3 gauges) when stretching a shrunken hole back to its original size. If your 16-gauge (1.29mm) hole has shrunk to the size of a 20-gauge (0.81mm), step up gradually using an 18-gauge taper first.
3. Embedded Jewelry: If the tissue swells around the jewelry immediately after reinsertion, a standard butterfly backing or tight clicker can become swallowed by the earlobe or cartilage. Solution: Use a flat-back labret with a longer post (e.g., 8mm or 10mm) to accommodate post-reinsertion swelling, then downsize once the tissue relaxes.
When to Seek Professional Intervention
There is a fine line between DIY troubleshooting and causing permanent tissue damage. You should abandon your at-home efforts and visit an APP-certified professional piercer if you experience any of the following:
Red Flags for Professional Help:
- You cannot find the exit hole of the fistula, even with good lighting and gentle palpation.
- You experience sharp, shooting pain or immediate bleeding when attempting to use a taper.
- The piercing site feels hot to the touch, or you notice thick, yellow/green discharge (signs of a localized infection).
- You have a complex cartilage piercing (like a rook or daith) that has been empty for more than 12 hours.
A professional piercer has specialized tools, such as sterilized surgical steel tapers, proper lighting, and the anatomical knowledge to safely reopen a stubborn channel without causing scar tissue buildup. In some cases, if the fistula has completely fused, they may need to perform a sterile re-pierce, which is far safer than tearing your ear apart with blunt force at home.
Final Thoughts on Piercing Longevity
Ultimately, understanding how long you can leave earrings out after 1 year requires respecting the biology of your specific piercing. Lobes offer flexibility and forgiveness, while cartilage demands strict adherence to jewelry wear. If you know you will need to remove your earrings for an extended period in the future, consider wearing a clear glass or quartz retainer. These retainers keep the fistula open, are completely non-reactive, and are often invisible on the ear, bridging the gap between medical necessity and piercing preservation.


