3 Hypoallergenic DIY Earrings Ideas for Sensitive Cartilage
Discover 3 hypoallergenic DIY earrings ideas using niobium and titanium wire. Step-by-step guides, gauge charts, and tool tips for sensitive ears.

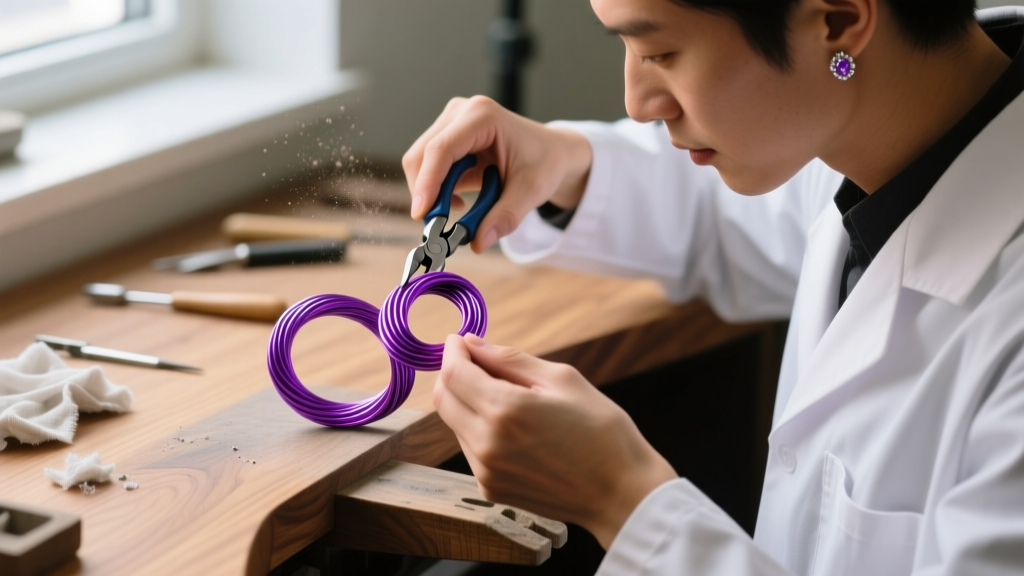
The modern jewelry landscape in 2026 is heavily focused on bespoke, skin-safe accessories. However, when searching for diy earrings ideas, most tutorials dangerously ignore the metallurgy required for sensitive cartilage piercings. Standard 'surgical steel' (316L) contains up to 14% nickel, which can trigger severe contact dermatitis in the helix or tragus. To create truly wearable, high-end custom pieces, we must look toward implant-grade metals and precision wire-wrapping techniques. This guide will walk you through crafting three hypoallergenic masterpieces using niobium, titanium, and gold-filled wire.
The Metallurgy of DIY: Choosing Hypoallergenic Wire
Before picking up your pliers, you must understand the behavioral differences between hypoallergenic metals. According to the metallurgical standards outlined by Rio Grande, not all 'safe' metals handle the same way under tension.
- Niobium (Element 41): Highly malleable and completely nickel-free. Unlike other metals, niobium is anodized via voltage manipulation rather than chemical baths, meaning the color coating will never flake off into your piercing. It work-hardens slowly, making it the ultimate beginner-friendly metal for seamless cuffs.
- Implant-Grade Titanium (ASTM F136): The gold standard for fresh piercings. Ti-6Al-4V ELI is incredibly strong but notoriously unforgiving. It requires specialized tungsten-carbide tools to cut and will snap if over-manipulated. Always source titanium certified to ASTM International F136 standards.
- 14k Gold-Filled (1/20 GF): Unlike gold-plated wire (which uses a microscopic electroplated layer), gold-filled wire features a thick, mechanically bonded outer layer of 14k gold over a brass core. It is safe for healed lobes and offers the luxurious drape required for threader earrings.
Essential Tools for Precision Wire Wrapping
Creating professional-grade cartilage jewelry requires more than standard craft-store pliers. To prevent marring your expensive metals and to ensure the jewelry won't tear your fistula (the piercing hole), invest in the following:
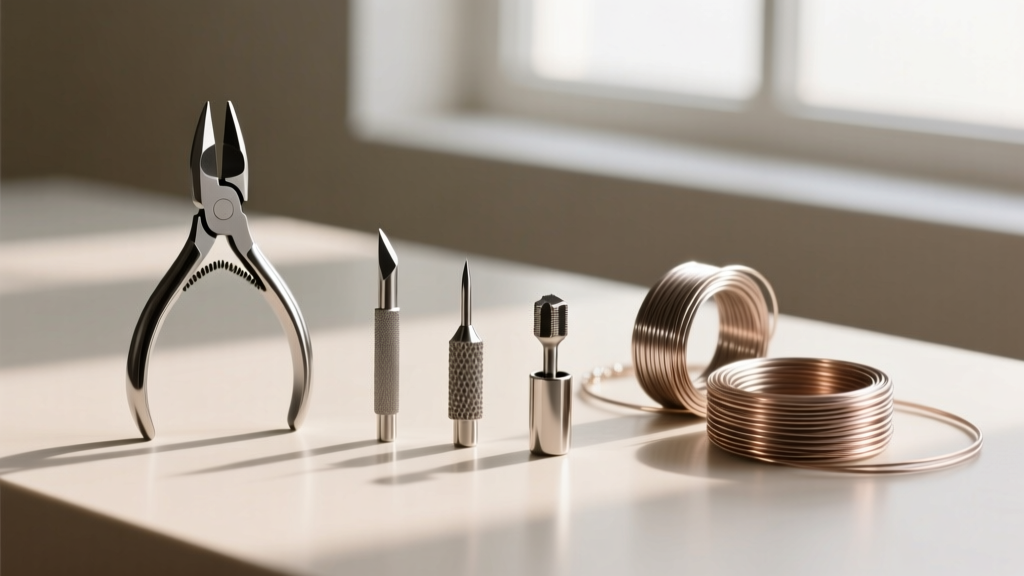
- Nylon-Jaw Pliers: Essential for bending wire without leaving steel teeth marks on your anodized niobium or gold-filled wire.
- Flush Cutters (Bevel-Free): You need a cut that leaves one side completely flat. Standard bevel cutters leave a sharp 'V' point that will scratch the ear canal.
- Steel Ring Mandrel: Used to wrap perfectly round ear cuffs and jump rings. Look for one with millimeter grooves.
- Cup Bur (Bur Cup) & Pin Vise: The most critical tool for threaders and ear wires. A cup bur hollows out and rounds the sharp cut end of the wire, creating a smooth, rounded bullet tip that glides through the piercing without micro-tearing the tissue.
Step-by-Step: 3 DIY Earrings Ideas You Can Make Today
1. The Seamless Niobium Helix Cuff
Helix cuffs require precise tension—too tight, and they pinch the cartilage; too loose, and they fall out during sleep. We will use 18-gauge (1.02mm) anodized niobium wire for optimal spring-back.
- Cut a 2.5-inch length of 18G niobium wire using your flush cutters.
- Wrap the wire tightly around the 5mm groove of your steel mandrel. Use your nylon-jaw pliers to press the wire flush against the steel, ensuring a perfect circle.
- Remove the coil and cut the wire so that you have a single ring with a 1.5mm gap. This gap allows the cuff to slide over the helix ridge.
- Use a fine-grit polishing pad to smooth the two cut ends. Since this is a cuff and doesn't pass through the piercing, a cup bur is optional, but smoothing prevents snagging on hair.
2. 14k Gold-Filled Lobe Threaders
Threaders are elegant, minimalist chains that pull through the ear lobe. They require a flawless, rounded tip to prevent tissue damage.
- Cut a 3-inch length of 20-gauge (0.81mm) 14k gold-filled wire.
- Insert one end into the cup bur attached to your pin vise. Rotate clockwise for 10-15 seconds until the sharp edge is completely rounded into a smooth dome.
- Measure 1 inch from the rounded tip and use your nylon-jaw pliers to create a soft, U-shaped bend. This bend acts as the anchor that rests against the back of the earlobe.
- Attach a delicate 14k gold-filled cable chain (approx. 1.5 inches long) to the opposite flat end using a 3mm wrapped loop.
3. Anodized Titanium Chain Connectors
For a bold, industrial look, we will create custom jump rings to weave a chain connector that attaches to standard titanium ear wires.
- Wrap 16-gauge (1.29mm) ASTM F136 titanium wire tightly around a 4mm mandrel to create a continuous coil.
- Use a jeweler's saw (preferred over cutters for titanium to avoid pinching) to slice down the side of the coil, yielding individual jump rings.
- Link the rings in a classic 1-1 chain pattern, ensuring the cuts on the rings are flush and closed tightly with two pairs of smooth-jaw pliers.
- Attach the finished 1-inch chain to a pre-made, hypoallergenic titanium french wire.
Gauge Sizing and Tension Chart
Selecting the correct wire gauge is paramount for both the structural integrity of the earring and the health of the piercing. Refer to this chart when planning your designs:
| Wire Gauge | Millimeter (mm) | Best Application | Material Tension Warning |
|---|---|---|---|
| 22G | 0.64mm | Delicate chain weaving, ear cuffs | Too thin for standard piercings; will act like a cheese-cutter in the lobe. |
| 20G | 0.81mm | Standard lobe threaders, lightweight dangles | Gold-filled wire at this gauge is highly pliable but prone to bending if snagged. |
| 18G | 1.02mm | Cartilage cuffs, standard ear wires, hoops | Ideal balance of strength and flexibility. Niobium excels here. |
| 16G | 1.29mm | Heavy jump rings, industrial connectors | Titanium at 16G is extremely rigid; requires significant hand strength to close jump rings. |
Troubleshooting Common Wire-Wrapping Failures
Even experienced jewelers encounter structural failures when working with hypoallergenic metals. Here is how to diagnose and fix the most common issues:
- Failure Mode: Wire Snapping During Bending.
Cause: Work-hardening. As you bend metal, its crystalline structure compresses, making it brittle. Titanium work-hardens incredibly fast.
Solution: Do not repeatedly bend and unbend titanium. If you make a mistake, discard the piece. For niobium and gold-filled wire, you can anneal the metal using a butane torch to soften it, though this is rarely necessary for simple cuffs. - Failure Mode: Scratching the Piercing Channel.
Cause: Micro-burrs left behind by flush cutters. Even a 'flat' cut leaves a microscopic sharp ring on the outer edge of the wire.
Solution: Never skip the cup bur step for any wire that enters the body. Follow the bur with a pass over 600-grit polishing paper. - Failure Mode: Ear Cuff Slipping Off.
Cause: Incorrect gap sizing or using a wire gauge that is too thin to hold tension against the cartilage.
Solution: Step up to 18G or 16G wire for cuffs, and ensure the gap is no wider than 1.5mm. Squeeze the cuff slightly after placing it on the ear to lock it into the anatomical ridge.
Final Polish and Sterilization
Because these DIY earrings ideas are intended for direct body contact, finishing is just as important as fabrication. After shaping your jewelry, wash the pieces in warm water with a mild, phosphate-free dish soap using a soft baby toothbrush to remove any metal dust or finger oils. Rinse thoroughly and dry with a lint-free cloth.
For newly pierced or highly sensitive ears, sterilization is highly recommended. While a true autoclave is the professional standard, you can achieve a high level of sanitization at home by soaking the finished, polished jewelry in 70% isopropyl alcohol for 15 minutes before sealing them in a sterile, peel-open autoclave bag until ready to wear. By respecting the metallurgy and prioritizing tissue safety, your custom DIY creations will rival high-end boutique jewelry in both comfort and style.


