How to Make Pop Tab Earrings: Step-by-Step DIY Guide
Learn how to make pop tab earrings with our step-by-step DIY guide. Discover tool requirements, safe sealing methods, and hypoallergenic wire tips.

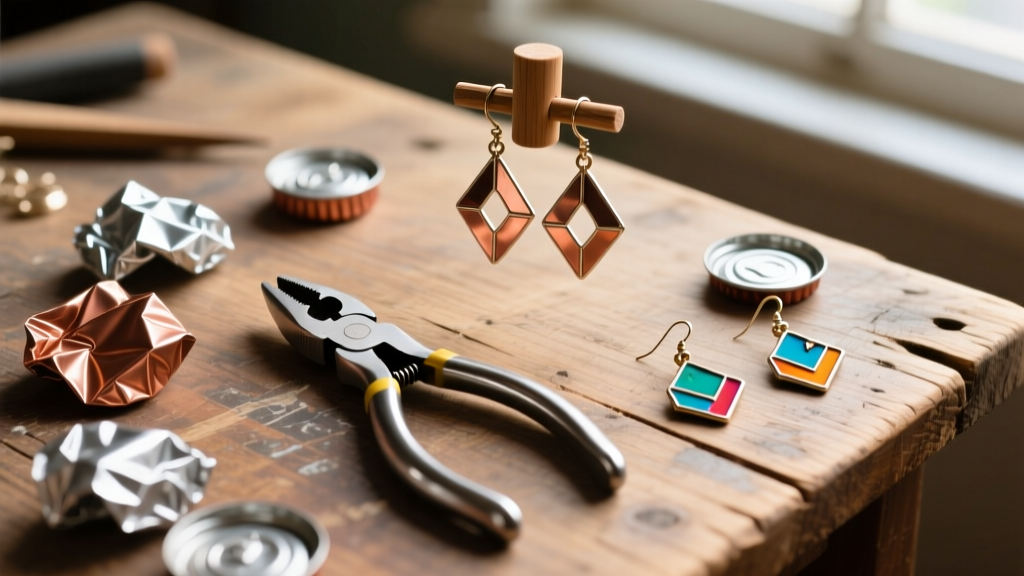
The Rise of Upcycled Jewelry in 2026
The sustainable jewelry movement has completely transformed how we view everyday waste. Among the most iconic upcycling projects are pop tab earrings, a DIY staple that bridges the gap between eco-conscious crafting and edgy, streetwear-inspired fashion. While tossing an aluminum can into the recycling bin is great, repurposing the tab into wearable art gives the material a second life before it ever reaches a smelter. According to the EPA Aluminum Data, recycling aluminum saves 95% of the energy required to make the same amount of virgin aluminum, making your crafting habit a genuine environmental win.
However, crafting safe, durable, and hypoallergenic earrings from stamped beverage tabs requires more than just a pair of scissors and some glue. Stamped aluminum leaves microscopic burrs that can slice an earlobe, and improper sealing can lead to rapid oxidation. This comprehensive, step-by-step guide will teach you how to engineer professional-grade pop tab earrings from your kitchen table.
Understanding the Metallurgy of the Pop Tab
Before cutting or bending, it is crucial to understand what you are working with. Standard beverage can tabs are typically stamped from Alloy 5182, an aluminum-magnesium alloy chosen for its high tensile strength and resistance to fatigue. This is why the tab can withstand the intense leverage of cracking open a pressurized 12oz can without snapping.
Because Alloy 5182 work-hardens quickly, repeatedly bending the tab will cause it to snap. When shaping or flattening tabs for your pop tab earrings, you must apply slow, deliberate pressure. Furthermore, the factory-stamped edges are notoriously sharp. The rivet hole and the outer perimeter must be meticulously filed and sanded before they ever come close to human skin.
Materials & Tools Checklist
To avoid the common pitfalls of amateur DIY jewelry, gather the following professional-grade tools and materials:
- Aluminum Tabs: Sourced from standard 12oz or 16oz cans. Wash thoroughly in warm soapy water and dry completely.
- Ear Wires: Use 20-gauge or 22-gauge Niobium or Titanium fishhook wires. Avoid cheap craft-store steel or mystery alloys, which frequently contain nickel and cause severe contact dermatitis. For exact specifications on wire hardness and gauge, consult the Rio Grande Wire Guide.
- Leather Hole Punch: A 1.5mm or 2mm rotary leather punch. Never use a power drill on a pop tab; drills create dangerous, jagged metal burrs on the exit side that are nearly impossible to sand flush.
- Micro-Mesh Sanding Pads: Grits ranging from 1500 up to 12000 for polishing the aluminum edges to a glass-like finish.
- UV Resin & 36W UV Lamp: Low-viscosity UV resin is ideal for "doming" the tab, creating a thick, glass-like seal that protects the aluminum from skin oils and oxidation.
- Jeweler’s File: A fine-grit diamond needle file for edge deburring.

Step-by-Step Guide to Crafting Pop Tab Earrings
Step 1: Sourcing and Prepping the Aluminum
Begin by collecting your tabs. If you plan to paint or apply vinyl decals to the face of the tab, you must first remove the clear factory coating. Soak the tabs in a 50/50 mixture of white vinegar and water for 15 minutes, then gently scrub them with a Scotch-Brite pad. This etches the surface slightly, giving acrylic paints or resin a mechanical "tooth" to grip onto. Rinse and dry completely.
Step 2: Punching and Filing (The Safety Step)
If your design requires an additional hole for a jump ring or dangle component, use your rotary leather hole punch. Position the tab securely on a scrap piece of thick leather or high-density foam to ensure a clean cut. Once punched, take your diamond needle file and gently round off the inner rim of the new hole, as well as the entire outer perimeter of the tab. Follow this by wet-sanding the edges with your 1500-grit Micro-Mesh pad. Run your bare fingertip along the edge; if you feel any "catch" or drag, keep sanding. A safe earring edge should feel as smooth as a polished coin.
Step 3: Decorating and Sealing with UV Resin
Aluminum oxidizes when exposed to the natural acids in human skin, often leaving a harmless but unsightly gray smudge on the earlobe. Sealing the metal is non-negotiable.
- Apply your base design (alcohol inks, acrylic paint, or micro-decals) to the top face of the tab.
- Once dry, place the tab on a perfectly level silicone mat.
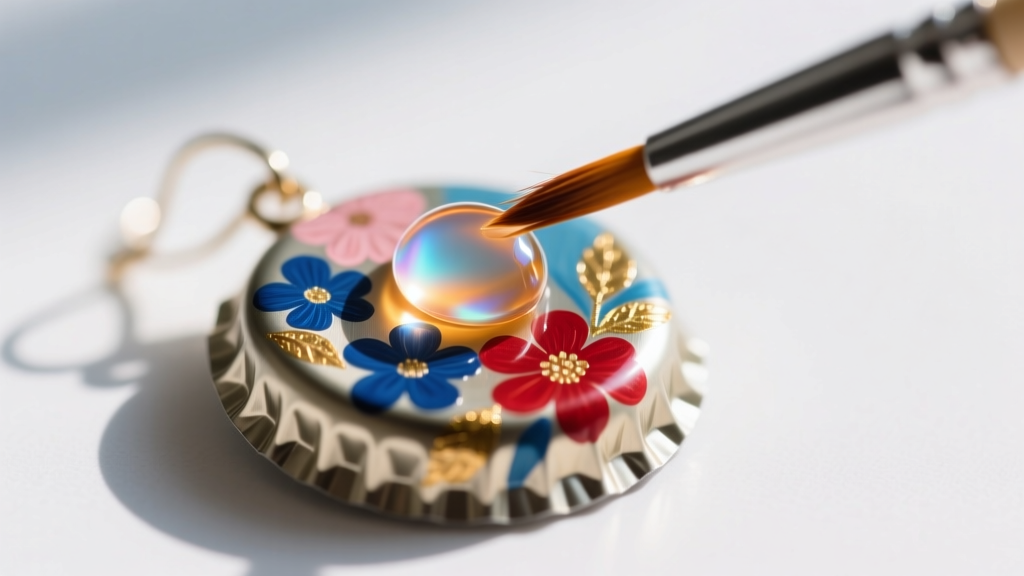
- Dispense a small pool of low-viscosity UV resin in the center of the tab. Use a fine silicone brush to gently push the resin toward the edges. Surface tension will keep the resin from spilling over the side if you stop 1mm short of the edge.
- Cure under a 36W UV lamp for 60 to 90 seconds. The result is a brilliant, domed finish that mimics expensive enamel work.
Step 4: Attaching Hypoallergenic Hardware
Using your chain-nose pliers, gently open the loop of your 20-gauge Niobium ear wire. Always twist the loop open laterally (side-to-side) rather than pulling it apart outward, which weakens the metal's temper. Slide the wire through the top hole of your sealed pop tab, add a 2mm sterling silver or titanium jump ring for better articulation, and twist the ear wire loop securely closed. Ensure the gap is flush so it doesn't catch on hair or clothing.
Troubleshooting Common DIY Failures
Even experienced crafters run into issues when working with unconventional materials. Use this troubleshooting matrix to solve common pop tab earring failures:
| Failure Mode | Root Cause | Expert Solution |
|---|---|---|
| Resin spilling over edges | High-viscosity resin or uneven work surface | Use a bubble level on your desk; switch to low-viscosity "doming" resin and apply in thin layers. |
| Gray smudges on earlobes | Unsealed aluminum reacting to skin pH | Coat the back of the tab with a thin layer of UV resin or clear polyurethane spray, not just the front. |
| Ear wire snapping off | Wire hardened by repeated bending | Never reuse an ear wire loop. If you must adjust it, anneal the wire with a micro-torch or use a fresh wire. |
| Lobe lacerations / scratching | Micro-burrs left from factory stamping | Implement the 1500-grit wet-sanding protocol on all perimeters before sealing. |
Styling Your Upcycled Earrings
Pop tab earrings inherently carry an industrial, grunge, or cyberpunk aesthetic. In 2026, the trend has evolved to include "high-low" mixing—pairing the rugged, upcycled aluminum with delicate elements like freshwater pearls or 14k gold-filled chains. For a striking contrast, try creating a drop earring by attaching a small baroque pearl to the bottom hole of the pop tab using a 24-gauge gold-filled wire wrap. This juxtaposition of raw, recycled metal and organic gemstones creates a highly coveted, avant-garde look suitable for music festivals, streetwear styling, or everyday edgy fashion.
Final Thoughts on Sustainable Crafting
Mastering the art of pop tab earrings is about respecting the material. By treating a discarded piece of Alloy 5182 with the same care, filing, and sealing techniques used in fine jewelry making, you elevate trash into high-end, wearable art. Not only are you protecting your skin with hypoallergenic hardware and proper sealing, but you are also actively participating in the circular economy. Grab your pliers, cure your resin, and wear your sustainable creations with pride.


