How to Make DIY M&M Earrings: A Step-by-Step Guide
Learn how to craft durable, real M&M earrings using professional resin sealing techniques. Step-by-step guide for moisture barriers and hardware.

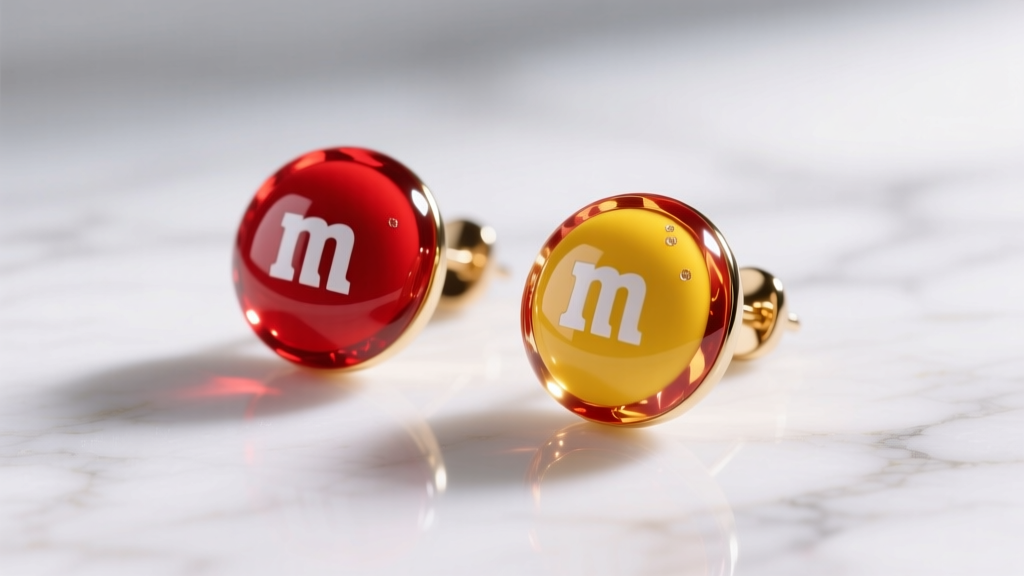
The 2026 'Snack-Core' Trend and the Chemistry of Candy Jewelry
The resurgence of Y2K nostalgia and the playful 'snack-core' aesthetic have pushed novelty jewelry into the mainstream spotlight. Among the most requested novelty pieces are real M&M earrings. However, transforming a mass-produced chocolate candy into a durable, wearable piece of jewelry is not as simple as dropping it into a silicone mold and pouring resin over it. As a jewelry designer, you must navigate the complex chemistry of sugar, moisture, and cocoa butter. This comprehensive guide will walk you through the professional methods of sealing, casting, and mounting real candy to create M&M earrings that survive daily wear without degrading, melting, or turning cloudy.
The Moisture and Heat Problem
To successfully encapsulate real candy, you must understand its chemical vulnerabilities. An M&M consists of a chocolate center (containing cocoa butter and dairy) surrounded by a hard candy shell (primarily sucrose, corn syrup, and food-grade colorants like titanium dioxide). Moisture is the enemy of clear resin. If water-based sealants are used, or if the candy is exposed to ambient humidity before casting, the trapped moisture will react with the amines in epoxy resin, causing 'amine blush'—a permanent, cloudy white film that ruins the optical clarity of the piece.
Furthermore, chocolate begins to soften at 85°F (29°C) and melts completely around 93°F (34°C). Traditional 2-part epoxy resins undergo an exothermic (heat-releasing) chemical reaction during the curing process. A deep pour of standard epoxy can easily exceed 150°F (65°C), which will melt the chocolate center. The cocoa butter will then leach out of the candy shell, creating an opaque, oily halo inside your finished earring. Therefore, moisture sealing and heat management are the two critical pillars of this tutorial.
Essential Materials and Tools
Before beginning, gather the following professional-grade materials. Avoid craft-store hobby resins, as they often lack the UV stabilizers required to keep the candy colors vibrant over time.
- Real M&Ms: Select candies with perfectly smooth, uncracked shells. Standard size (approx. 10-12mm diameter) works best for stud earrings.
- Moisture Barrier: Thin Cyanoacrylate (CA) glue (e.g., Loctite Gel Control or specialized jewelry CA).
- Resin: Low-heat UV-LED Resin (e.g., Padico or JDiction) or a slow-cure 48-hour cold-cast epoxy.
- Earring Hardware: 8mm or 10mm flat pad stud earrings with 20-gauge (0.8mm) or 18-gauge (1.0mm) posts. According to metal allergy guidelines from Rio Grande, always opt for 316L surgical stainless steel or implant-grade titanium to prevent contact dermatitis.
- Adhesive: 2-part jeweler's epoxy or E6000 for bonding the metal pad to the cured resin back.
- Tools: Silicone crafting mat, fine-tipped silicone brushes, 400-grit sandpaper, and a UV/LED lamp (36W or higher).
Resin Selection Chart: Managing Exothermic Heat
| Resin Type | Peak Exothermic Temp | Cure Time | Suitability for Chocolate |
|---|---|---|---|
| Standard 2-Part Epoxy (Fast Cure) | 140°F - 160°F+ | 15 - 30 mins | Poor (Will melt chocolate, causes oily leaching) |
| Slow-Cure Deep Pour Epoxy | 95°F - 105°F | 24 - 48 hours | Fair (Requires very thin layers and cool room temp) |
| UV-LED Resin (Hard Type) | 110°F - 125°F (Surface) | 2 - 4 mins per layer | Excellent (Heat dissipates quickly between layers) |
For this guide, we will use UV-LED Resin. As noted by crafting authorities at Resin Obsession, UV resin allows the crafter to control the heat output by curing in thin, incremental layers, preventing the chocolate core from reaching its melting point.
Step 1: Sourcing and Surface Preparation
Inspect your M&Ms under a bright LED desk lamp. Discard any candies with micro-fractures, dull spots, or pitting in the candy shell. These imperfections indicate structural weaknesses where moisture can enter or where the shell might collapse under the pressure of the resin. Do not wash or wipe the candies with alcohol or water. Alcohol can dissolve the food-grade dyes and the glossy wax finish of the shell. Instead, use a clean, dry microfiber cloth to gently buff away any dust or powdered sugar from the handling process.
Step 2: The Cyanoacrylate Moisture Barrier
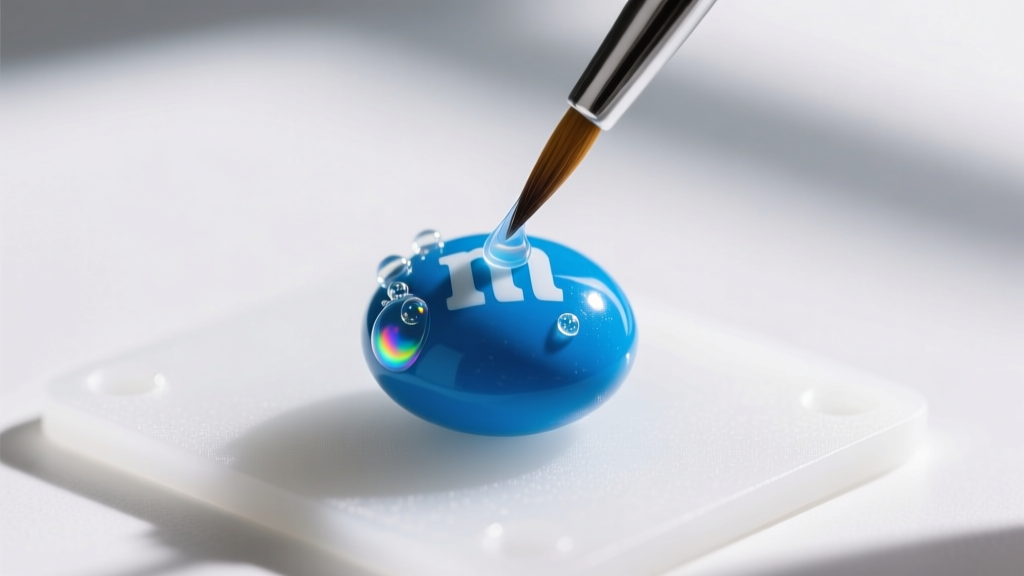
This is the most crucial step for long-term preservation. You must create an impermeable, non-water-based shell around the candy. Cyanoacrylate (CA) glue cures instantly and creates a hard, moisture-proof acrylic barrier.
Place the M&Ms on a silicone mat. Using a fine-tipped silicone brush, apply a very thin, even coat of CA glue over the top and sides of the candy. Avoid pooling the glue at the base. Allow it to cure for 5 minutes. Repeat this process for a second and third coat. By the third coat, the M&M will have a high-gloss, glass-like finish that completely locks out ambient humidity and prevents the candy's internal moisture from interacting with the UV resin.
Step 3: Low-Heat Resin Encapsulation
To create a smooth, domed cabochon effect without using a mold (which can trap air bubbles against the candy shell), we will use the 'free-form dome' technique on a silicone mat.
- The Base Layer: Dispense a small puddle of UV resin onto the silicone mat. Place the sealed M&M face-down into the puddle. Cure under the UV lamp for 60 seconds. This anchors the candy.
- The Encapsulation: Flip the piece over. Using a silicone tool or toothpick, carefully pull the UV resin up the sides of the M&M. You want to create a bezel-like wall of resin around the candy. Cure for 60 seconds.
- The Dome: Apply a generous drop of resin to the top center of the candy. Surface tension will pull it to the edges, creating a smooth, magnifying dome over the 'm' logo. Cure for 2-3 minutes. The incremental curing ensures the internal temperature never breaches the 90°F threshold of the chocolate.
Once fully cured, the back of the piece will be flat against the silicone mat, while the front features a beautiful, glass-like dome.
Step 4: Hardware Attachment and Finishing
The back of your resin-encapsated M&M is currently smooth and glossy, which is terrible for adhesive bonding. To ensure your earring posts do not snap off during wear, you must create mechanical teeth for the glue to grip.
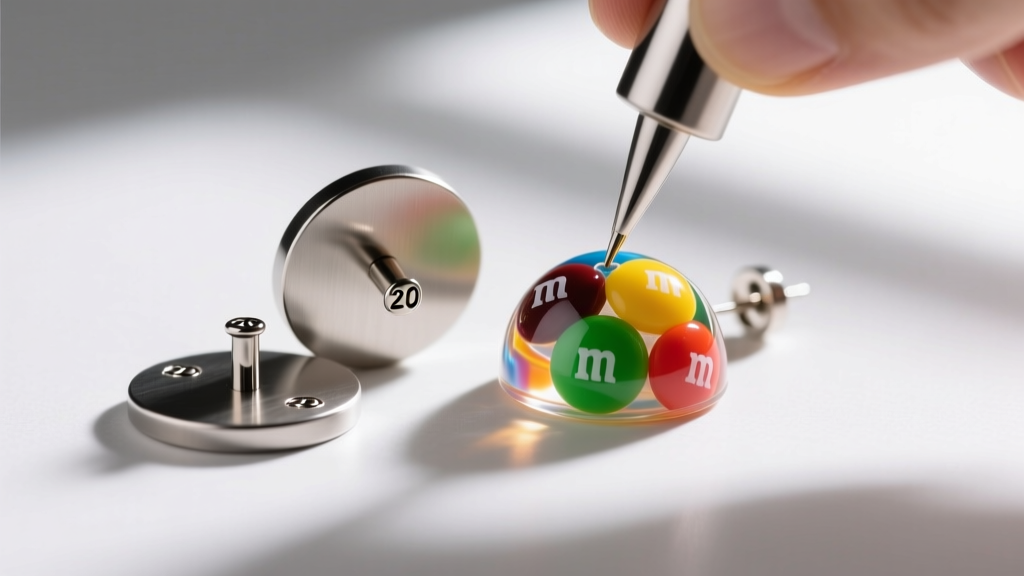
Take a piece of 400-grit sandpaper and vigorously scuff the flat back of the resin cabochon until it is completely cloudy and rough to the touch. Wipe away the resin dust with a dry brush. Next, scuff the flat metal pad of your 20-gauge titanium or stainless steel earring post. Mix a tiny amount of 2-part jeweler's epoxy, apply it to the metal pad, and press it firmly into the center of the scuffed resin back. Secure the earring upright in a drying rack or a piece of floral foam and let the epoxy cure for 24 hours. The result is a lightweight, hypoallergenic, and highly durable novelty stud.
Troubleshooting Common Candy Resin Failures
Even with careful preparation, candy jewelry can present unique challenges. Here is how to diagnose and fix the most common issues:
- The 'Oily Halo' Effect: If you see a translucent, greasy ring forming around the chocolate inside the resin, your exothermic reaction was too hot, melting the cocoa butter. Solution: Switch to a lower-wattage UV lamp or cure in 30-second bursts with 1-minute cooling breaks in between.
- Cloudy or Milky Resin (Amine Blush): This means moisture breached your CA glue barrier or the candy shell was already compromised. Solution: Always apply a minimum of three coats of CA sealant and work in a room with humidity levels below 50%.
- Fading of the 'm' Logo: Some UV resins contain optical brighteners that can react with the edible ink used on the candy shell, causing the logo to bleed. Solution: Ensure your UV resin is specifically labeled as 'non-yellowing' and free of harsh chemical solvents.
Expert Styling Tip: Because real M&M earrings are slightly thicker than standard metal studs due to the resin dome, they sit prominently on the earlobe. They are best suited for primary lobe piercings rather than secondary or cartilage piercings, where the extra depth and weight (approx. 2.5 grams per earring) can cause the post to droop forward.
Mastering the encapsulation of real M&M earrings bridges the gap between playful novelty and serious jewelry fabrication. By respecting the chemical boundaries of sugar and chocolate, and utilizing low-heat UV resins and proper moisture barriers, you can create vibrant, conversation-starting accessories that stand the test of time.


