How to Remove Ear Piercing Earrings: A Buyer's Guide to Backs
Learn how to remove ear piercing earrings safely. Our buyer's guide covers threadless, internally threaded, and friction backs for painless changes.

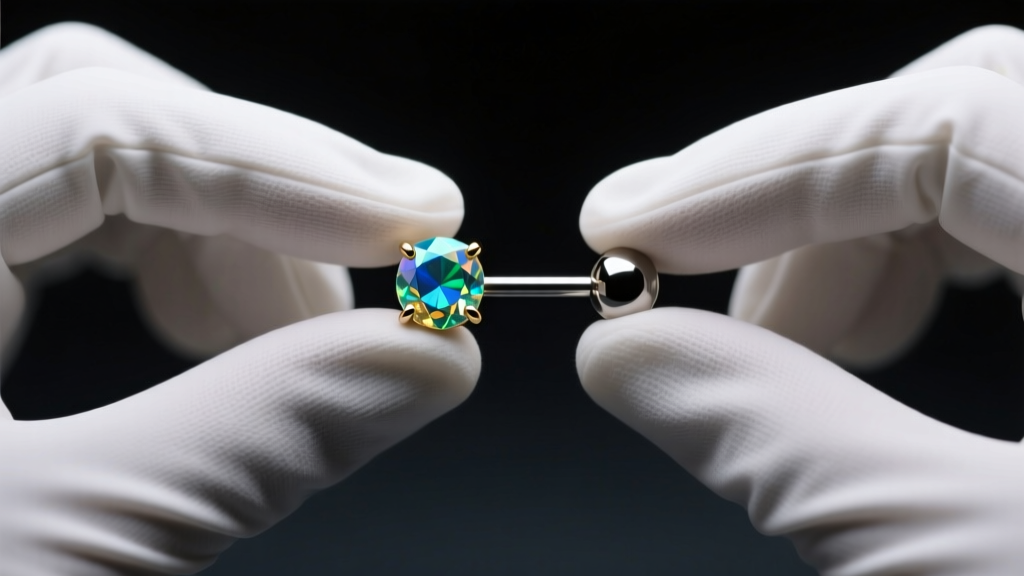
The Hidden Frustration of Earring Removal
Learning how to remove ear piercing earrings shouldn't involve pliers, tears, or an emergency trip to your local piercer. Yet, millions of jewelry buyers find themselves trapped by their own accessories. The root cause rarely lies in the wearer's technique; it lies in the initial purchasing decision. When you buy earrings without considering the closure mechanism, you are setting yourself up for cross-threaded posts, calcified friction backs, and damaged fistulas (the piercing channel).
As a buyer, your focus is often on the aesthetic—the gemstone cut, the gold karat, or the hoop diameter. However, from an anatomical and mechanical standpoint, the clasp or threading system dictates the longevity of your piercing and your daily comfort. This guide breaks down exactly what to look for when purchasing earrings to ensure secure wear and effortless, pain-free removal.
Understanding Earring Threading and Closure Types
The Association of Professional Piercers (APP) strictly advises against certain jewelry types due to tissue damage risks during insertion and removal. When shopping for body jewelry, particularly for cartilage and fresh lobes, the structural integrity of the connection point is paramount. Let's examine the three primary closure systems you will encounter on the market.
1. Threadless (Push-Pin) Jewelry: The Gold Standard
Threadless jewelry, pioneered by brands like NeoMetal and BVLA, operates on a system of tension rather than screws. The decorative end features a slightly bent pin that inserts into a hollow post.
What to look for when buying: Ensure the pin is made of ASTM F-136 implant-grade titanium or 14k/18k nickel-free gold. The pin must be bendable. To remove threadless earrings, you do not unscrew them; you grip the decorative end and the flat back simultaneously and pull them straight apart with a gentle wiggling motion.
Pro-Tip: When you first buy threadless jewelry, you must bend the pin yourself. A 15-degree bend offers easy removal but lower security. A 45-degree bend provides maximum security but requires firm, confident pressure to remove. Never bend the pin at a sharp 90-degree angle, or it will snap inside the post.
2. Internally Threaded vs. Externally Threaded
Threading refers to the grooves that allow the decorative end and the post to screw together.
Internally Threaded: The threads are on the inside of the decorative end, and the post is smooth. This is the only threaded option recommended by the Association of Professional Piercers. Because the post is smooth, it glides through the fistula without micro-tearing the tissue. Removal requires holding the back steady while unscrewing the front counter-clockwise.
Externally Threaded: The threads are on the post itself. Avoid buying these entirely. The sharp, jagged threads act like a cheese grater on the delicate lining of your piercing channel every time you insert or remove them. Furthermore, external threads are highly prone to cross-threading and stripping, which can permanently fuse the earring in place.
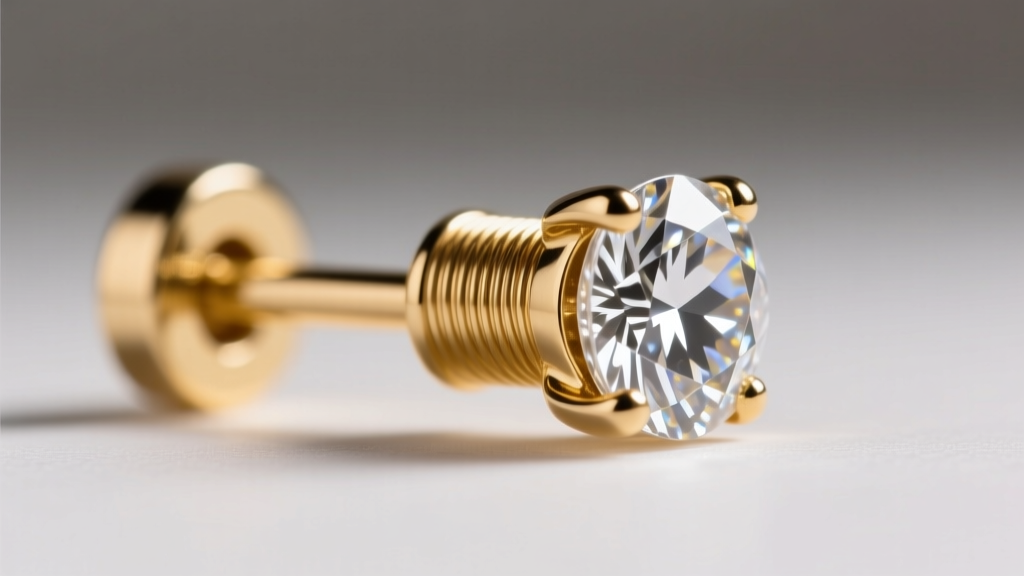
3. Friction (Butterfly) Backs and Silicone Upgrades
Standard fashion earrings rely on friction backs—often called butterfly backs—which slide onto a notched, externally threaded or grooved post. Over time, dead skin cells, sebum, and soap scum accumulate in the notches, effectively cementing the back in place.
The Buyer's Fix: If you prefer standard push-posts for lobe piercings, bypass the metal butterfly back entirely. Purchase medical-grade silicone O-rings or flat silicone disc backs. Silicone creates a secure friction grip against a smooth post without the need for deep notches, meaning they slide off easily with a simple pinch-and-pull motion, eliminating the buildup trap.
Comparison Chart: Security vs. Ease of Removal
When building your jewelry collection, balance your lifestyle needs with the mechanical realities of each clasp. Use this matrix to guide your purchasing decisions:
| Closure Type | Security Level | Ease of Removal | Best Piercing Placement | Avg. Price Range |
|---|---|---|---|---|
| Threadless (Push-Pin) | High (Tension-based) | Moderate (Requires grip strength) | Cartilage, Tragus, Conch, Lobes | $45 - $150+ |
| Internally Threaded | Very High (Screw-in) | Easy (Counter-clockwise twist) | Helix, Forward Helix, Industrial | $40 - $120+ |
| Externally Threaded | Moderate (Prone to stripping) | Difficult (Cross-threading risk) | None (Avoid purchasing) | $5 - $20 |
| Silicone O-Ring Backs | Moderate to High | Very Easy (Pinch and slide) | Standard Earlobes (18g - 14g) | $5 - $15 (Multi-packs) |
| Metal Butterfly Backs | Low to Moderate | Difficult (Debris buildup) | Standard Earlobes | $2 - $10 |
Essential Tools to Buy for Stubborn Earring Removal
Even with high-quality jewelry, sweat, oils, and dried saline can create a vacuum seal or reduce your finger grip, making removal difficult. According to dermatological best practices outlined by Healthline's ear care guides, forcing jewelry out can lead to micro-tears and subsequent infections. Instead of buying more jewelry, invest in a small, dedicated removal kit:
- Nitrile Gloves: The single most important tool. Skin-on-metal friction is remarkably low, especially if your hands are moisturized. A pair of tight-fitting nitrile gloves provides the exact tactile grip needed to pull apart threadless tension pins or twist stubborn screw-in ends.
- Padded Hemostats (Locking Forceps): If an internally threaded end is stripped or stuck, padded hemostats allow you to grip the decorative gem setting without scratching the metal or crushing the stone. The locking mechanism holds the grip steady while you use your other hand to unscrew the flat back.
- Steel Insertion Tapers: While primarily for insertion, a lubricated taper can be used to gently push out a stuck flat-back post from the rear of the piercing channel if the front end has broken off.

Step-by-Step Troubleshooting: Stuck Earrings
If you have purchased the wrong jewelry type or neglected maintenance, you may face a stuck earring. Follow this clinical troubleshooting protocol before resorting to pliers:
- Apply a Warm Compress: Soak a clean gauze pad in warm water and hold it against the ear for 3-5 minutes. This softens dried sebum and saline crusts that may be gluing the clasp to the skin.
- Use a Sterile Lubricant: Apply a microscopic drop of sterile saline or water-based lubricant to the seam where the post meets the backing. Avoid oil-based products like Vaseline, which can trap bacteria in the fistula.
- The Glove-and-Twist Method: Put on nitrile gloves. For internally threaded pieces, grip the front with your non-dominant hand and the back with your dominant hand. Twist the back clockwise while holding the front still (remember: lefty-loosey applies to the front, so the back tightens/loosens inversely depending on your perspective, but generally, unscrew the back counter-clockwise when looking at it from behind).
- Know When to Stop: If the metal begins to strip, or if the piercing channel becomes inflamed and swollen, stop immediately. Book a 10-minute appointment with an APP-certified piercer. They possess specialized non-marring tools to extract the jewelry safely without tearing the tissue.
Final Verdict: What to Buy for Your Next Piercing
The secret to effortless earring removal is entirely dependent on your initial purchase. Discard externally threaded posts and metal butterfly backs; they are obsolete designs that compromise tissue health and trap debris. For cartilage and high-end lobe piercings, invest exclusively in internally threaded or threadless (push-pin) systems crafted from ASTM F-136 titanium or solid 14k/18k gold. By prioritizing the mechanical closure over the mere visual appeal, you guarantee that your jewelry remains a joy to wear, and a breeze to remove, for years to come.


