Earring Back Stuck on Earring? Material Causes and Safe Removal
Is your earring back stuck on the earring post? Discover how metal properties cause seizing and learn safe, material-specific removal techniques.

There are few jewelry emergencies more frustrating than realizing your earring back is stuck on the earring post. Whether you are dealing with a standard butterfly friction clutch on a lobe stud or a threaded labret back in a cartilage piercing, a seized backing can cause panic, pain, and potential tissue damage if forced. While many assume a stuck back is simply a result of pushing it on too tightly, the true culprits are often rooted in material science, metallurgical friction, and biological buildup.
As jewelry manufacturing evolves in 2026, understanding the physical properties of your earrings is essential for both safe removal and long-term prevention. This guide explores the metallurgical and biological reasons why earring backs seize, compares common jewelry alloys, and provides a step-by-step, material-safe removal protocol.
The Metallurgy of a Seized Post: Galling and Cold Welding
When two metal surfaces slide against each other under pressure, they can experience a phenomenon known as galling. Galling occurs when the microscopic high points (asperities) on the surface of the earring post and the inside of the earring back weld together due to friction and adhesion. This is essentially a form of cold welding.
Metals with similar crystalline structures and lower Vickers Hardness (HV) ratings are highly susceptible to galling. For example, if you force a sterling silver friction back onto a sterling silver post, the relatively soft silver can easily gall, effectively fusing the two pieces together. Conversely, harder metals or dissimilar metal pairings (like a titanium post with a gold back) exhibit a much lower coefficient of friction and are less likely to cold-weld.
Material Comparison: Friction, Hardness, and Seizing Risk
Not all earring materials behave the same way under mechanical stress. The table below breaks down common jewelry metals and their propensity to cause stuck earring backs, based on data from jewelry fabrication standards and the Association of Professional Piercers (APP).
| Material | Hardness (Approx. HV) | Galling Risk | Corrosion/Debris Risk | Recommended Back Type |
|---|---|---|---|---|
| 316L Surgical Steel | 150-190 HV | Moderate | Low (Passive oxide layer) | Internally Threaded / Threadless |
| ASTM F136 Titanium | 310-350 HV | Low | Extremely Low (Biocompatible) | Threadless (Push-Pin) |
| 14k / 18k Gold | 120-150 HV | High (if pure/alloyed soft) | Moderate (Alloy tarnishing) | Friction Clutch with Silicone Insert |
| Sterling Silver (925) | 60-80 HV | Very High | High (Sulfide tarnishing) | Avoid for long-term wear |
| Silicone / PTFE | N/A (Polymer) | None | High (Traps bacteria/sebum) | Friction O-Rings (Replace often) |
For a deep dive into how specific alloying elements affect metal durability and skin safety, fabrication resources like Rio Grande Jewelry Supply offer extensive metallurgical charts detailing the exact composition of jewelry-grade alloys.
The Biological Factor: Calcified Sebum and Crevice Corrosion
Often, an earring back stuck on an earring is not a metal-on-metal failure, but a biological one. The human body continuously sheds dead skin cells and produces sebum (an oily substance secreted by sebaceous glands). When you wear friction backs (butterfly clutches), these microscopic crevices act as traps for sebum, dead skin, soap residue, and hard water minerals.
Over time, this organic and inorganic sludge calcifies. Much like plaque on teeth, calcified sebum hardens into a cement-like substance inside the clutch mechanism. When combined with crevice corrosion—a localized form of corrosion occurring in shielded areas where oxygen is depleted—the metal surface roughens, increasing friction and locking the back in place. This is especially common in lower-purity metals like commercial-grade stainless steel or silver, which lack the robust passive oxide layers found in implant-grade titanium.
The Problem with Silicone and Plastic Backs
While silicone earring backs are praised for their comfort and hypoallergenic properties, they are highly porous. They absorb oils and sweat, causing them to swell slightly over time. When a swollen silicone back is pushed onto a metal post, the increased radial pressure creates immense static friction, making it notoriously difficult to remove without the right technique.
Step-by-Step Removal Protocol Based on Material
If you are currently dealing with a seized earring back, do not use pliers or excessive force, which can bend the post, damage the gemstone setting, or tear your earlobe. Follow this material-safe removal hierarchy:
1. Lubrication and Emulsification
Do not use harsh chemical solvents like acetone or rubbing alcohol, especially if your earring features porous gemstones (like opals, pearls, or fracture-filled emeralds), as these can destroy the stone's optical properties. Instead, apply a few drops of pure jojoba oil or mineral oil to the junction where the back meets the post. Jojoba oil closely mimics human sebum and is excellent at breaking down calcified biological buildup. Let it sit for 10 to 15 minutes.
2. Thermal Expansion
Metals expand when heated. Submerge the earlobe in a small cup of warm (not hot) water mixed with a drop of mild, fragrance-free liquid soap for 5 minutes. The heat will cause the metal post to expand microscopically, while the warm soapy water helps dissolve the lipid bonds of trapped sebum. Avoid boiling water, which can burn the skin and shock certain gemstones, causing internal fracturing.
3. The Dental Floss Leverage Trick
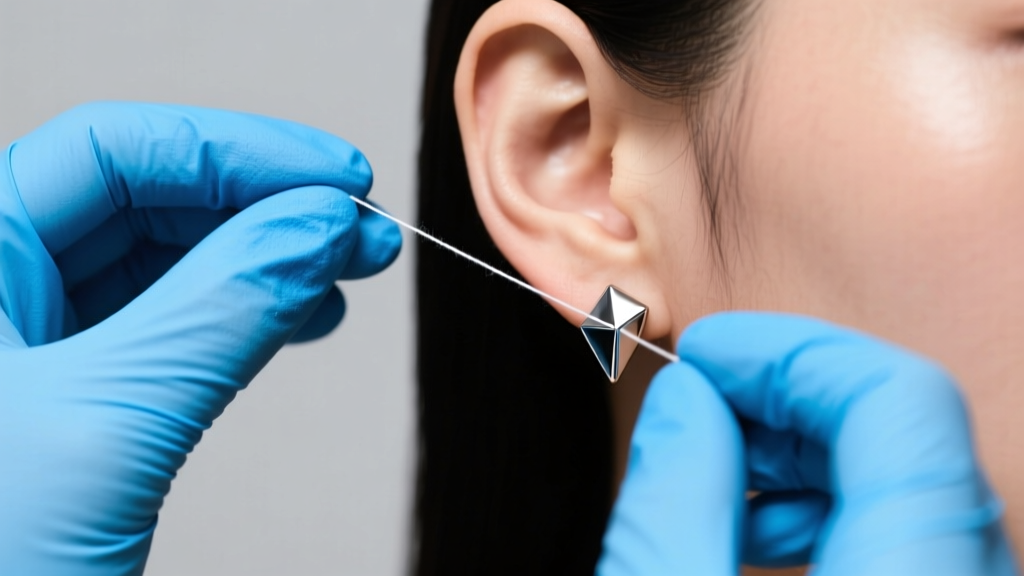
If the back is still stuck, you need mechanical leverage without pinching the skin. Take a piece of unwaxed dental floss and slide it behind the earring back, resting it against the earlobe. Wrap the ends of the floss tightly around your index fingers. Gently but firmly pull the floss forward while simultaneously pushing the earring post backward. The floss acts as a uniform sling, applying even pressure to the base of the clutch without concentrating force on a single point.
4. Grip Enhancement
If the issue is simply a lack of grip on a smooth metal or silicone back, put on a pair of textured nitrile medical gloves. The high-friction surface of the gloves will allow you to twist and pull friction backs or unscrew threaded backs with significantly more torque than bare, oily fingers.
Off-Body Seizing: Ultrasonic Cleaning
If the earring is already out of your ear but the back remains fused to the post (common with threaded cartilage jewelry), it is time for an ultrasonic cleaner. Ultrasonic cleaners use high-frequency sound waves (typically 40kHz) to create microscopic cavitation bubbles in a liquid solution. When these bubbles collapse against the metal, they generate localized shockwaves that blast away calcified debris and break the bonds of mild galling.
Fill the ultrasonic tank with warm water and a few drops of specialized jewelry cleaning solution or mild dish soap. Run the machine for 3 to 5 minutes. In most cases, the vibration will loosen the back enough to unscrew it by hand. Note: Never use ultrasonic cleaners on soft gemstones like turquoise, malachite, or pearls, as the vibrations can shatter them. For more on gemstone durability and cleaning safety, refer to the Gemological Institute of America (GIA) guidelines.
Preventative Maintenance: Upgrading Your Hardware
The most effective way to prevent an earring back from getting stuck is to eliminate the mechanical failure points inherent in traditional jewelry designs. If you frequently struggle with stuck backs, consider upgrading your jewelry to modern, high-tolerance standards:
- Threadless (Push-Pin) Jewelry: The industry standard for cartilage and lobe piercings. A slightly bent titanium pin is inserted into a hollow post, creating tension-based friction. There are no threads to cross-thread, strip, or trap debris, and removal requires a simple bending motion rather than twisting.
- Internally Threaded Jewelry: If you prefer screw-in backs, ensure the threading is on the inside of the receiving tube, not the post. Externally threaded posts act like tiny files, scraping the inside of your piercing channel and accumulating tissue debris that eventually seizes the back.
- Implant-Grade Titanium (ASTM F136): Upgrading from commercial steel to F136 titanium drastically reduces the risk of galvanic corrosion and biological rejection, keeping the post smooth and debris-free.
When to Seek Professional Help
If you have exhausted the lubrication, thermal, and floss techniques, or if the earring is embedded in swollen, infected tissue, stop immediately. Forcing a stuck back can lead to severe lobe tearing or cartilage blowouts. Visit a reputable, APP-certified professional piercer or a medical professional. Piercers possess specialized hemostats, taper tools, and the anatomical expertise to safely cut or dismantle seized jewelry without harming the surrounding tissue.
Understanding the material properties of your jewelry transforms how you interact with it. By choosing high-hardness, biocompatible metals and maintaining a strict cleaning regimen, you can ensure that your earrings remain as easy to remove as they are beautiful to wear.


