Earring Cuff Piercing Guide: Placements, Gauges, and Healing
Discover everything about earring cuff piercing placements, gauge sizes, and healing times. Learn how to rock anchored cartilage cuffs safely.

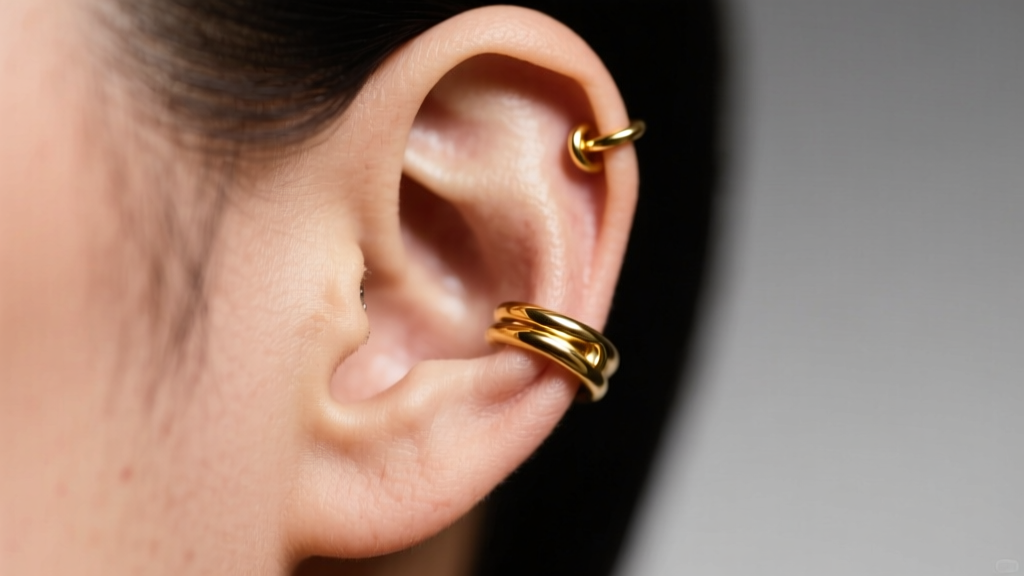
When you search for an earring cuff piercing, you are likely encountering a common point of confusion in the jewelry world. Traditional ear cuffs are non-pierced accessories that clip or slide onto the cartilage. However, the term 'earring cuff piercing' actually refers to specific cartilage placements required to anchor connected or faux-cuff jewelry—pieces that mimic the look of a wrap-around cuff but are securely fastened through actual piercings. Whether you are looking to connect a lobe to a helix, or anchor a scapha cuff, understanding the biomechanics, gauge requirements, and healing timelines is critical to avoiding migration and rejection.
The Truth About Anchored vs. Non-Pierced Cuffs
Before booking an appointment, it is vital to distinguish between a faux cuff and an anchored cuff. A standard ear cuff relies on tension and the natural folds of your auricle (the outer rim of the ear) to stay in place. They require zero needles but can easily slip off during physical activity or while sleeping.
An anchored earring cuff, on the other hand, utilizes one or more actual piercings to secure a continuous piece of metal or chain that wraps around the ear. The most popular version of this is the 'lobe-to-helix connector' or the 'ear shield,' which features a stud in the lobe, a chain or solid bar traveling up the ear's edge, and a second anchor in the upper cartilage. This provides the dramatic, sweeping aesthetic of an ear cuff with the security of traditional body jewelry.
Top Cartilage Placements for Cuff Anchors
If you want to wear anchored cuff jewelry, your piercer must map your ear's unique anatomy. Not all ears have the necessary folds or flat spaces to support specific cuff designs. Here are the most common placements used to anchor these pieces:
1. Helix to Lobe Connectors
This is the most common 'earring cuff piercing' setup. It requires a standard earlobe piercing (usually 20g or 18g) and a helix piercing (usually 16g). A custom-fitted chain or solid gold bar connects the two. Because the ear moves and flexes, the connecting jewelry must be measured with absolute precision to prevent pulling on either fistula.
2. Scapha and Auricle Anchors
The scapha is the upper, flat-ish groove of the ear, while the auricle is the middle ridge. Cuffs designed to hug the middle of the ear often require a scapha piercing to anchor the top half of the cuff, allowing the rest of the metal to wrap down over the anti-helix without needing a second hole.
3. Conch to Daith Wraps
For a more inner-ear focused cuff look, some jewelers design pieces that anchor in the conch (the deep bowl of the ear) and sweep upward toward the daith or rook. This is a highly advanced placement that requires a piercer with deep knowledge of inner-ear angles.
Technical Specs: Gauges, Materials, and Sizing
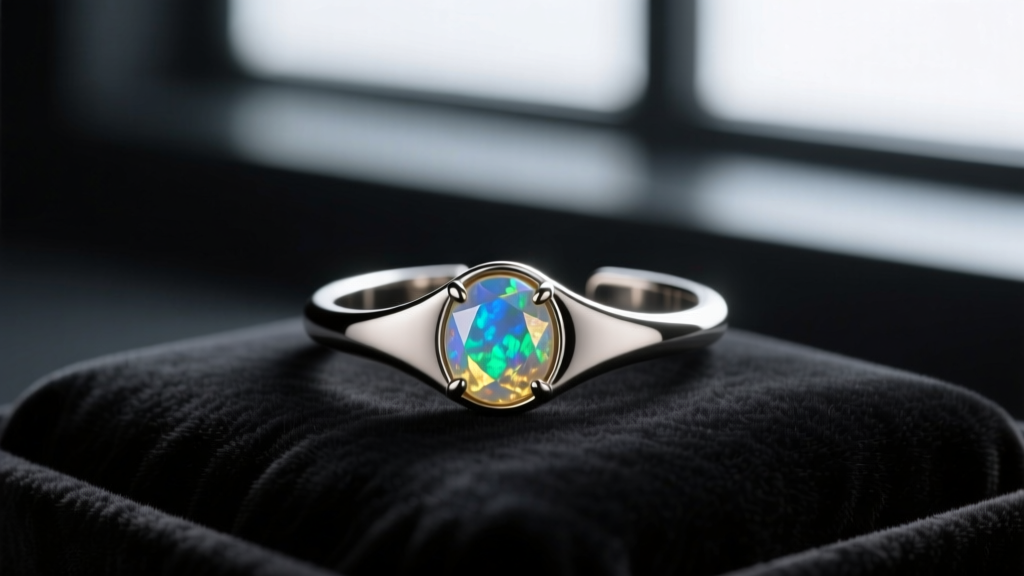
Cartilage is unforgiving. Using incorrect materials or gauges for an anchored cuff will almost certainly lead to hypertrophic scarring or migration. According to the Association of Professional Piercers (APP), initial jewelry must be made of implant-grade materials to ensure biocompatibility.
- Materials: Always opt for ASTM F-136 implant-grade titanium or 14k/18k solid, nickel-free gold. Brands like BVLA, Anatometal, and Maria Tash are industry standards for anchored cuff components. Avoid 'surgical steel,' which contains nickel and can cause contact dermatitis, leading to swelling that ruins the fit of a connected cuff.
- Threading: Insist on internally threaded or threadless (push-pin) jewelry. Externally threaded jewelry will tear the delicate fistula of a cartilage piercing upon insertion, creating scar tissue that makes wearing tight-fitting cuff anchors painful.
- Gauge Sizing: Cartilage piercings for cuff anchors are typically done at 16g (1.2mm) or 14g (1.6mm) to provide enough structural integrity to support the weight and tension of a connected chain or bar.
| Piercing Placement | Standard Gauge | Average Healing Time | Tension Risk for Cuffs |
|---|---|---|---|
| Earlobe (Bottom Anchor) | 18g - 20g | 6 - 8 Weeks | Low |
| Helix (Top Anchor) | 16g - 14g | 6 - 12 Months | High |
| Scapha (Middle Anchor) | 16g | 6 - 10 Months | Medium-High |
| Conch (Inner Anchor) | 14g - 12g | 9 - 12 Months | Medium |
The Golden Rule: Never Connect Fresh Piercings
This is the most critical piece of advice for anyone seeking an earring cuff piercing: You must heal both anchor piercings completely and independently before connecting them.
Connecting a fresh lobe piercing to a fresh helix piercing with a single piece of jewelry is a recipe for disaster. The ear lobe heals in weeks, while the helix takes up to a year. Connecting them introduces immediate tension, restricting natural swelling and forcing the healing cartilage to shift, which causes severe migration and rejection.
You should get the piercings done in separate sessions or, if done together, wear independent, flat-back labret studs in each hole for at least 9 to 12 months. Only once both fistulas are fully mature, stable, and free of irritation bumps should your piercer measure and fit the connected cuff jewelry.
Aftercare and Troubleshooting Cartilage Cuffs
Cartilage piercings are notorious for developing irritation bumps (often mistakenly called keloids) when subjected to friction, pressure, or improper cleaning. Because anchored cuffs sit flush against the ear's complex topography, they are prone to snagging on hair and clothing.
- Cleaning: Use only sterile 0.9% sodium chloride wound wash twice a day. Do not use tea tree oil, alcohol, or harsh soaps, which will dry out the healing fistula and cause the metal cuff to stick to the wound.
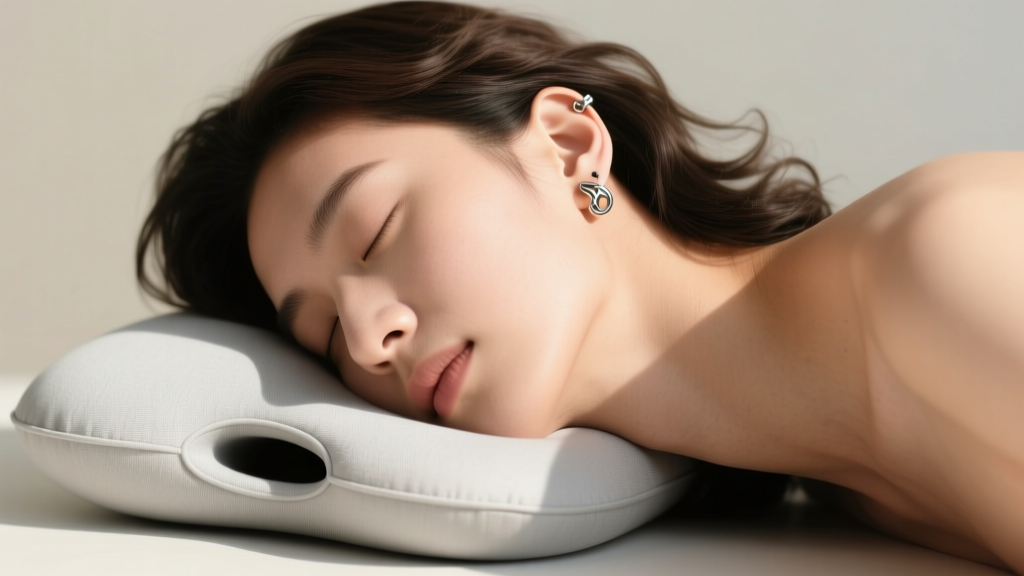
- Sleeping: Pressure is the enemy of cartilage. Sleep on a specialized piercing pillow (a travel neck pillow works perfectly) to keep your ear suspended in the hollow center. Sleeping directly on an anchored cuff will bend the post, causing immediate internal trauma and angle shifting.
- Snag Hazards: If you are wearing a connected helix-to-lobe chain, be hyper-aware of over-ear headphones, tight turtlenecks, and towel-drying your hair. A single hard snag on a connected chain can tear both piercings simultaneously.
Faux Cuffs vs. Pierced Cuffs: Which Should You Choose?
If you are hesitant about the long-term commitment and 12-month healing time of a cartilage piercing, high-quality faux cuffs are a fantastic alternative. Modern tension-cuffs made by brands like Missoma or Mejuri use adjustable silicone-lined grips that mimic the look of a scapha or helix cuff without the needle. However, they are not recommended for 24/7 wear, as the constant pressure can restrict blood flow to the outer ear cartilage, causing soreness.
For a permanent, secure, and highly customizable look, investing in an actual earring cuff piercing setup using implant-grade titanium and custom-fitted gold chains remains the gold standard in ear styling. Always consult with an APP-certified professional piercer to map your ear's unique anatomy before committing to an anchored design.


