How Long Does It Take for Earrings to Heal? Lobe vs Cartilage
Discover how long it takes for earrings to heal based on placement. Expert lobe and cartilage aftercare tips, cleaning routines, and materials.

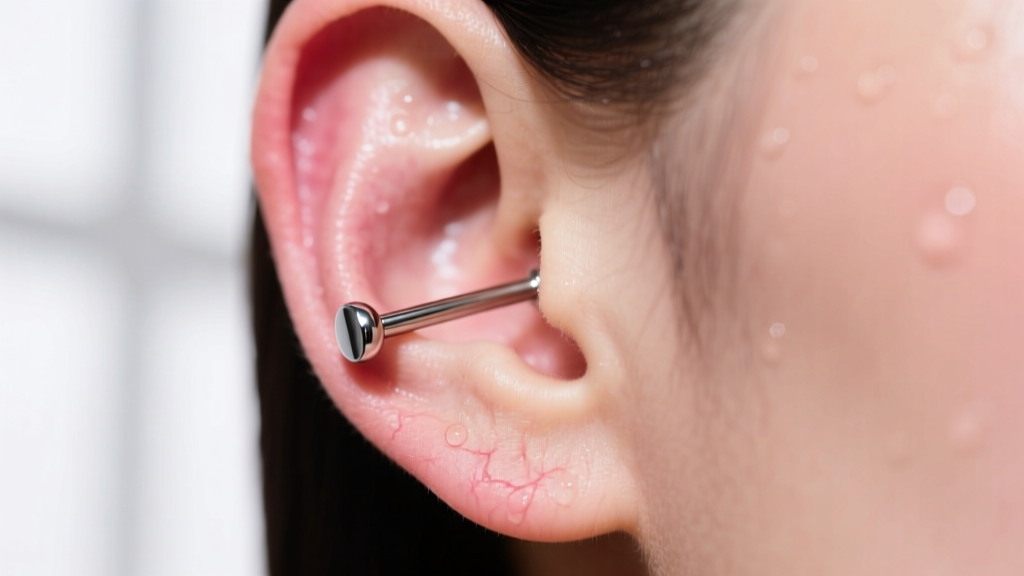
The Biology of Piercing Healing: Lobe vs. Cartilage
When asking how long does it take for earrings to heal, the answer depends entirely on the anatomical placement of the piercing and the vascularization of the surrounding tissue. The human ear is divided into two primary tissue types: the soft, fleshy earlobe and the rigid, cartilaginous upper ear. Understanding the biological differences between these two zones is the first step in mastering earring aftercare and setting realistic expectations for your healing journey.
Earlobes are highly vascular, meaning they possess a rich network of blood vessels. This robust blood supply delivers oxygen, white blood cells, and nutrients directly to the wound site, accelerating the body's natural repair processes. Because of this, lobe piercings generally heal quickly and with fewer complications. In contrast, the upper ear is composed of avascular cartilage. Cartilage lacks its own direct blood supply and instead relies on the perichondrium—the thin membrane of connective tissue wrapping the cartilage—for nutrient delivery. This indirect supply chain means that cartilage piercings heal significantly slower and are far more susceptible to irritation, prolonged swelling, and infection if not cared for meticulously.
Exact Healing Timelines by Ear Placement
There is no universal timeline for earring healing. While a standard lobe piercing might be fully healed in a matter of weeks, complex cartilage projects can take upwards of a year to mature. Below is a detailed breakdown of expected healing windows based on specific ear placements, assuming proper aftercare and high-quality jewelry are utilized.
| Piercing Placement | Tissue Type | Initial Healing (Jewelry Change) | Full Maturation (Complete Healing) | Standard Gauge Size |
|---|---|---|---|---|
| Standard Earlobe | Vascular | 6 - 8 Weeks | 3 - 4 Months | 18g - 16g |
| Upper Lobe / Mid-Lobe | Transitional | 8 - 12 Weeks | 4 - 6 Months | 16g |
| Helix (Outer Rim) | Avascular Cartilage | 3 - 6 Months | 9 - 12 Months | 16g - 14g |
| Tragus (Small Flap) | Avascular Cartilage | 4 - 8 Months | 9 - 12 Months | 16g |
| Conch (Inner Cup) | Avascular Cartilage | 6 - 9 Months | 12 - 18 Months | 14g - 16g |
| Industrial (Scaffold) | Avascular Cartilage | 6 - 12 Months | 12 - 24 Months | 14g |
It is crucial to understand the difference between "initial healing" and "full maturation." Initial healing refers to the point where the fistula (the tube of scar tissue forming the piercing channel) is stable enough for a professional to safely swap the initial jewelry for a shorter post or different style. Full maturation means the tissue has completely stabilized, allowing for brief periods without jewelry or the wearing of heavier, dangling styles without causing trauma.
The 2026 Standard of Care: Cleaning and Maintenance
The landscape of piercing aftercare has evolved significantly. Outdated advice involving harsh chemicals, twisting the jewelry, or using sea salt soaks has been entirely debunked by modern dermatological and professional piercing standards. The current gold standard, endorsed by the Association of Professional Piercers (APP), focuses on gentle, non-disruptive cleaning methods that support the body's immune response rather than attacking it.
Step-by-Step Daily Cleaning Routine
- Wash Your Hands: Always begin by washing your hands with unscented, antibacterial soap to prevent introducing external pathogens to the wound.
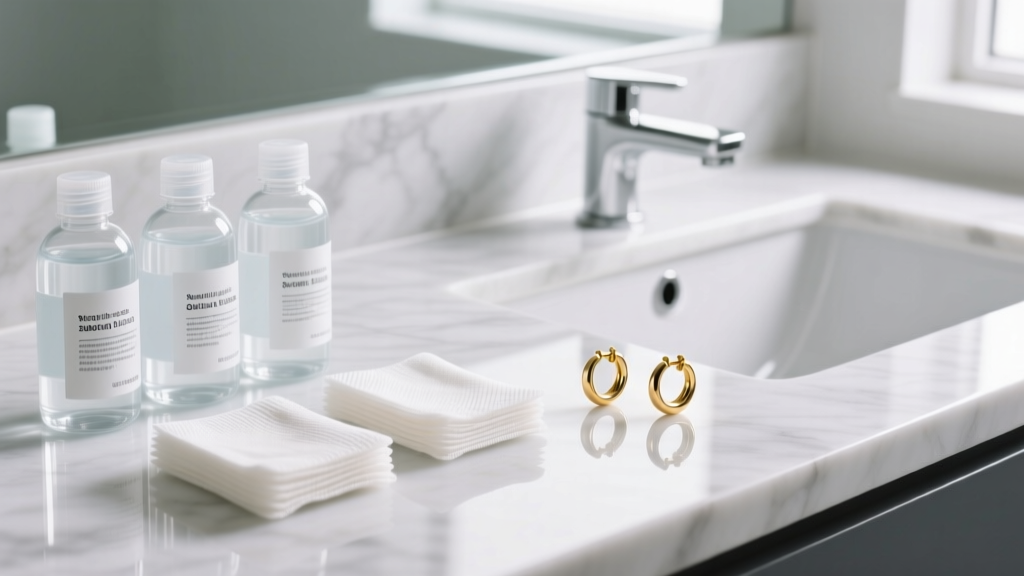
- Apply Sterile Saline: Spray a sterile 0.9% sodium chloride wound wash (ensure there are no additives like benzalkonium chloride) directly onto the piercing site, or apply it to a non-woven gauze pad.
- Gently Wipe: Softly wipe away any softened crusties (lymph fluid) from the entry and exit points. Never force or pick at dry crust, as this tears the delicate new cells forming the fistula.
- Dry Thoroughly: Moisture trapped around a healing piercing breeds bacteria. Gently pat the area dry with a clean paper product or use a hair dryer on the lowest, coolest setting. Avoid cloth towels, which harbor bacteria and can snag on the jewelry.
Avoid the temptation to over-clean. Spraying the piercing 1 to 2 times a day is sufficient. Over-cleaning can strip the ear of its natural microbiome and cause contact dermatitis, delaying the very healing process you are trying to support.
Troubleshooting: Infection vs. Normal Irritation
One of the most common reasons people prematurely abandon their healing earrings is the misinterpretation of normal healing symptoms as an infection. According to Mayo Clinic's guide on body piercings, true infections in properly performed piercings are relatively rare; what most people experience is localized irritation.
- Lymph Fluid vs. Pus: A pale, yellowish, or slightly greenish crust that dries around the jewelry is lymph fluid—a normal byproduct of the body's healing process. Pus, which indicates infection, is typically thick, opaque, foul-smelling, and accompanied by severe throbbing pain and radiating heat.
- Irritation Bumps (Hypertrophic Scarring): Small, localized bumps near the exit hole are usually caused by mechanical friction (sleeping on the ear, snagging on hair) or moisture buildup. These are not keloids (which are genetic and grow beyond the wound site) and will flatten out once the source of friction is removed.
- The LITHA Method: "Leave It The Hell Alone" is a cornerstone of modern aftercare. Stop touching, twisting, or checking the piercing. Every time you move the jewelry, you tear the microscopic healing tissue, resetting the healing clock and introducing bacteria.
Material Matters: Choosing the Right Metal for Healing
The metal sitting inside your healing fistula acts as a continuous interface with your immune system. If the material contains reactive alloys, your body will treat it as a foreign invader, resulting in chronic inflammation, weeping, and delayed healing.
"For fresh piercings, the only universally recommended metals are implant-grade titanium (ASTM F136), niobium, and solid 14k or 18k gold that is specifically alloyed to be nickel-free. 'Surgical steel' is a marketing term for 316L stainless steel, which contains up to 10% nickel and is entirely unsuitable for unhealed tissue."
Implant-grade titanium is the undisputed champion of healing earrings. It is completely nickel-free, highly polished to a mirror finish (preventing bacteria from hiding in microscopic scratches), and is the same material used in medical joint replacements. When purchasing initial jewelry, always verify that the piece is internally threaded or threadless (push-pin). Externally threaded jewelry features sharp threads on the post that must pass through the wound, causing micro-tears and severe irritation.
When to Downsize and Change Your Jewelry
A critical, yet frequently overlooked, step in the cartilage healing process is "downsizing." When a piercer initially pierces your helix, tragus, or conch, they will insert a flat-back labret with a significantly longer post (often 5/16" or 3/8") to accommodate the massive swelling that occurs in the first 72 hours.
Once that initial swelling subsides—typically between the 4-week and 8-week mark—that long post becomes a liability. It protrudes too far from the ear, creating a lever that catches on hair, masks, and pillows. This mechanical leverage puts uneven pressure on the internal fistula, leading to migration, angled healing, and persistent irritation bumps. Returning to your piercer for a downsize to a shorter post (e.g., 1/4" or 3/16") is mandatory for a smooth, bump-free healing trajectory. Never attempt to change a fresh cartilage piercing yourself; always rely on a professional using sterile tools and proper tapering techniques.
Sleeping and Lifestyle Adjustments
Finally, how you sleep dictates how your earrings heal. Pressure necrosis—a condition where sustained pressure cuts off blood flow to the tissue—can cause severe swelling and even tissue death around a fresh piercing. If you are a side sleeper, investing in a specialized travel neck pillow or a "piercing pillow" with a hollow center is non-negotiable. By placing your ear in the hollow space, you eliminate direct pressure, allowing lymphatic fluid to drain properly overnight and drastically reducing morning swelling and stiffness. Treat your healing earrings not just as jewelry, but as delicate medical wounds that require patience, precision, and respect for human biology.


