What to Do When Your Earring Hole Closed Up: A Safe Reopening Guide
Wondering what to do when your earring hole closed up? Learn how to safely reopen lobes and cartilage, choose the right tapers, and avoid scarring.

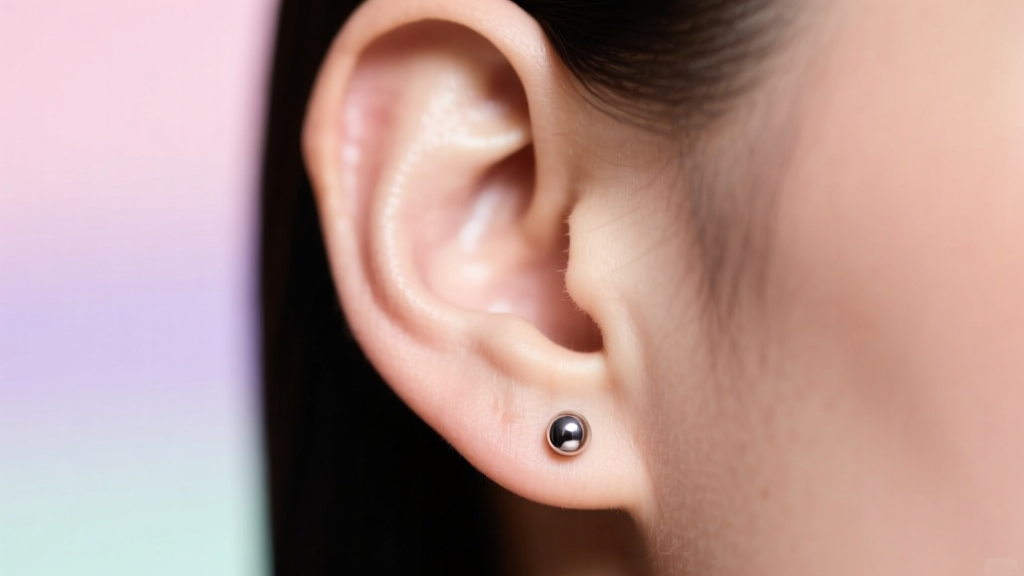
It is a frustratingly common scenario: you reach for your favorite everyday studs, only to find that your earring hole closed up overnight. Whether you forgot to wear your jewelry for a few days or took a multi-week break from heavy dangles, discovering a blocked piercing can spark immediate panic. However, forcing a piece of jewelry through a closing fistula is a recipe for micro-tears, scar tissue, and severe irritation bumps. In this comprehensive guide, we will break down the biological reasons behind closing piercings, how to accurately assess your fistula, and the exact, step-by-step methodology for safely reopening your earlobes without causing trauma.
The Anatomy of a Closing Piercing: Understanding the Fistula
To understand why your earring hole closed up, you must first understand what a piercing actually is. A healed piercing is not merely a hole; it is a fistula—a tube of epithelial tissue that your body has intentionally formed to protect the wound channel. When jewelry is removed before the fistula has fully matured, the body’s natural wound-healing response kicks in, attempting to close the perceived gap. According to the Association of Professional Piercers (APP), lobe fistulas typically require a minimum of six to twelve months to mature, while cartilage can take up to two years. Even in fully matured piercings, the elastic properties of the skin can cause the outer layers to shrink and seal together rapidly, sometimes within mere hours of jewelry removal.
Surface Healing vs. Fully Closed: How to Tell the Difference
Before attempting to reinsert jewelry, you must determine if the hole is truly closed or merely sealed at the surface. Surface healing occurs when the outermost layer of skin grows over the entrance and exit points, leaving the internal fistula tube intact.
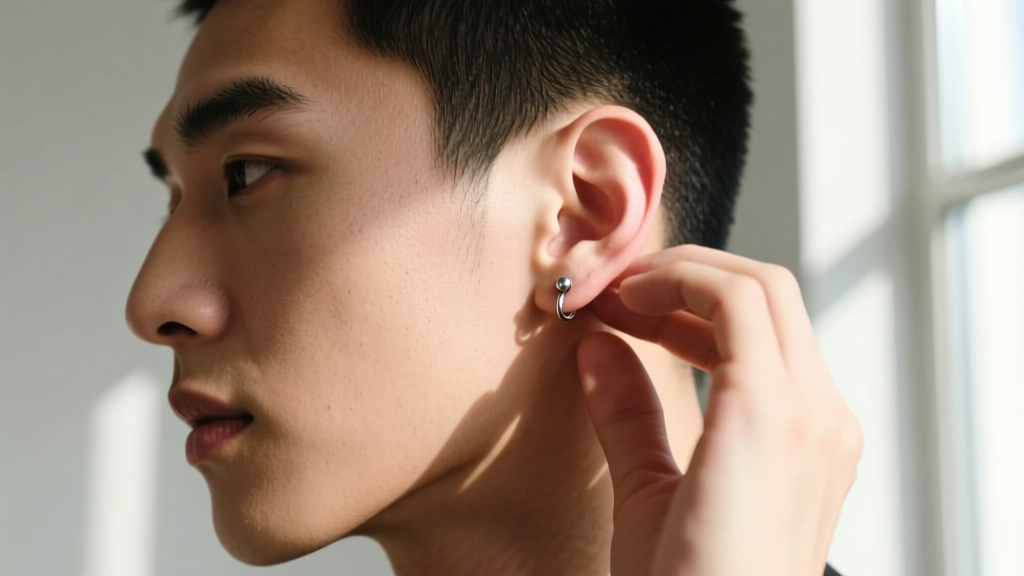
- The Flashlight Test: In a dark room, hold a small LED flashlight directly against the back of your earlobe. If you can see a faint pinpoint of light shining through the front, your internal fistula is still open, and only a thin membrane of skin is blocking the way.
- The Tactile Test: Gently palpate the area with clean fingers. If you feel a distinct, hard lump of scar tissue or a continuous layer of unbroken skin without a divot, the hole has likely closed completely. Forcing jewelry through a completely closed lobe is essentially performing a new, unsterile piercing with a blunt object, which guarantees tissue damage.
Step-by-Step Guide to Safely Reopening a Surface-Sealed Lobe
If you have confirmed that only the surface has sealed, you can safely reopen the channel using the tapering method. Never use the sharp post of a standard butterfly-back earring, as the sharp edges will slice the delicate fistula lining.
Step 1: Soften and Lubricate
Take a warm shower or apply a warm, damp compress to the ear for five minutes. This increases blood flow and softens the skin membrane. Apply a single drop of pure jojoba oil or emu oil to the area to provide natural, skin-safe lubrication.
Step 2: Use a Steel Insertion Taper
Select a surgical steel insertion taper that matches your standard jewelry gauge (usually 18G or 16G for lobes). A taper features a gradual slope, allowing it to gently stretch the sealed skin membrane rather than tearing it.
Step 3: Gentle Pressure and Alignment
Align the taper with the natural angle of your original piercing. Apply slow, steady, and incredibly gentle pressure. You should feel a slight pop or release as the taper passes through the thin surface membrane. If you experience sharp pain or see blood, stop immediately—the hole is fully closed.
Step 4: Follow with Implant-Grade Jewelry
Once the taper is through, immediately tape or butt the end of your sterilized jewelry against the back of the taper and push it through the channel, following the taper's path.
Lobe vs. Cartilage: Why You Must Never Force Cartilage
While the tapering method can work for fleshy earlobes, it is incredibly dangerous for cartilage piercings (such as the helix, tragus, or conch). Cartilage lacks the elasticity and blood supply of the earlobe. If your cartilage earring hole closed up, attempting to force a taper or stud through it can cause severe trauma, leading to cartilage bumps, hypertrophic scarring, or even permanent structural damage to the ear.
| Feature | Earlobe Piercings | Cartilage Piercings |
|---|---|---|
| Tissue Type | Elastic, vascular soft tissue | Rigid, avascular connective tissue |
| Maturation Time | 6 to 12 months | 12 to 24+ months |
| Closing Speed | Can seal in hours if new | Can seal in hours, highly unpredictable |
| Reopening Method | Warm compress + insertion taper | Professional piercer assessment only |
| Risk of Forcing | Mild tearing, irritation | Blowouts, cartilage bumps, necrosis |
If a cartilage hole has closed, the only safe option is to visit a professional piercer for an assessment and potential repiercing.
Essential Tools and Materials for Reinsertion
To maintain a healthy fistula and prevent allergic reactions during the vulnerable reopening phase, you must use high-quality, biocompatible materials. The APP strongly recommends avoiding mystery metals, silver, and gold-plated jewelry in fresh or irritated channels.
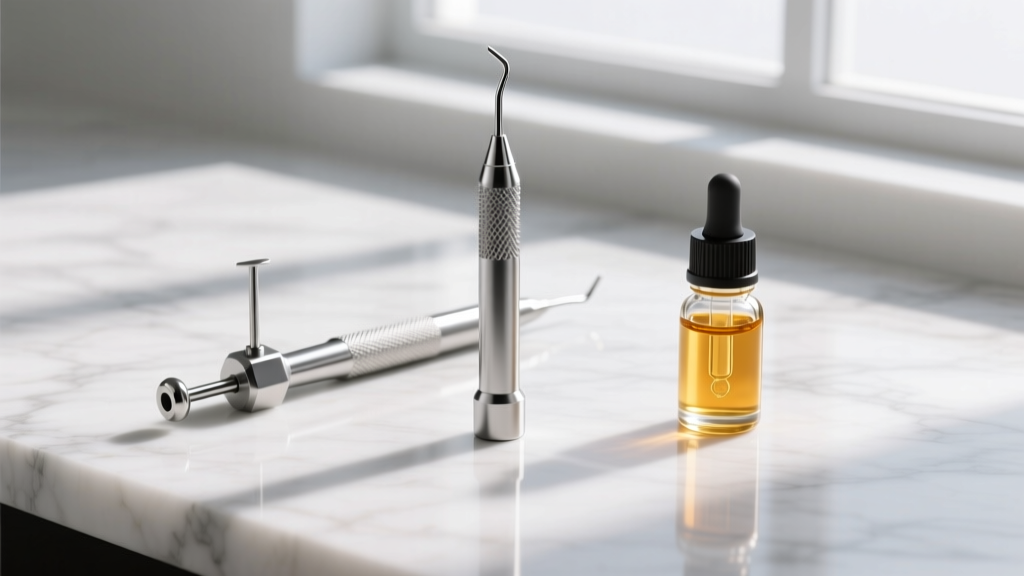
- Implant-Grade Titanium (ASTM F-136): This is the gold standard for reinsertion. It is completely nickel-free, lightweight, and highly biocompatible, reducing the risk of contact dermatitis.
- Surgical Steel Insertion Tapers: Ensure your tapers are 316L surgical steel or titanium. Never use acrylic or silicone tapers for reopening, as they are porous and can harbor bacteria.
- Sterile Saline Spray (0.9% Sodium Chloride): Use this to clean the area before and after reinsertion. Avoid harsh chemicals like rubbing alcohol or hydrogen peroxide, which destroy newly formed epithelial cells.
- Threadless or Internally Threaded Ends: Push-pin or internally threaded labrets and barbells prevent the sharp threading from scraping the inside of your fistula during insertion.
When to Visit a Professional Piercer
There is a distinct line between a stubborn surface seal and a fully closed fistula. If you encounter resistance, sharp pain, or bleeding, you must stop immediately. A professional piercer possesses specialized tools, such as dermal punches and sterilized receiving tubes, to safely navigate scar tissue.
Never treat a closed piercing as a mere inconvenience. Forcing metal through unyielding tissue is the primary cause of chronic irritation bumps and embedded jewelry.
Furthermore, if your piercing was originally done with a piercing gun, the angle may be incorrect, causing the hole to close repeatedly due to mechanical stress. A professional can assess the angle and repierce the lobe at the correct trajectory using a hollow, sterilized needle. Repiercing a lobe typically costs between $30 and $60, a small price to pay to avoid permanent scarring, embedded jewelry, and chronic infections. Treat your fistulas with patience and respect, and they will remain healthy, open channels for your favorite jewelry for years to come.


