What to Do When Your Earring Hole Ripped a Little: Repair Guide
Discover exactly what to do when your earring hole ripped a little. Learn immediate first aid, healing timelines, and surgical repair options for torn lobes.

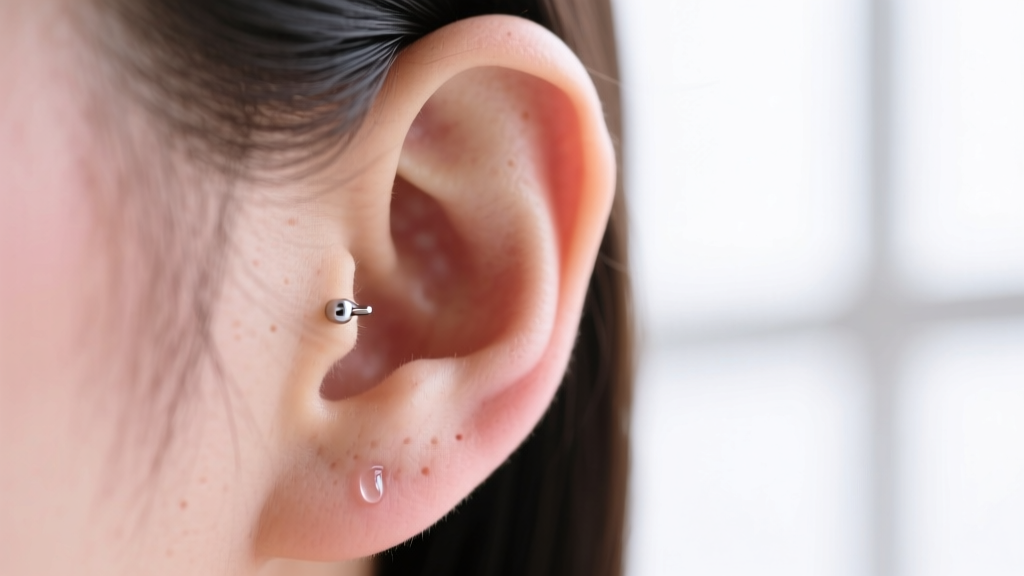
Experiencing a sudden snag that leaves your earring hole ripped a little can be a jarring and painful experience. Whether caused by a heavy hoop catching on a sweater or a toddler grabbing a dangling drop earring, a partial lobe tear requires immediate, strategic intervention to prevent permanent deformation. The earlobe is highly vascular, meaning it bleeds profusely when torn, but this same robust blood supply also grants it an excellent capacity for healing if managed correctly. In this comprehensive care and maintenance guide, we break down the exact clinical protocols for treating minor lobe tears, optimizing the healing environment, and deciding when professional surgical repair is necessary.
Immediate First Aid: Stop the Bleeding and Prevent Infection
When your earring hole ripped a little, your first priority is hemostasis (stopping the bleeding) and infection control. The earlobe contains a dense network of capillaries, so even a micro-tear can produce a surprising amount of blood.
- Apply Direct Pressure: Use a sterile, non-woven gauze pad to apply firm, uninterrupted pressure to the tear for 10 to 15 minutes. Do not peek at the wound, as releasing pressure prematurely disrupts the initial platelet plug formation.
- Remove the Jewelry: If the earring is still embedded in the torn tissue, gently remove it to prevent further mechanical stress and to allow the wound edges to approximate (come together).
- Avoid Cytotoxic Cleaners: Never apply hydrogen peroxide, rubbing alcohol, or iodine to a torn earlobe. According to the Mayo Clinic, these harsh chemicals cause fibroblast toxicity, destroying the very cells required to synthesize new collagen and bridge the tear.
Assessing the Damage: Partial Tear vs. Complete Blowout
Not all tears require surgical intervention. Understanding the depth and length of the tear will dictate your care routine. Standard lobe piercings are typically 20-gauge (0.8mm) or 18-gauge (1.0mm). When heavy jewelry is worn, the fistula (the skin tube) stretches, making the tissue paper-thin and prone to splitting.
| Tear Grade | Characteristics | Healing Potential | Recommended Action |
|---|---|---|---|
| Grade 1 (Micro-Tear) | Epidermis only, less than 2mm split. Bleeds minimally. | High. Will heal on its own with proper support. | Strict cleaning protocol, switch to lightweight flat-backs. |
| Grade 2 (Partial) | Dermis involved, 2mm to 5mm split. Noticeable notch at the base. | Moderate. May heal with a visible notch or stretched hole. | Wound care, silicone o-ring support, possible re-piercing later. |
| Grade 3 (Complete) | Full-thickness cleft (blowout). The lobe is split into two pieces. | None. Will not bridge on its own. | Surgical lobuloplasty required. |
The Healing Protocol: 6-Week Care Routine for Minor Tears
If you are dealing with a Grade 1 or mild Grade 2 tear, your goal is to facilitate primary intention healing (where the wound edges knit together seamlessly). The American Academy of Dermatology emphasizes keeping minor wounds clean and moist to accelerate epithelialization.
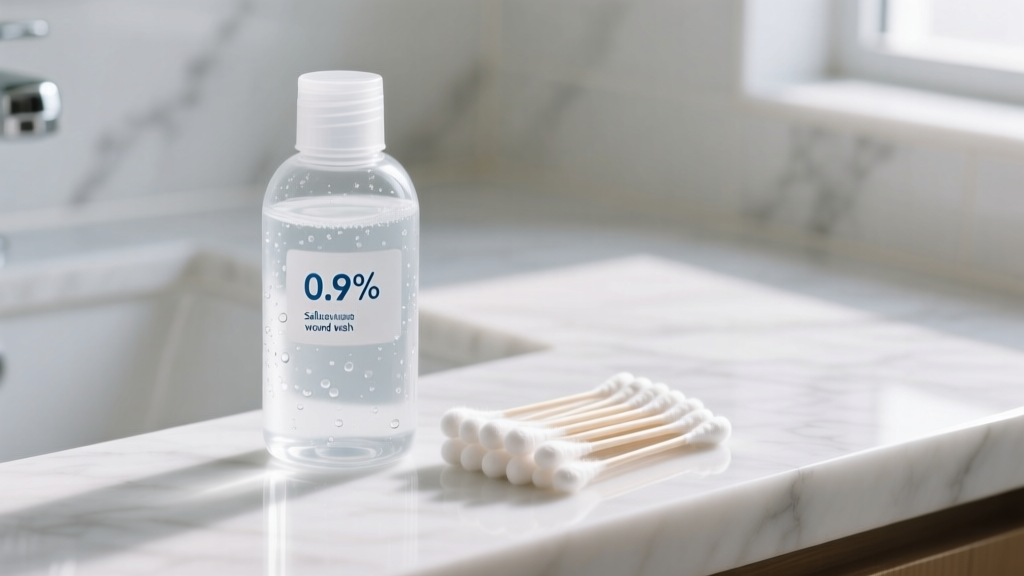
Daily Cleansing Agents
Ditch the homemade sea salt soaks, which are often improperly mixed and can cause hypertonic dehydration of the healing tissue. Instead, use a sterile, isotonic 0.9% sodium chloride wound wash. Spray it directly onto the tear twice daily. For superior antimicrobial action without the cellular damage of alcohol, incorporate a hypochlorous acid (HOCl) spray. HOCl is naturally produced by your white blood cells to fight pathogens and is widely considered the gold standard in modern dermatological wound care.
What to Avoid During Healing
Do not apply thick ointments like petroleum jelly or antibiotic creams (e.g., Neosporin). These create an occlusive barrier that traps anaerobic bacteria and prevents the wound from breathing. Furthermore, avoid tea tree oil and essential oils, which are highly concentrated and can cause contact dermatitis on compromised skin.
Strategic Re-piercing and Lobe Support Post-Healing
Once the micro-tear has closed (usually after 4 to 6 weeks), the newly formed tissue will be fragile and lack the tensile strength of the original dermis. If you attempt to wear heavy dangles or large hoops immediately, the hole will simply rip again.
Upgrading Your Jewelry Hardware
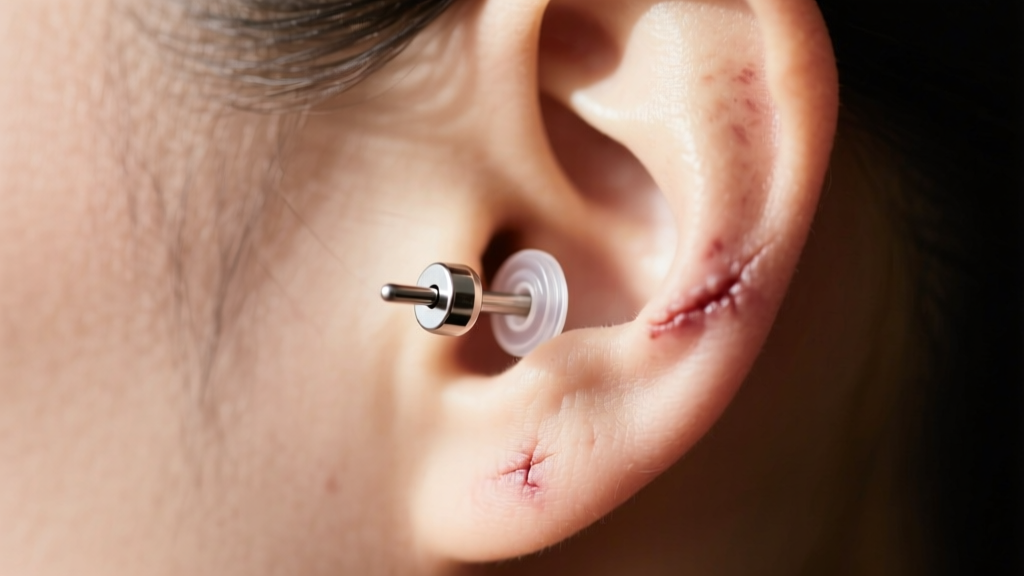
Transition exclusively to implant-grade titanium (ASTM F-136) flat-back labret studs. Unlike traditional butterfly-back earrings, which harbor bacteria and dig into the back of the lobe, flat-backs distribute pressure evenly across the posterior tissue. To further protect a previously torn hole, slide a 1.5mm thick silicone o-ring onto the post before securing the backing. This creates a shock-absorbing bumper that prevents the jewelry from migrating downward and stretching the delicate new fistula.
Glass Retainers for Stretching Prevention
If the tear caused the hole to stretch to a 14-gauge (1.6mm) or 12-gauge (2.0mm) diameter, consider wearing borosilicate glass retainers. Glass is non-porous, hypoallergenic, and significantly lighter than steel, allowing the lobe to shrink back toward a standard 18-gauge size over several months.
When to See a Professional: Surgical Repair Timelines
If your assessment reveals a Grade 3 complete blowout, or if a Grade 2 tear heals with an elongated, unsightly slit, home care will not fix the structural deficit. You will need a minor in-office procedure known as a lobuloplasty.
According to research published in the Journal of Clinical and Aesthetic Dermatology, earlobe repair involves excising the epithelialized tract (the skin lining the old hole) and suturing the fresh, raw edges together to promote seamless fusion. This procedure is typically performed by a board-certified dermatologic surgeon or plastic surgeon under local anesthesia and takes about 20 to 30 minutes per ear.
- Cost Expectations: Out-of-pocket costs generally range from $250 to $600 per lobe, as it is considered a cosmetic procedure and rarely covered by insurance.
- Re-piercing Timeline: You must wait a minimum of 3 to 6 months post-surgery before re-piercing the lobe. The new piercing should be placed slightly adjacent to the surgical scar to avoid piercing through rigid scar tissue, which is prone to rejection and tearing.
Preventative Maintenance for Heavy Earrings
To ensure your earring hole never rips a little again, adopt preventative maintenance habits. If you love statement dangles or heavy geometric hoops, utilize adhesive lobe support patches (such as Lobe Wonder). These discreet, transparent stickers adhere to the back of the earlobe and feature a reinforced hole that bears the weight of the earring, completely bypassing the stress on your actual piercing. Additionally, establish a hard weight limit: avoid wearing any single earring that exceeds 15 grams for more than a few hours at a time.


