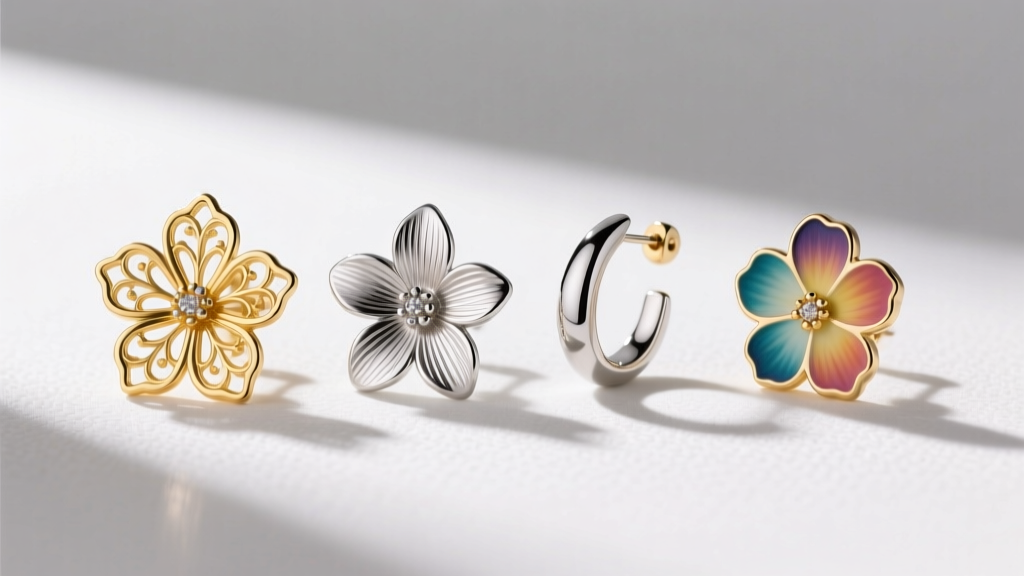
How to Wear an Earring Inside Ear: A Beginner's Cartilage Guide
Discover how to wear an earring inside ear cartilage. Explore conch piercings, tragus studs, and non-pierced cuffs with expert sizing and material tips.

Decoding the 'Earring Inside Ear' Trend
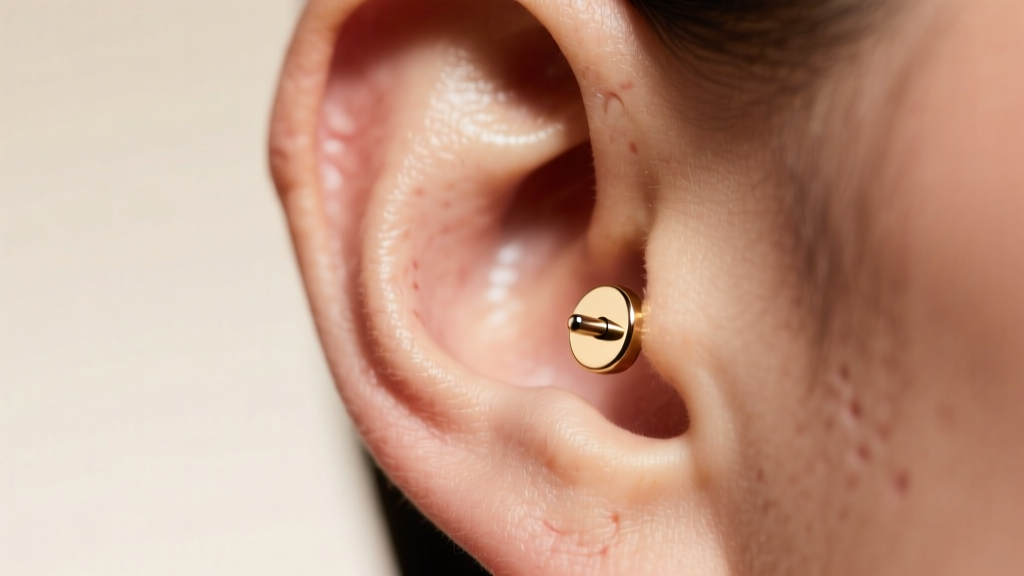
When beginners search for an "earring inside ear," they are typically referring to jewelry placed in the inner cartilage basins of the ear—most notably the conch, tragus, or daith. Unlike standard lobe piercings, inner ear placements require a deep understanding of anatomy, specific jewelry mechanics, and extended healing protocols. Whether you are considering a permanent 14-gauge conch piercing or a temporary non-pierced cartilage cuff, navigating the inner ear requires precision.
This guide breaks down the exact specifications, material grades, and structural requirements for wearing jewelry inside the ear. We will move past generic styling advice and focus on the biomechanics of cartilage jewelry, ensuring your inner ear setup is both anatomically sound and aesthetically striking.
Inner Ear Anatomy: Where Does the Jewelry Go?
The inner ear is a complex landscape of ridges and hollows. To place an earring inside the ear successfully, you must understand the three primary zones that accommodate jewelry:
The Conch
The conch is the large, cup-shaped hollow of the inner ear. It is divided into the inner conch and outer conch. This area is thick, dense cartilage that can support heavy, large-diameter hoops or substantial flat-back labrets. Because of the tissue density, conch piercings are typically performed at 14-gauge (1.6mm) or 16-gauge (1.2mm) to ensure structural stability and minimize the "cheese-cutter" effect.
The Tragus and Daith
The tragus is the small, thick flap of cartilage that partially covers the ear canal. The daith is the innermost fold of cartilage just above the ear canal. Both require highly specific jewelry profiles. Tragus piercings usually demand 16-gauge or 18-gauge flat-back labrets to avoid interfering with earbuds or headphones, while daith piercings require seamless rings or clickers with a tight inner diameter (usually 8mm to 10mm) to hug the fold perfectly.
Pierced vs. Non-Pierced: A Structural Comparison
If you want the look of an earring inside the ear without the commitment of a needle, conch cuffs are the primary alternative. However, the mechanics of tension cuffs differ vastly from permanent body jewelry. Below is a technical comparison of the two approaches.
| Feature | Conch Piercing (Permanent) | Conch Ear Cuff (Non-Pierced) |
|---|---|---|
| Placement | Through the flat cartilage shelf | Wrapped around the outer helix rim |
| Standard Gauge | 14g (1.6mm) or 16g (1.2mm) | 20g to 22g equivalent wire thickness |
| Healing / Adjustment Time | 6 to 12 months (full fistula maturation) | Immediate (requires tension adjustment) |
| Cost Range (2026 Estimates) | $80 - $250 (Service + Implant-Grade Jewelry) | $25 - $120 (Retail jewelry only) |
| Sleeping Comfort | Poor during healing; requires travel pillow | Moderate; must be removed before sleep |
Technical Specifications for Inner Ear Jewelry
Choosing the right jewelry for an inner ear piercing is not merely about aesthetics; it is about biocompatibility and spatial clearance. The wrong post length or metal alloy can lead to embedding, rejection, or chronic irritation bumps.
Material Grades and Biocompatibility
For fresh cartilage piercings, the Association of Professional Piercers (APP) strictly recommends implant-grade materials. You must avoid standard "surgical steel" (316L), as it contains nickel that can leach into the healing fistula and cause contact dermatitis.
- ASTM F136 Titanium: The gold standard for fresh inner ear piercings. It is entirely nickel-free, lightweight, and non-porous.
- Niobium: A highly reactive metal that is anodized to create vibrant colors. It is completely nickel-free and safe for initial piercings.
- 14k or 18k Solid Gold: Must be nickel-free and palladium-based (for white gold). Avoid gold-plated or gold-filled jewelry, as the friction of healing cartilage will strip the plating.

Sizing: Threading and Post Length
When placing a stud inside the ear, the backing mechanism is critical. Never use externally threaded jewelry (where the screw is on the post), as the sharp threads will tear the delicate healing tissue upon insertion. Instead, opt for internally threaded (the screw is inside the decorative end) or threadless (press-fit) jewelry. Threadless jewelry uses a slight bend in the pin to create tension against the inside of the post, offering superior security for inner ear placements where you cannot easily see the backing.
Furthermore, flat-back labrets are mandatory for the conch and tragus. Butterfly backs trap bacteria and press unevenly against the cartilage. Initial post lengths typically range from 5/16" (8mm) to 3/8" (10mm) to accommodate swelling, which must be downsized by a professional piercer after 4 to 6 weeks to prevent the jewelry from migrating or catching on hair.
The Non-Pierced Alternative: Conch Ear Cuffs
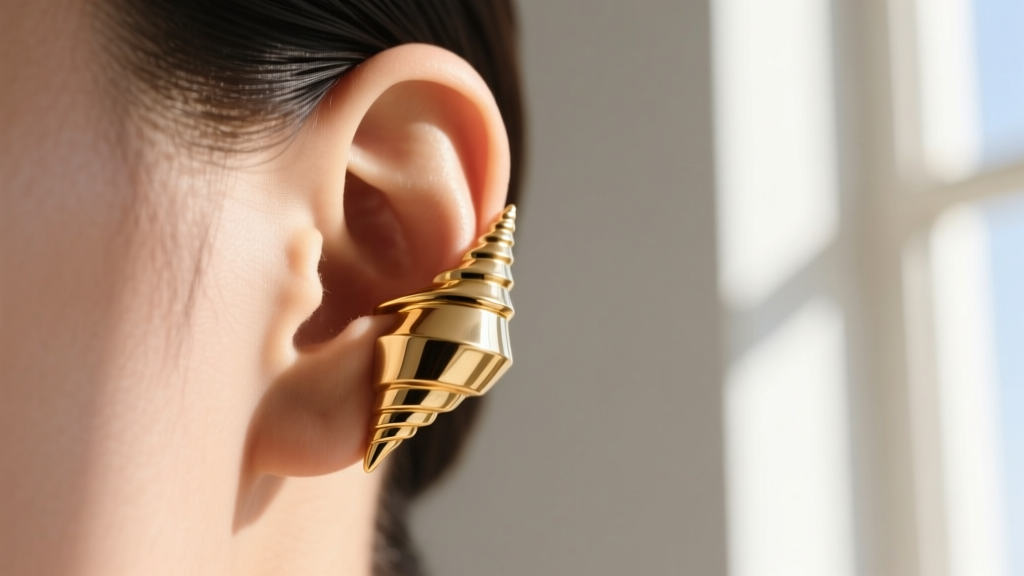
For those seeking the visual weight of an earring inside the ear without the 12-month healing process, the conch ear cuff is the optimal solution. Unlike helix cuffs that sit on the thin outer rim, conch cuffs are designed to wrap deeply into the inner ear folds, mimicking the look of a large conch hoop or a cluster of inner studs.
To achieve a secure fit, the cuff must be made of a malleable yet memory-retentive metal, such as sterling silver or solid brass with heavy gold plating. Adjusting a conch cuff requires a gentle, deliberate squeeze using specialized jewelry pliers or your thumbs. You should never pull the ends apart aggressively, as this will warp the circular tension and cause the cuff to slide down the ear. The ideal fit should allow you to shake your head vigorously without the cuff shifting, while avoiding so much tension that it restricts blood flow or causes cartilage bruising.
Aftercare and Troubleshooting Inner Ear Piercings
Cartilage is avascular, meaning it lacks a direct blood supply. This is why an earring inside the ear takes significantly longer to heal than a lobe piercing. The Mayo Clinic emphasizes that proper hygiene and avoiding trauma are the only ways to prevent perichondritis (a serious cartilage infection).
"Clean the piercing twice a day with a sterile saline solution. Avoid using alcohol, hydrogen peroxide, or antibiotic ointments, as these chemicals destroy the newly forming cellular tissue and delay the healing process."
— Association of Professional Piercers (APP) Aftercare Guidelines
Troubleshooting Irritation Bumps: If you develop a small, localized bump near the jewelry, it is rarely an infection. It is almost always an irritation bump caused by one of three things: sleeping on the piercing, using a post that is too long after the swelling has subsided, or over-cleaning the area. To resolve this, apply a sterile, non-woven gauze soaked in warm saline for three minutes daily, downsize the post, and strictly adhere to the LITHA (Leave It The Hell Alone) method. Do not twist the jewelry, and never use earbuds until the piercing is fully matured.
Final Thoughts on Inner Ear Styling
Mastering the "earring inside ear" aesthetic requires patience and a respect for anatomical limits. Whether you are committing to a 14-gauge titanium conch labret or curating a stack of adjustable tension cuffs, prioritizing biocompatible materials and correct spatial clearance will ensure your inner ear jewelry remains a comfortable, striking focal point for years to come.