How Long Does an Earring Piercing Take to Heal? Curated Ear Guide
Discover how long an earring piercing takes to heal across lobe, helix, and tragus placements, plus curated ear styling tips for safe healing.

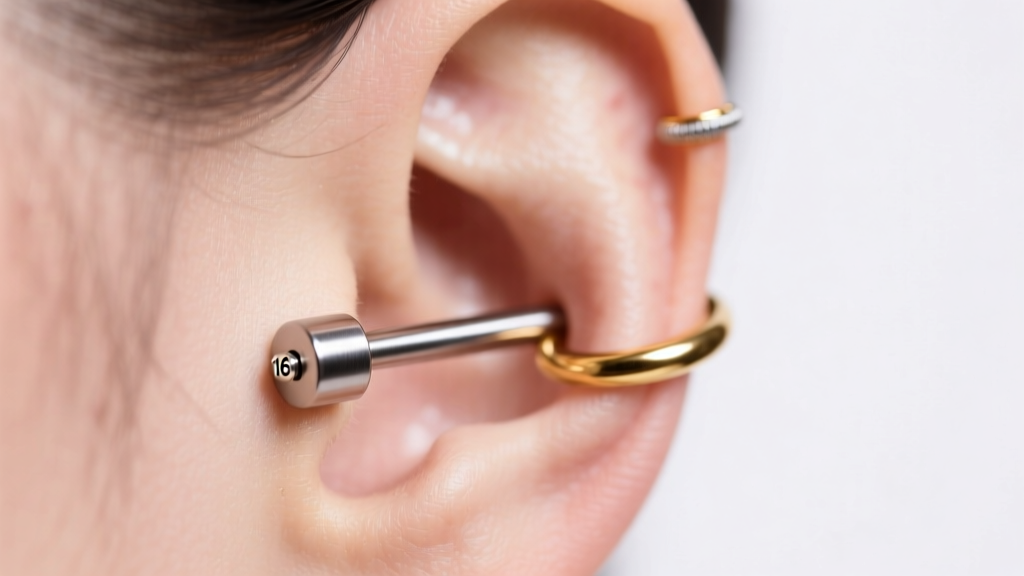
The modern curated ear is a masterclass in anatomical styling, blending delicate gold hoops, bezel-set gemstones, and architectural flat backs into a cohesive constellation. However, the journey to a fully realized ear project is a test of patience, biology, and meticulous aftercare. When collectors and style enthusiasts ask how long does an earring piercing take to heal, the answer is never a single number. It is a complex variable dictated by tissue vascularity, jewelry material, placement angle, and individual immune responses.
In the current landscape of fine jewelry piercing, understanding these healing windows is not just a medical necessity; it is a fundamental aspect of styling strategy. Rushing the process leads to migration, hypertrophic scarring, and compromised aesthetics. This guide breaks down the exact biological timelines, material requirements, and sequencing strategies you need to build a flawless, fully healed curated ear.
The Biology of Ear Piercings: Vascular vs. Avascular Tissue
To understand healing timelines, you must first understand ear anatomy. The ear is divided into two primary tissue types: the fleshy earlobe and the cartilaginous upper ear. These tissues heal in fundamentally different ways.
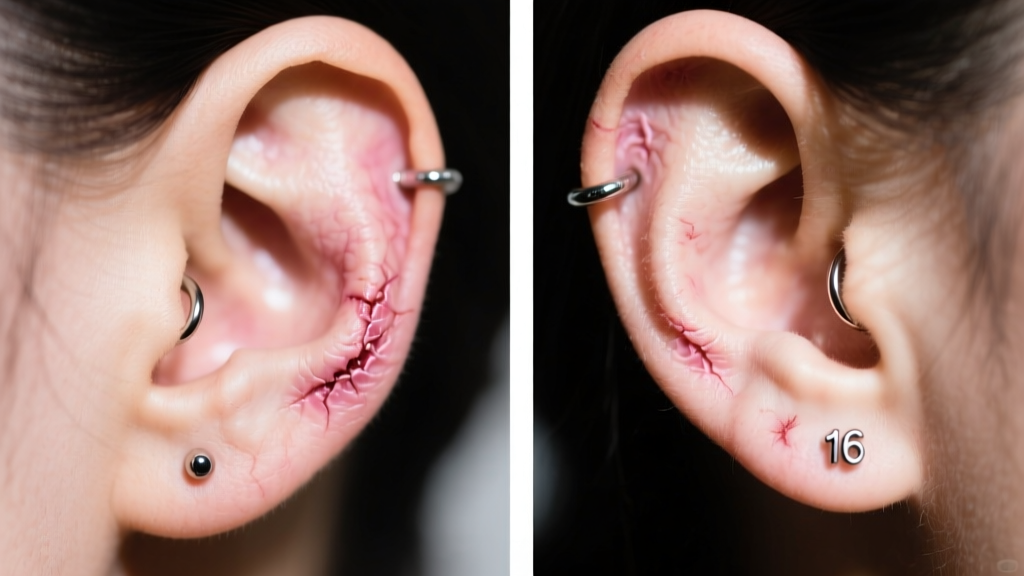
Earlobes are highly vascular, meaning they have a robust network of blood vessels. Blood flow delivers oxygen, nutrients, and white blood cells directly to the wound site, accelerating the inflammatory and proliferative phases of healing. Cartilage, on the other hand, is avascular. It lacks its own direct blood supply and must rely on the perichondrium (the connective tissue membrane covering the cartilage) to diffuse nutrients. This biological bottleneck is why cartilage piercings take significantly longer to mature and are far more prone to irritation bumps and prolonged swelling.
Comprehensive Healing Timelines by Placement
Below is a clinical breakdown of expected healing windows based on data from professional piercing institutions. Note that 'healed' in this context means the fistula (the tube of skin lining the piercing channel) is fully mature and stable enough to withstand jewelry changes and minor trauma.
| Piercing Placement | Standard Gauge | Initial Healing (Swelling Subsides) | Full Fistula Maturation | Best Initial Jewelry Style |
|---|---|---|---|---|
| Standard Lobe | 14g - 12g | 4 - 6 Weeks | 3 - 4 Months | Flat back labret or captive bead ring |
| Upper Lobe / Earlobe Edge | 14g - 16g | 6 - 8 Weeks | 4 - 6 Months | Flat back labret |
| Helix / Outer Cartilage | 16g | 3 - 5 Months | 6 - 12 Months | Flat back labret (post downsizing) |
| Tragus | 16g | 3 - 4 Months | 6 - 9 Months | Flat back labret |
| Conch | 16g - 14g | 4 - 6 Months | 9 - 12+ Months | Flat back labret |
| Daith / Rook | 16g | 4 - 6 Months | 9 - 12+ Months | Curved barbell or clicker ring |
Lobe Piercings: The Fast Track
Standard lobe piercings are the foundation of any ear curation. Because of the high vascularity, you can expect to downsize your initial jewelry within 4 to 6 weeks. However, a common mistake is swapping to heavy statement hoops or dangling earrings too early. Even if the lobe feels fine, the internal fistula is still fragile. Wait a full 3 to 4 months before introducing heavy dangles or large-gauge seamless rings to prevent stretching and blowouts.
Cartilage Placements: The Long Game
Cartilage placements like the helix, conch, and tragus require immense patience. While the initial tenderness may fade after 8 weeks, the internal tissue is still actively remodeling. Introducing hoops before the 6-month mark is a primary cause of angle migration. Hoops move constantly, introducing bacteria into the channel and exerting uneven pressure on the healing fistula, forcing the piercing to heal at a crooked angle. Flat back labrets are non-negotiable for the first 6 months of any cartilage project.
Curated Ear Sequencing: Styling Around Healing Windows
The biggest trend in fine jewelry piercing is the 'constellation ear'—a carefully mapped array of 5 to 10 piercings. But you cannot get them all done in one sitting. The golden rule of professional piercing is to never get more than two new piercings on the same ear simultaneously, and ideally, avoid getting piercings on both ears at the same time.
Why? Because you need one ear to sleep on. Sleep pressure is the number one enemy of healing cartilage. Resting your head on a healing helix or conch causes localized ischemia (restricted blood flow) and mechanical friction, which almost guarantees the formation of hypertrophic scarring (commonly known as irritation bumps).
Pro Styling Tip: Sequence your ear project from the bottom up. Start with your lobes and upper lobes. Once they are fully mature (around month 4), move to the tragus and lower helix. Save the conch and daith for the final phase, as these thick cartilage pockets take the longest to settle and are highly susceptible to snagging on hair and clothing.
Material Science: What to Wear While Healing
The jewelry you choose on day one dictates the success of your healing journey. The Association of Professional Piercers (APP) strictly outlines which materials are biocompatible enough for fresh, open wounds.
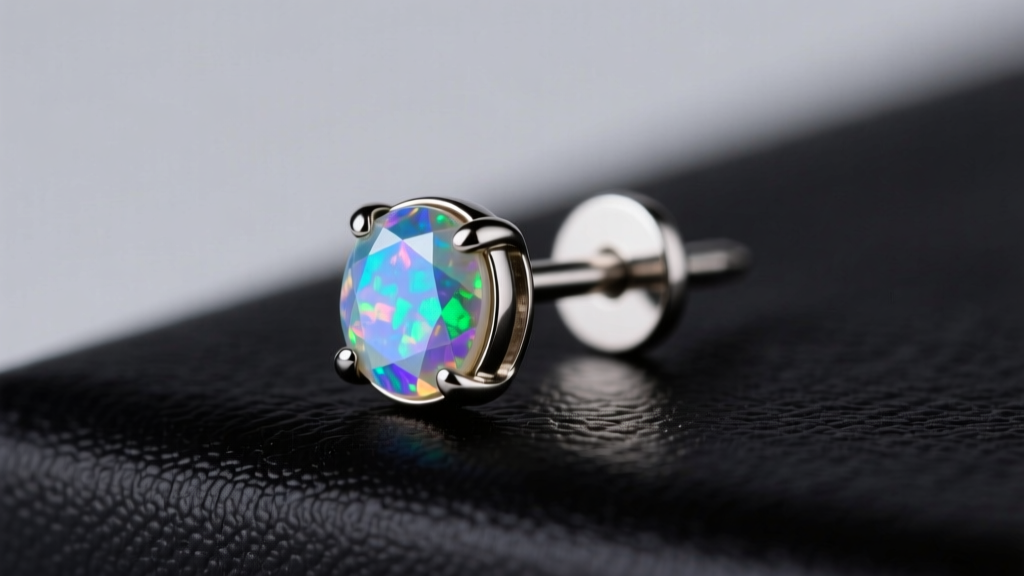
- Implant-Grade Titanium (ASTM F-136): This is the absolute gold standard for initial jewelry. It is entirely nickel-free, highly polished, and biologically inert, meaning the body will not recognize it as a foreign invader. Expect to pay $40 to $80 per piece for high-end titanium ends.
- Solid 14k or 18k Gold: Must be nickel-free and alloyed for biocompatibility. Yellow and rose gold are generally well-tolerated, but white gold often contains nickel or palladium, which can trigger contact dermatitis in fresh wounds. High-quality solid gold flat backs range from $150 to $400+.
- Niobium: A highly reactive metal that is anodized to create vibrant colors without using toxic dyes or plating. It is an excellent, slightly more affordable alternative to titanium.
Materials to Avoid: Never wear surgical steel (which contains trace nickel), silver (which oxidizes and causes localized argyria or black staining in the fistula), or gold-plated/vermeil jewelry in a healing piercing. The plating will wear off inside the moist environment of the wound, exposing the reactive base metal underneath.
Downsizing and Avoiding Irritation Bumps
One of the most critical, yet frequently overlooked, steps in the healing process is 'downsizing.' When a piercer initially pierces your cartilage, they will use a labret post that is intentionally long (usually 8mm to 10mm) to accommodate the inevitable swelling that occurs over the first 7 to 14 days.
Once the swelling subsides, that extra post length becomes a liability. It catches on hair, towels, and over-ear headphones. Every time the jewelry is snagged, it acts as a lever, tearing the delicate new cells forming inside the fistula. This repetitive micro-trauma triggers the body's defense mechanism, resulting in a raised, red, fluid-filled bump next to the jewelry.
According to guidelines referenced by the American Academy of Dermatology, keeping the area clean and free from mechanical irritation is paramount. You must return to your piercer between weeks 4 and 8 to have the post swapped to a shorter, snugger fit (usually 5mm or 6mm). This eliminates the lever effect, allowing the piercing to settle at the correct angle and drastically reducing the risk of irritation bumps.
Aftercare Realities: Less is More
The era of harsh aftercare is over. Do not use tea tree oil, rubbing alcohol, hydrogen peroxide, or antibiotic ointments on your healing earrings. These substances are cytotoxic; they kill the healthy, proliferating cells your body is trying to build, effectively resetting your healing clock and causing severe chemical burns on delicate ear tissue.
The only approved aftercare regimen is sterile 0.9% sodium chloride wound wash (saline). Spray it gently on the front and back of the piercing twice a day, and gently dry the area with a piece of non-woven gauze or by using a hairdryer on the 'cool' setting. Moisture traps are a leading cause of bacterial overgrowth, so ensuring the ear is completely dry after showering is just as important as the cleaning itself.
Ultimately, understanding how long an earring piercing takes to heal allows you to map out a curated ear that is not only visually stunning but biologically sound. By respecting the tissue, investing in implant-grade materials, and sequencing your placements intelligently, you ensure that your ear curation remains a permanent, trouble-free expression of your personal style.


