The Complete Earring Piercings Name & Buying Guide
Discover every earring piercings name, from lobe to daith. Our 2026 buying guide covers exact gauges, safe materials, and sizing for a perfect fit.

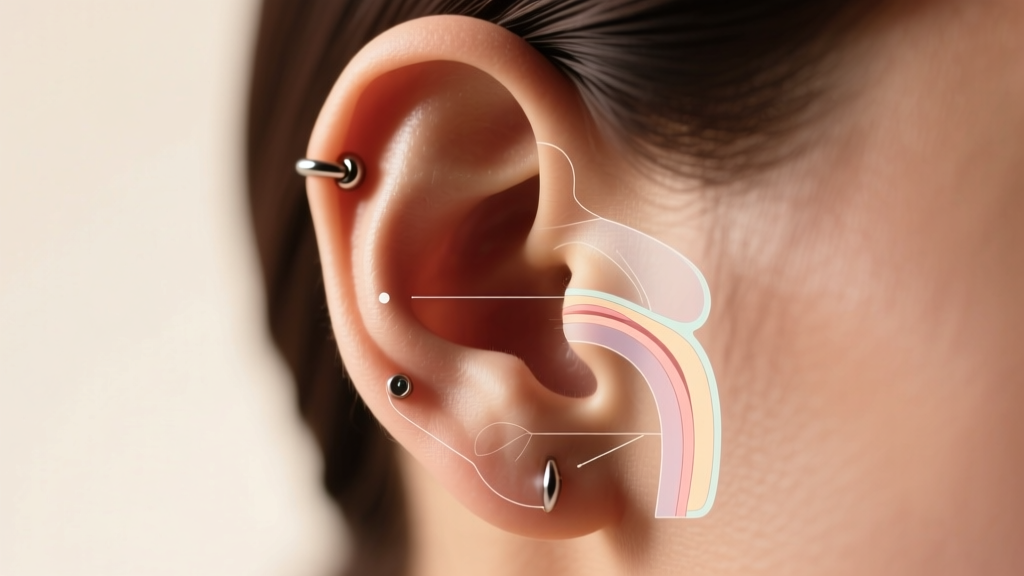
Whether you are curating a minimalist ear stack or planning a bold new cartilage project, knowing the exact earring piercings name is the most critical first step in your buying journey. The jewelry market is saturated with options, but a piece designed for a standard lobe will fail entirely in a rook or daith piercing. In this comprehensive 2026 buying guide, we break down the anatomical terminology, exact gauge requirements, material safety standards, and precise millimeter sizing you need to shop with absolute confidence.
The Foundation: Lobe and Upper Lobe Piercings
The standard lobe is the most common piercing, typically healed within 6 to 8 weeks. However, the upper lobe (often called the second or third lobe piercing) sits closer to the cartilage boundary and requires more careful jewelry selection. When shopping by earring piercings name for these areas, you are generally looking for 20-gauge (0.8mm) or 18-gauge (1.0mm) jewelry.
What to Look For in Lobe Jewelry
- Backings: Avoid traditional butterfly friction backs. They trap dead skin cells and bacteria, and the prongs often dig into the neck during sleep. Opt for flat back labrets (threadless or internally threaded) or secure screw-on bead backings.
- Post Length: A standard healed lobe requires a 5mm to 6mm post length. If your lobes are thicker, you may need a 7mm or 8mm post to prevent the backing from embedding into the tissue.
- Huggies and Hoops: For standard lobes, an inner diameter of 8mm to 10mm provides a snug, comfortable fit without pulling on the fistula.
Outer Cartilage: Helix, Forward Helix, and Industrial
Moving up the outer ridge of the ear, we enter cartilage territory. Cartilage is avascular (lacks direct blood supply), meaning healing times stretch from 6 to 12 months, and irritation bumps are common if jewelry is improperly sized or shaped.
Helix and Forward Helix
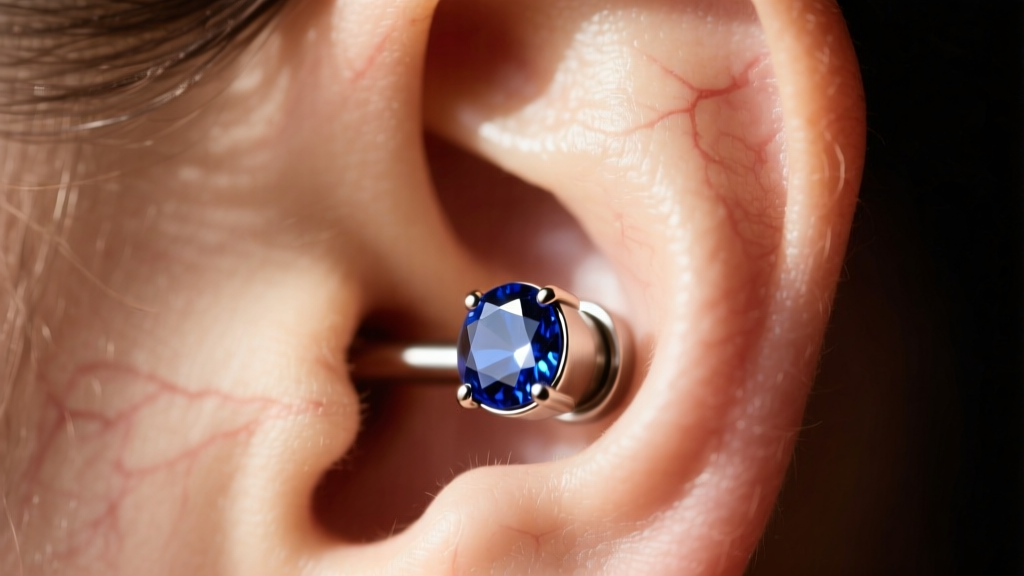
The helix runs along the upper outer rim, while the forward helix sits on the inner ridge closest to the face. Both are almost universally pierced at 16-gauge (1.2mm), though some piercers use 18-gauge. The absolute best jewelry for a healed helix is a 16g flat back labret with a post length between 6mm and 8mm. Seamless rings can be worn once fully healed, but they must have an inner diameter of at least 10mm to accommodate the natural curvature of the ear rim without bending or putting pressure on the piercing channel.
The Industrial Piercing
An industrial connects two points of the outer cartilage with a single straight barbell. This is typically a 14-gauge (1.6mm) piercing. The most common buying mistake here is purchasing a barbell that is too short or too long. Industrials require precise custom measurements, usually ranging from 28mm to 38mm in length. Always buy from specialized brands like Anatometal or BVLA that offer custom-cut barbell lengths in 1mm increments.
The Inner Ear Complex: Tragus, Conch, Daith, and Rook
This is where knowing the specific earring piercings name becomes vital, as the anatomy is highly complex and requires specialized jewelry shapes. Below is a quick-reference data table for the inner ear.
| Earring Piercings Name | Standard Gauge | Ideal Jewelry Style | Typical Size | Avg. Price (Titanium) |
|---|---|---|---|---|
| Tragus | 16g | Flat Back Labret | 5mm - 6mm post | $30 - $50 |
| Conch | 16g - 14g | Labret or Large Hoop | 6mm - 8mm post / 12mm+ hoop | $35 - $65 |
| Daith | 16g | Clicker or Captive Bead | 8mm - 10mm inner diameter | $45 - $80 |
| Rook | 16g | Curved Barbell or Clicker | 6mm - 8mm inner curve | $40 - $70 |
| Snug | 16g | Small Curved Barbell | 6mm curve | $35 - $55 |
Crucial Sizing Notes for Inner Ear Piercings
The daith sits in the innermost cartilage fold. Because of the tight space, you cannot use a standard flat back labret. You must purchase a 16g "clicker" ring or a captive bead ring (CBR) with a small inner diameter (usually 8mm or 9mm). The rook requires a curved barbell; a straight post will cause immediate rejection and migration. The tragus requires a very short flat back (5mm) so the disc does not press uncomfortably against the ear canal opening.
Material Science: What to Look For in 2026
According to the Association of Professional Piercers (APP), the material of your jewelry dictates the health of your piercing. The market is flooded with misleading terms like "surgical steel," which often contains nickel and causes contact dermatitis.
The Gold Standard: Implant-Grade Titanium
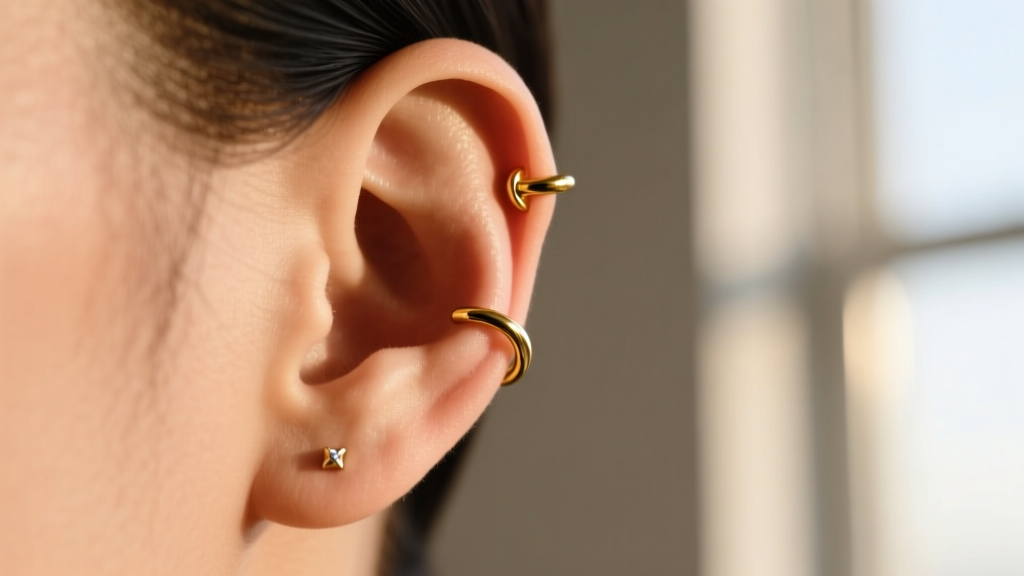
When buying cartilage jewelry, look specifically for ASTM F136 Implant-Grade Titanium. This is the exact alloy used in medical joint replacements. It is 100% nickel-free, highly polished, and biocompatible. Brands like Neometal and Industrial Strength utilize this material for their threadless ends and posts, ensuring a secure fit that will not fall out in your hair or while sleeping.
Solid Gold: Karat and Alloy Matters
If you prefer gold, you must buy 14k or 18k solid gold that is explicitly alloyed to be nickel-free and cadmium-free. Avoid gold-plated or gold-filled jewelry for any cartilage piercing, as the friction of the piercing channel will wear away the plating, exposing the reactive base metals underneath to your bloodstream. High-end manufacturers like BVLA set the industry standard for safe, nickel-free 14k and 18k gold body jewelry.
Threading Types: A Make-or-Break Buying Decision
How the gemstone attaches to the post is just as important as the metal itself. Never buy externally threaded jewelry (where the screw is on the post) for cartilage, as the sharp threads will tear the delicate fistula tissue every time you insert it.
- Threadless (Push-Pin): The industry favorite for 2026. The end has a slightly bent pin that pushes into the hollow post, creating tension that holds it securely. It is the easiest to change and the most secure against accidental loss.
- Internally Threaded: The screw is on the gemstone end, and the post is smooth. This is highly safe for the piercing channel but can be difficult to screw together blindly behind the ear.
Expert Buying Checklist
Before you add any piece to your cart, run it through this final checklist:
- Verify the Piercing Name: Ensure the jewelry style matches the specific anatomy (e.g., curved for rook, flat back for conch).
- Check the Gauge: Confirm if your piercing is 18g, 16g, or 14g using a caliper or by asking your piercer.
- Confirm the Material: Look for "ASTM F136 Titanium" or "Nickel-Free 14k/18k Solid Gold."
- Select the Threading: Choose threadless or internally threaded only.
- Measure the Post/Diameter: Ensure the millimeter length accommodates your specific tissue thickness without leaving gaps or embedding.
By mastering the correct earring piercings name and understanding the mechanical requirements of each anatomical location, you transition from a casual shopper to an informed collector. Investing in properly sized, implant-grade jewelry not only elevates your aesthetic but guarantees the long-term health and stability of your ear curation.


