Earring Post Size Chart: The Ultimate Guide to Lobe and Cartilage Fits
Master your jewelry fit with our comprehensive earring post size chart. Learn exact gauge and length measurements for lobe and cartilage piercings.

Why Earring Post Sizing Matters (and Why Guessing Fails)
When shopping for earrings, most beginners focus entirely on the decorative front—the gemstone, the hoop diameter, or the metal color. However, the hidden architecture of your jewelry, specifically the post that passes through your skin, dictates whether your piercing heals beautifully or becomes a source of chronic irritation. Relying on a generic "one-size-fits-all" approach is the leading cause of embedding, migration, and allergic contact dermatitis.
Your earlobe and cartilage tissues have vastly different densities, swelling capacities, and structural needs. A post that is too thin can cause the dreaded "cheese-cutter effect," where the weight of the jewelry slowly slices through the tissue. Conversely, a post that is too short will choke the piercing during the natural inflammatory healing phase, leading to the jewelry embedding into the skin. To eliminate the guesswork, we have engineered this definitive earring post size chart to help you match exact millimeter measurements to your specific anatomy.
The Essential Earring Post Size Chart
The table below outlines the industry-standard measurements recognized by professional piercers. Keep in mind that the gauge system is counterintuitive: the higher the gauge number, the thinner the metal.
| Gauge (G) | Thickness (mm) | Standard Lengths | Ideal Placement & Use Case |
|---|---|---|---|
| 22G | 0.64 mm | 1/4" (6mm) | Ultra-fine vintage studs; high risk of migration in fresh piercings. |
| 20G | 0.81 mm | 1/4" - 3/8" (6-10mm) | Standard healed earlobes; lightweight fashion earrings. |
| 18G | 1.02 mm | 1/4" - 3/8" (6-10mm) | Healed lobes, upper lobes, and some delicate helix piercings. |
| 16G | 1.29 mm | 1/4" - 5/16" (6-8mm) | Standard for cartilage (helix, tragus, conch) and snug lobe fits. |
| 14G | 1.63 mm | 5/16" - 3/8" (8-10mm) | Industrial bars, thick cartilage, and daith piercings. |
Decoding Gauge vs. Length: A Beginner's Breakdown
Understanding Gauge (Thickness)
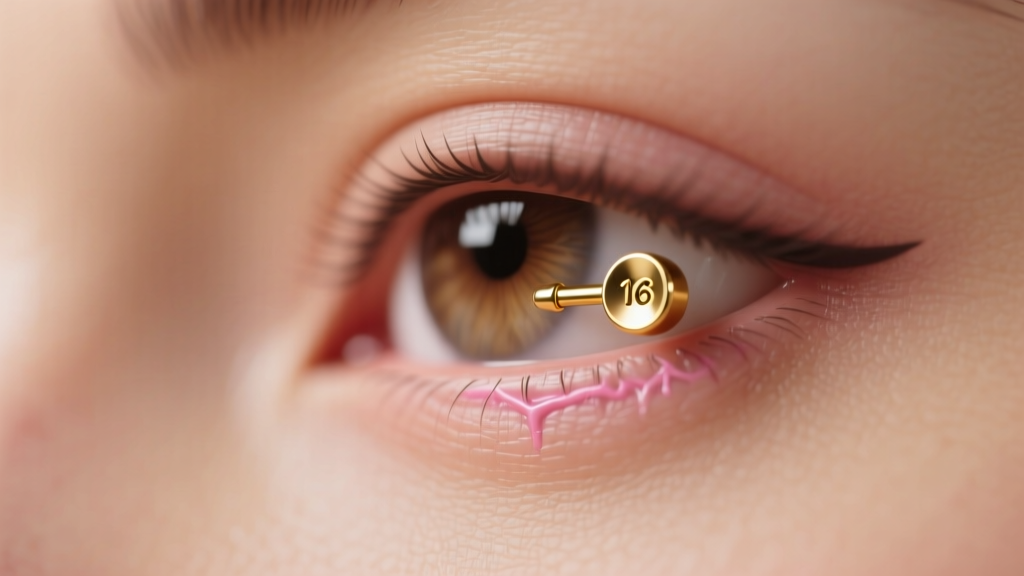
Gauge refers strictly to the diameter of the wire or barbell that penetrates the skin. If you attempt to force an 18G earring into a 16G piercing hole, you will experience micro-tearing and immediate inflammation. If you place a 16G post into a healed 20G lobe piercing, it will either not fit, or it will stretch the tissue, making it difficult to wear standard 20G earrings comfortably in the future. Always match the gauge of your new jewelry to the exact gauge your piercer used for the initial needle puncture.
Understanding Length (Wearable Surface Area)
Length is the measurement of the post from the decorative front to the backing. This is often called the "wearable length." For friction-backed butterfly studs, length is less critical because the back can slide up and down the post. However, for flat-back labrets (the gold standard for cartilage and modern lobe piercings), the length must be precise. According to the Association of Professional Piercers (APP), fresh piercings require longer posts (typically 3/8" or 10mm) to accommodate swelling, while healed piercings require shorter posts (1/4" or 6mm) to sit flush against the skin and prevent snagging.
Lobe vs. Cartilage: Matching the Post to the Piercing
The anatomical differences between your earlobe and your cartilage demand entirely different jewelry architectures.
- The Earlobe: Composed of soft, vascular tissue that swells minimally and heals quickly (6-8 weeks). Standard 20G or 18G posts with butterfly friction backs are common here. However, heavy dangle earrings on thin 22G or 20G wires will cause the cheese-cutter effect, slowly migrating the piercing downward. If you wear heavy drops, upgrade to a 16G or 14G post for structural support.
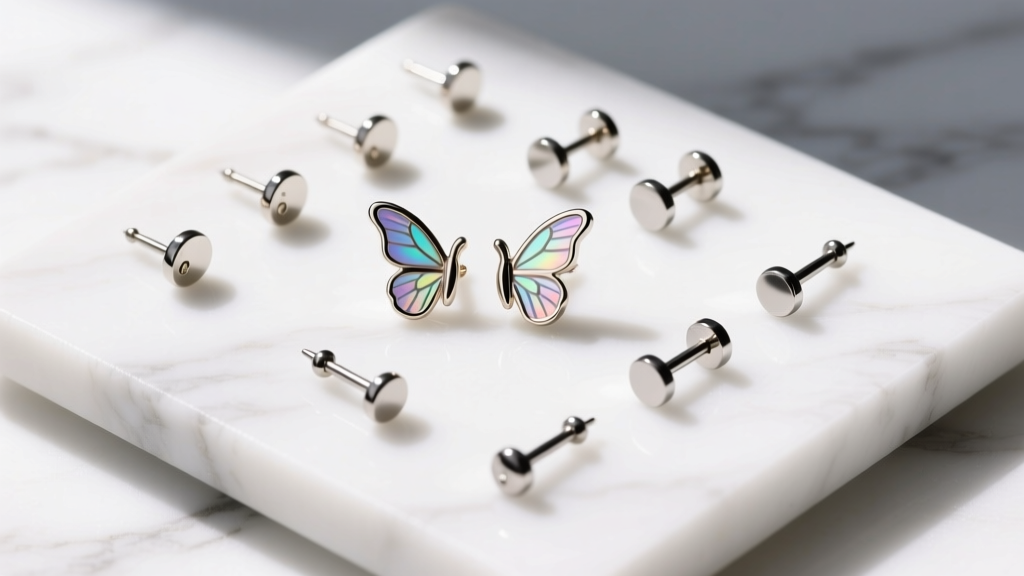
- The Cartilage (Helix, Tragus, Conch): Cartilage is avascular, dense, and prone to severe, prolonged swelling. It takes 6 to 12 months to fully heal. Butterfly backs are strictly contraindicated for cartilage; the prongs trap bacteria, snag on hair, and press unevenly into the back of the ear, causing painful pressure necrosis. You must use 16G or 14G flat-back labrets. The flat disc rests flush against the back of the ear, distributing pressure evenly and allowing for comfortable side-sleeping.
Material Grades and Hypoallergenic Standards
Sizing is only half the battle; material biocompatibility is the other. Many commercial jewelry brands market their products as "surgical steel" or "hypoallergenic," but these are largely unregulated marketing terms. Standard 316L stainless steel contains up to 10% nickel, a known allergen that causes contact dermatitis, itching, and weeping in sensitive individuals. For a deep dive into metal allergies, the Cleveland Clinic's guide on Nickel Allergy highlights how prolonged exposure to nickel-releasing alloys compromises the skin barrier.
For any earring post, especially in fresh or irritated piercings, demand the following materials:
- ASTM F136 Implant-Grade Titanium: The absolute gold standard. It is completely nickel-free, lightweight, and polished to a mirror finish that resists bacterial adhesion.
- Niobium: A highly reactive metal that is safely anodized to create vibrant colors without using toxic paints or platings.
- Solid 14k or 18k Gold: Must be alloyed for biocompatibility (avoid white gold, which often contains nickel). Gold-plated or gold-filled jewelry should never be worn in unhealed piercings, as the microscopic flaking of the plating introduces foreign bodies into the fistula.
How to Measure Your Existing Earring Posts at Home
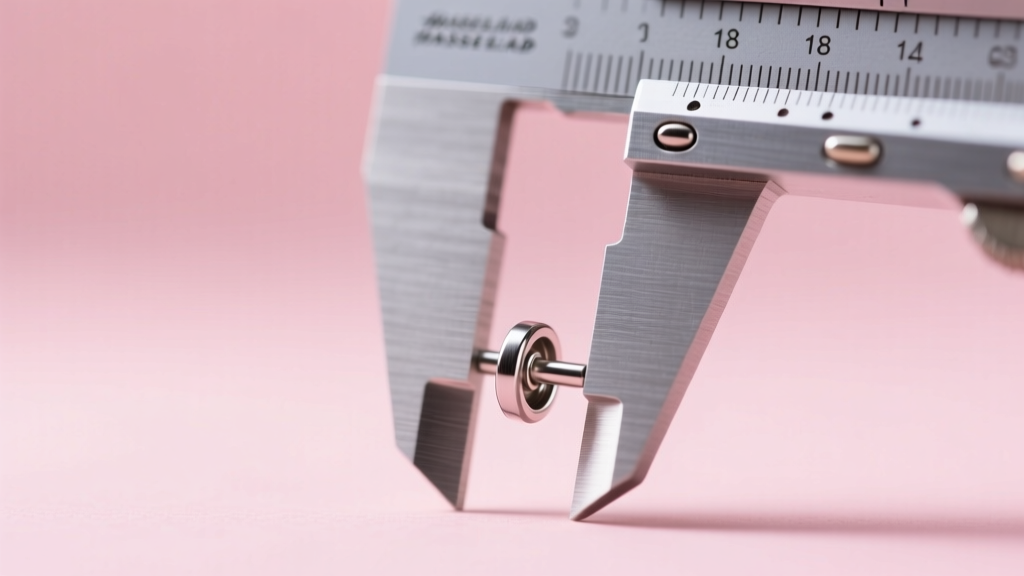
If you have a favorite earring but don't know its size, do not use a standard ruler; the millimeter markings are too imprecise for jewelry. Instead, invest in a cheap pair of digital calipers.
- Turn the calipers on and zero them out.
- To measure gauge, clamp the jaws gently around the thickest part of the post (avoiding any threaded areas, as threads add false thickness).
- To measure length, measure from the base of the decorative gem down to the base of the backing disc. Do not include the pin that inserts into the backing.
Troubleshooting Common Fit Issues
Even with an earring post size chart, minor anatomical variations occur. Here is how to diagnose and fix the three most common fitting failures:
1. The "Sinking" or Embedding Post
Symptom: The decorative front is swallowing into the skin, and the back is difficult to find.
Cause: The post length is too short for your current tissue swelling. This is a medical urgency in fresh piercings.
Solution: Visit a piercer immediately to upsize the length by 2mm (e.g., moving from a 6mm to an 8mm post) to relieve the tissue pressure.
2. The Irritation Bump (Hypertrophic Scarring)
Symptom: A small, fleshy, pink bump forms directly adjacent to the piercing hole.
Cause: The post is too long for a healed piercing. The excess space allows the jewelry to move, tilt, and bang against the delicate healing fistula, triggering localized scar tissue production.
Solution: Downsize to a shorter post (e.g., from 8mm to 6mm) so the jewelry sits completely flush and immobile.
3. Thread Stripping and Loose Gems
Symptom: The gem constantly unscrews and falls out.
Cause: You are likely using externally threaded jewelry, where the screw pattern is carved into the post itself. This damages the piercing channel and strips easily.
Solution: Switch to internally threaded (the screw is on the gem) or threadless (push-pin) jewelry. Threadless posts use tension to stay locked in place and are the preferred choice for secure, long-term cartilage wear.


