Troubleshooting Custom Drawn Earrings: Structural Fixes
Learn how to troubleshoot custom drawn earrings. Fix weight distribution, casting porosity, and structural flaws in bespoke jewelry designs.

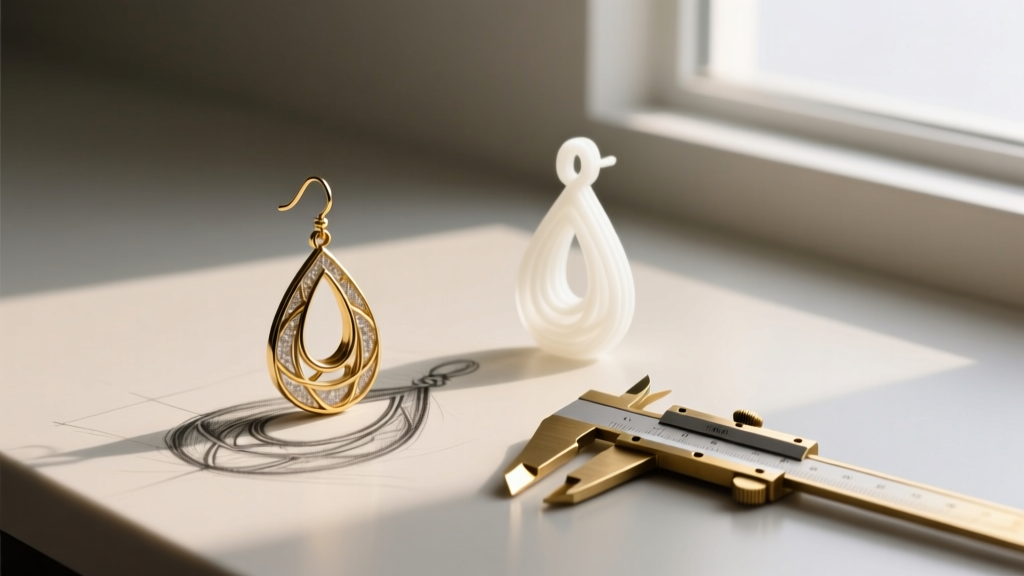
The Reality Gap: Why Hand-Drawn Earrings Fail in Production
Commissioning bespoke jewelry is a deeply personal experience, but the transition from a 2D paper sketch to a 3D wearable object is fraught with physical challenges. When jewelers and clients collaborate on drawn earrings, the resulting designs often feature sweeping lines, elongated drops, and intricate geometric cutouts that look breathtaking on paper. However, paper does not have to contend with gravity, torque, or the elasticity of human tissue.
The most common failure point in custom drawn earrings is the 'reality gap'—the disconnect between artistic vision and metallurgical limits. A delicate, wire-thin halo drawn in graphite might translate to a structurally compromised 18k gold casting that snaps under the weight of a single gemstone. Troubleshooting these designs requires a rigorous understanding of material science, weight distribution, and ear anatomy. Below, we break down the most frequent structural flaws found in bespoke earring commissions and provide actionable, expert-level solutions to ensure your custom pieces are as durable as they are beautiful.
Troubleshooting Weight and Lobe Tension Issues
The human earlobe is not a static display stand; it is a dynamic, fleshy appendage with a limited load-bearing capacity. A standard earlobe puncture (typically 18-gauge or 1.0mm) can comfortably support between 6 to 10 grams of weight before long-term stretching and the dreaded 'cheese-cutter' effect begin to occur. Custom drawn earrings, particularly elongated chandelier or heavy geometric drops, frequently exceed 15 grams when cast in solid precious metals.
Solution 1: Upsizing the Post and Backing Architecture
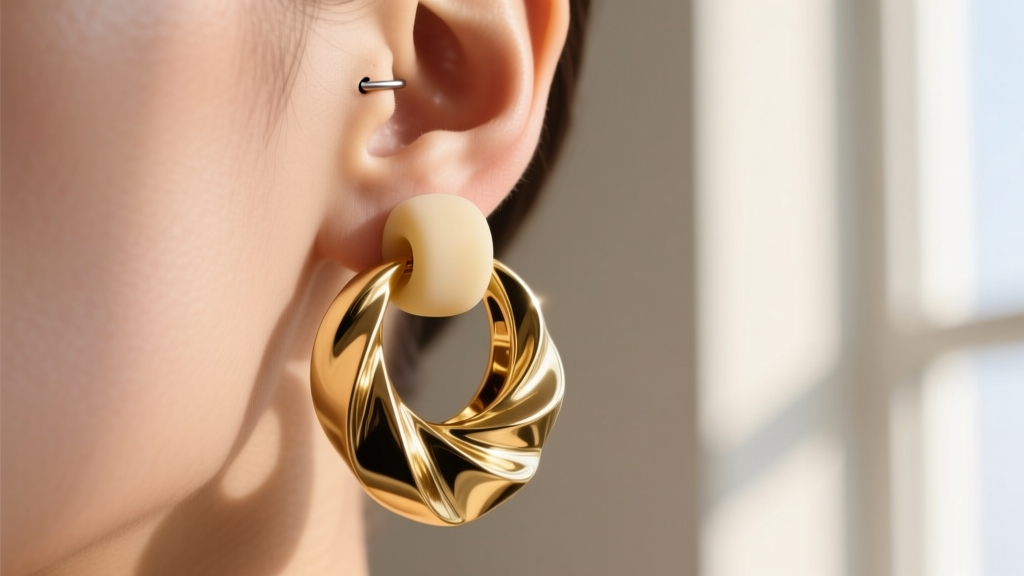
If your bespoke design is inherently heavy, you must alter the anchoring mechanics. First, request that the jeweler upsize the earring post from a standard 18-gauge (1.0mm) to a 14-gauge (1.6mm) or even 12-gauge (2.0mm) wire. This thicker post distributes the shear force across a wider area of the fistula. Second, abandon traditional butterfly friction backs. Instead, utilize jumbo silicone O-ring backs (often 10mm to 12mm in diameter) or specialized saddle-backs that grip the post and rest flush against the back of the lobe, dispersing the gravitational pull over a much larger surface area.
Solution 2: Hollow-Forming and Material Substitution
If altering the post is not enough, the metal itself must be optimized. According to manufacturing standards outlined by the Jewelers of America, hollow-forming techniques—such as electroforming or casting over a dissolvable resin core—can reduce the weight of a solid gold component by up to 60% without altering its exterior dimensions. Alternatively, substituting 18k yellow gold with Grade 5 Titanium can drastically cut weight, as titanium is roughly 45% lighter than steel and significantly lighter than high-karat gold alloys, while offering superior tensile strength.
Solving Structural Weaknesses in Cast Elements
When a jeweler translates a hand-drawn sketch into a 3D CAD model for casting, thin, sweeping lines are highly susceptible to casting porosity and misruns. Porosity occurs when gas bubbles become trapped in the molten metal during the investment casting process, creating microscopic voids that severely weaken the jewelry. If your drawn earrings feature intricate filigree or thin wire-like borders, these areas will cool too quickly, leading to brittle, snap-prone metal.
Comparing Metals for Intricate Bespoke Earrings
| Metal Alloy | Tensile Strength | Casting Risk for Thin Lines | Best Use in Drawn Designs |
|---|---|---|---|
| 18k Yellow Gold | Low-Medium | High (Prone to porosity & bending) | Solid, chunky geometric shapes |
| 14k White Gold | High | Medium (Requires precise temp control) | Delicate prongs, thin drawn borders |
| Platinum 950/Ru | Very High | Low (Excellent fluidity & density) | Intricate filigree, heavy gemstone settings |
| Grade 5 Titanium | Exceptional | N/A (CNC milled, not cast) | Large, lightweight structural hoops |
To mitigate these risks, insist that your jeweler uses vacuum-assisted investment casting, which pulls the molten metal into the finest details of the flask. For ultra-thin lines drawn in the original sketch, bypass casting entirely and request that those specific elements be CNC-milled from solid sheet metal or hand-fabricated from hard-drawn wire, then laser-welded to the cast body. The Gemological Institute of America (GIA) frequently highlights laser welding as the superior method for assembling complex, multi-part bespoke jewelry without exposing delicate gemstones to the heat of a traditional soldering torch.
Fixing Articulation, Snagging, and Movement Flaws
Drawn earrings often feature multiple articulated segments designed to sway and catch the light. However, poorly engineered articulation leads to stiff movement, rapid joint wear, and severe snagging on hair or knitwear. A common flaw in bespoke sketches is the use of standard open jump rings to connect drops. Under the repetitive torque of daily wear, open jump rings will inevitably twist apart, resulting in lost gemstones or dropped earring segments.
Implementing Hidden Hinges and Flush Connections
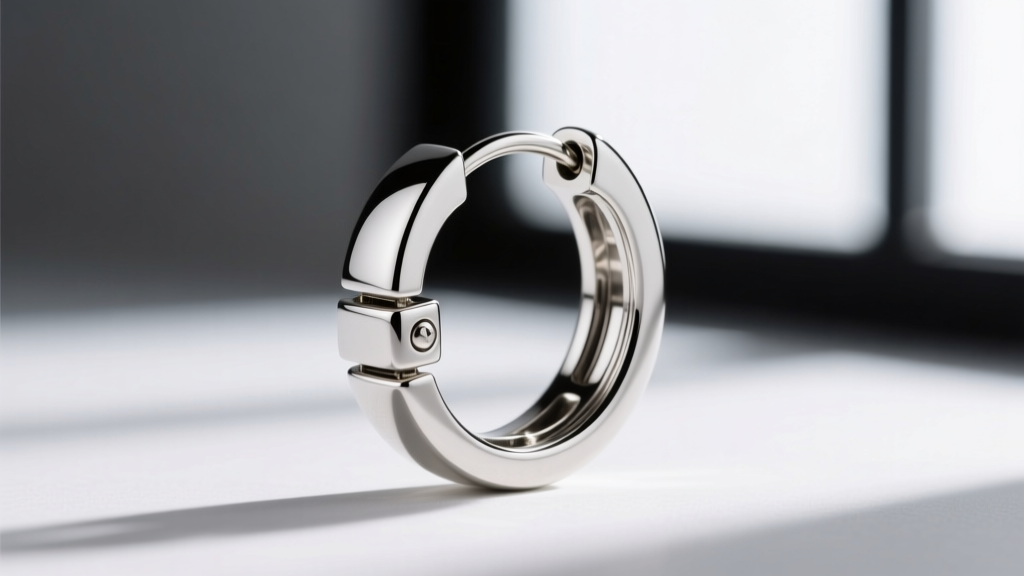
To troubleshoot articulation, replace all structural jump rings with closed, soldered rings or custom-fabricated hidden hinges. A hidden box hinge, milled directly into the CAD model, allows a long drop earring to fold and sway naturally while maintaining a seamless exterior profile. Furthermore, evaluate the 'snag profile' of the drawing. Any sharp angles or outward-facing prongs sketched on the perimeter of the earring must be softened or converted to bezel settings. If a prong setting is non-negotiable for the design, request 'V-prongs' or 'flush/Gypsy settings' for any stones located on the outer edges of the earring silhouette to ensure a smooth, snag-free glide against clothing.
The Pre-Production Checklist for Bespoke Commissions
Before you authorize the final CAD rendering or wax carve of your custom drawn earrings, run through this critical troubleshooting checklist:
- Weight Audit: Has the jeweler provided an estimated gram weight? If it exceeds 10g per ear, have they specified a 14-gauge post and wide-load silicone backings?
- Stone Depth Verification: Do the 2D sketches account for the pavilion depth of the gemstones? A 2-carat round brilliant requires over 6mm of vertical depth; ensure the earring profile accommodates this without protruding awkwardly.
- Alloy Selection: Are thin, wire-like elements being cast in 18k gold? If so, pivot to 14k white gold or hand-fabricated platinum wire to prevent structural failure.
- Snag Test: Run a piece of silk fabric over the 3D printed resin prototype. If it catches, the CAD model must be smoothed before any metal is cast.
By applying these metallurgical and mechanical troubleshooting steps, you bridge the gap between artistic imagination and physical reality, ensuring your custom drawn earrings are not just visually stunning, but engineered to last a lifetime.


