Expert Earring Stand DIY: Engineering Custom Displays
Master the material science of an earring stand DIY. Prevent silver tarnish and toppling with archival-grade display construction methods.

The Hidden Dangers of Standard DIY Jewelry Stands
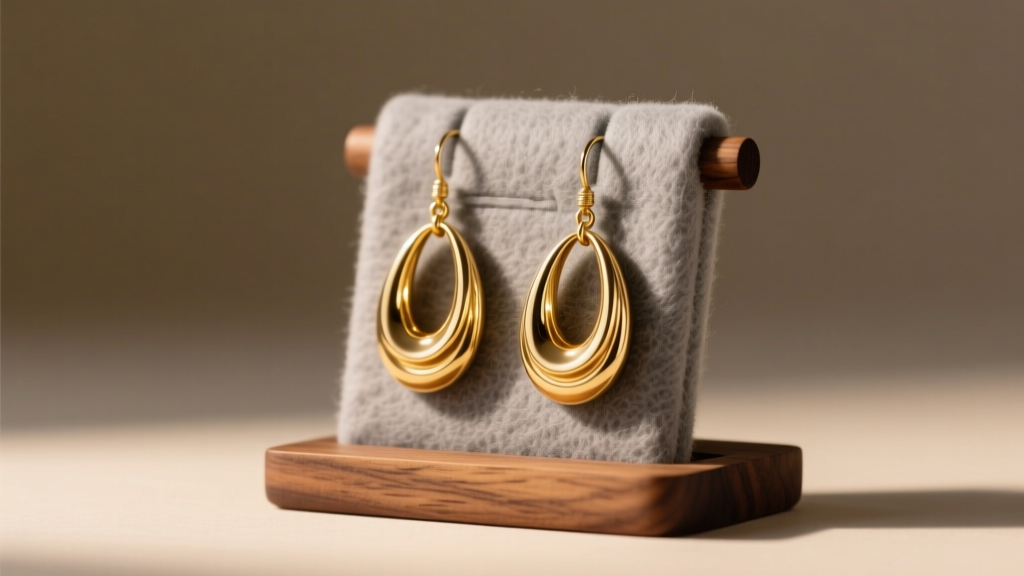
When searching for an earring stand diy tutorial, most crafters default to raw pine, cardboard, and hot glue. From a metallurgical and archival perspective, this is a catastrophic error. Raw wood contains natural acids and sulfur compounds that actively accelerate the tarnishing of sterling silver and copper alloys. Furthermore, standard craft glues off-gas volatile organic compounds (VOCs) and plasticizers that can degrade porous gemstones like turquoise and pearls over time.
To engineer a professional-grade display, we must approach the build through the lens of conservation science. According to guidelines from the American Institute for Conservation, materials in direct contact with precious metals must be chemically stable, acid-free, and devoid of sulfur. This deep dive will teach you how to construct an earring stand that not only looks like a high-end boutique display but actively preserves the integrity of your jewelry collection.
Material Science: Selecting Archival-Grade Components
The foundation of a safe earring display lies in material selection. You must eliminate three primary tarnish accelerators: sulfur, chlorides, and acidic off-gassing.
The Core Structure
Avoid raw MDF or unsealed pine. Instead, use marine-grade plywood or sealed acrylic. If you prefer the warmth of wood, you must encapsulate it. Apply three coats of a water-based polyurethane (such as Minwax Polycrylic). Oil-based polyurethanes contain solvents that continue to off-gas for months, creating a micro-climate of VOCs that can dull the rhodium plating on white gold earrings.
The Lining Material
Never use standard synthetic craft felt. Many cheap felts are dyed with sulfur-based compounds and treated with formaldehyde. The only acceptable lining materials are:
- 100% Cotton Flannel (Unbleached/Untreated): Washed twice in hot water without fabric softener to remove manufacturing sizing.
- Pacific Silvercloth: A specialized cotton flannel embedded with microscopic silver particles that intercept and neutralize hydrogen sulfide gas before it reaches your earrings.
- Acid-Free Matboard: Used as the rigid backing behind the fabric, ensuring no acidic bleed-through from the core wood.
Structural Dynamics: Preventing the 'Dangle Topple'
A common failure mode in DIY earring organizers is toppling. Heavy brass dangles, large gemstone drops, and thick gold hoops create a high center of gravity. If your stand is 12 inches tall and holds 150 grams of earrings at the 10-inch mark, the rotational torque will easily flip a lightweight base.
Calculating the Base-to-Height Ratio
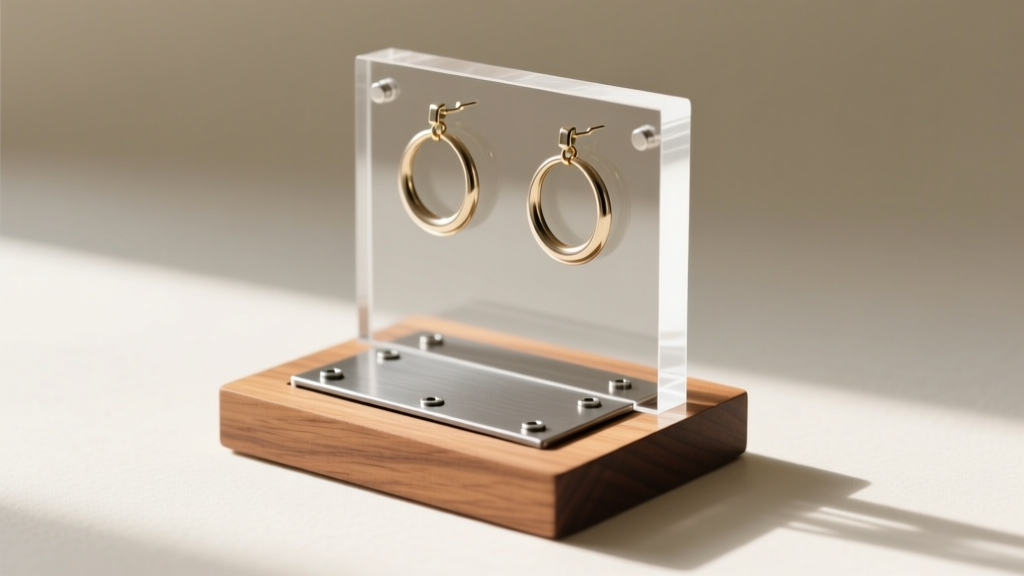
To achieve absolute stability, your base footprint must be engineered to counteract the maximum forward lean of your heaviest earrings. Follow this structural formula:
The base depth (front-to-back) must be at least 40% of the total vertical height of the stand. For a 12-inch tall upright, the base must extend at least 4.8 inches forward from the center of gravity.
Furthermore, the base must be ballasted. Route out a 1/4-inch cavity in the bottom of your wooden base and embed a cut-to-size steel or lead-free brass plate. This lowers the center of mass below the display surface, ensuring that even if bumped, the stand will self-right rather than tip over.
Precision Drilling: Gauge-Specific Hole Sizing
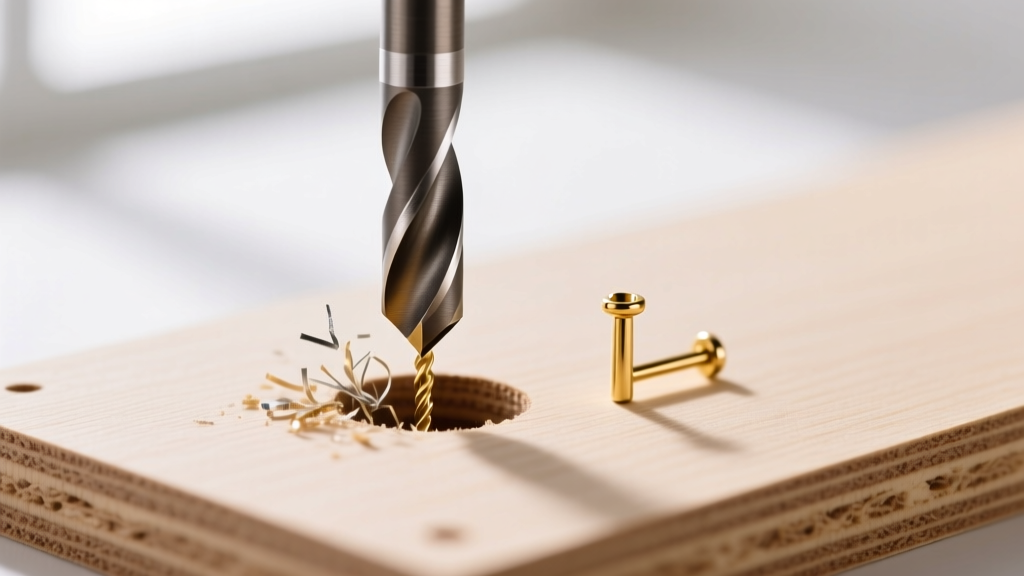
Perhaps the most overlooked aspect of an earring stand diy project is the sizing of the post holes. Standard 1/16-inch (1.58mm) drill bits are far too large for standard earring posts, causing the earrings to droop at severe angles. Worse, forcing a tight post into an improperly sized hole can scrape and permanently damage delicate gold vermeil or platinum plating.
According to the Gemological Institute of America (GIA), preserving the finish and structural integrity of precious metal jewelry requires minimizing friction and mechanical stress during storage.
Earring Gauge to Drill Bit Conversion Chart
| Earring Gauge | Post Diameter (mm) | Post Diameter (inches) | Recommended Drill Bit Size | Best For |
|---|---|---|---|---|
| 22G - 20G | 0.64mm - 0.81mm | 0.025" - 0.032" | 1.0mm (3/64") | Standard studs, lightweight drops |
| 18G | 1.02mm | 0.040" | 1.2mm (3/64" +) | Most commercial fashion & fine hoops |
| 16G | 1.29mm | 0.051" | 1.5mm (1/16") | Cartilage earrings, heavy dangles |
| 14G | 1.63mm | 0.064" | 1.8mm (5/64") | Body jewelry, thick ear cuffs |
Pro-Tip: Always use high-speed steel (HSS) or carbide micro-drill bits. Standard wood bits will tear the fibers of MDF or splinter hardwood, creating microscopic burrs that scratch earring posts upon insertion.
Step-by-Step Build: The Archival Hybrid Stand
Now that we understand the material science and structural physics, here is the exact build protocol for a museum-quality earring stand.
- Cut the Core: Cut a 12x8 inch base and a 10x6 inch upright backboard from 3/4-inch marine-grade plywood. Sand all edges to 220-grit smoothness.
- Seal the Wood: Apply three thin coats of water-based polyurethane. Allow 24 hours of curing between coats to ensure all moisture and VOCs have fully evaporated.
- Ballast the Base: Use a router to carve a 1/4-inch deep recess in the bottom of the base. Epoxy a 4x6 inch steel plate into the recess, then cover with a thin layer of cork to protect your furniture.
- Drill the Grid: Mark a grid on the upright board with 1.5-inch spacing. Using a drill press (not a hand drill, to ensure perfect 90-degree angles), drill 1.2mm holes to accommodate 18G and 20G posts.
- Apply the Archival Lining: Cut acid-free matboard to the exact dimensions of the upright. Wrap the matboard in pre-washed 100% cotton flannel or Pacific Silvercloth, pulling it taut and securing it to the back with archival-grade double-sided tape (avoid spray adhesives, which off-gas).
- Assemble: Attach the upright to the base using stainless steel L-brackets and wood screws. Do not use cheap zinc-plated hardware from big-box stores, as the zinc can corrode and transfer stains to the wood over time.
Material Off-Gassing and Tarnish Risk Chart
Before incorporating any material into your DIY earring display, consult this risk matrix to ensure you are not inadvertently destroying your jewelry.
| Material | Sulfur Content | VOC Off-Gassing | Tarnish Risk Level | Verdict |
|---|---|---|---|---|
| Raw Pine / Oak | Low-Medium | High (Acetic Acid) | Severe | Avoid completely |
| Synthetic Craft Felt | High | Medium | High | Avoid completely |
| Hot Glue / E6000 | Low | High (Solvents) | Medium | Use only on non-contact structural joints |
| Sealed Acrylic | None | None | Zero | Highly Recommended |
| Pacific Silvercloth | Neutralizing | None | Preventative | Highly Recommended |
Final Thoughts on Display Engineering
Building an earring stand diy project is not merely about gluing wood together; it is an exercise in preventive conservation. By respecting the chemical sensitivities of precious metals and the physical realities of weight distribution, you can create a bespoke display that rivals the fixtures found in high-end Fifth Avenue jewelers. Your earrings will remain untarnished, structurally supported, and beautifully presented for decades to come.


